Author Archives: S
September Stock Up
Welcome to the ‘ber months! I’m so excited, I love fall and the harvesting that comes with it. I can’t wait to hear all my canning jars start to “ping”.
Here’s our stock up list for September, with the things that are likely to be on sale this month. Not included in the list, but also on sale is basic furniture and shelving for all the kids off to uni and setting up their dorms!
Let me know if you find a good deal!

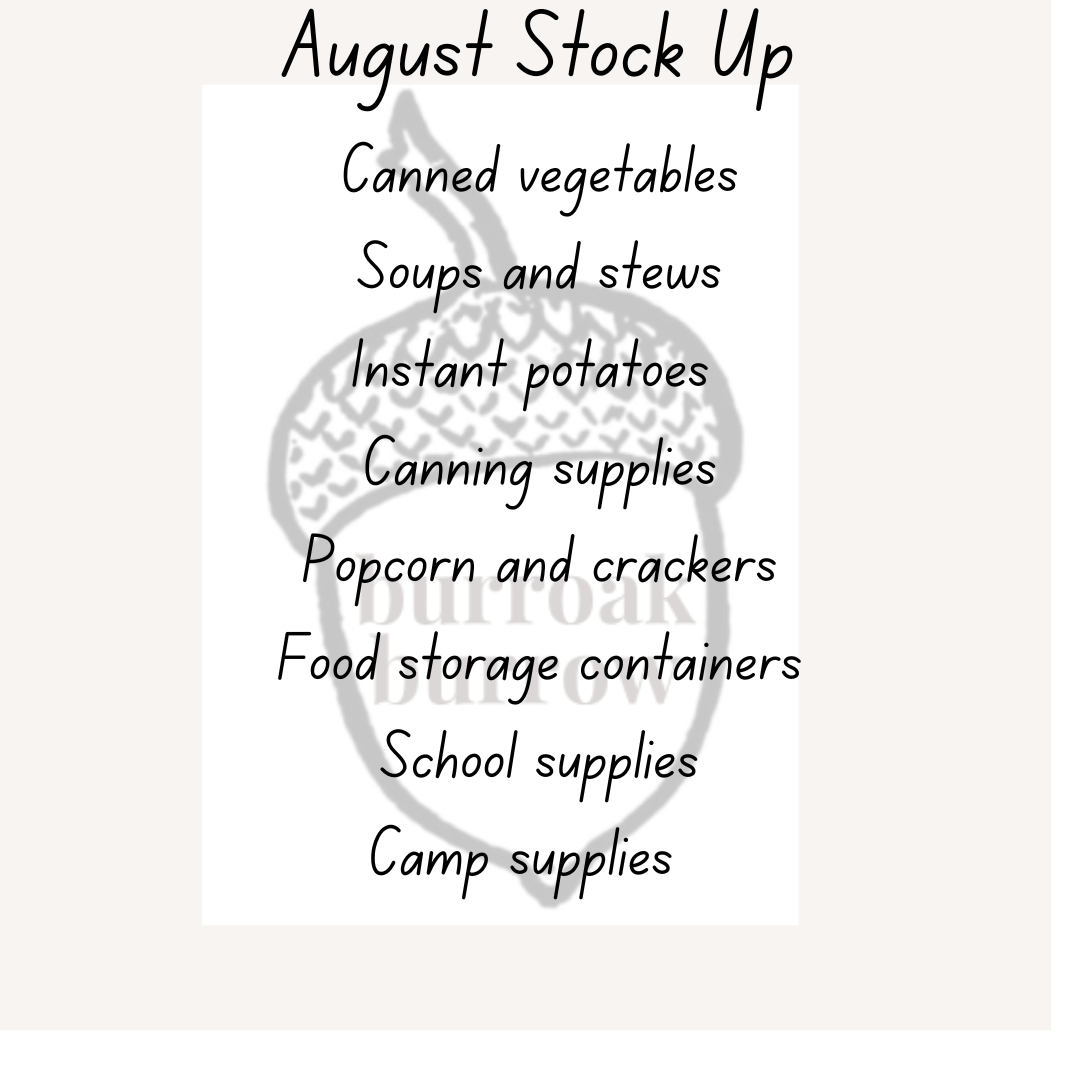
August Stock Up List
August can be a great month to stock up! There’s lots of back to school sales, so quick easy meal deals are plentiful (think instant potatoes, macaroni and cheese etc), dorm supplies like shelving and various containers are on sale too.
As summer is coming to a close, we start seeing clearance pricing on things like tents, cylinders of propane for camp stoves and all sorts of camping and outdoor living items. Keep your eyes out for great deals! Let me know what you score 🙂
July Stock Up!
Welcome to July!
It’s such a busy month with outings, gatherings and holidays, I hope everyone enjoys themselves!
Here’s our list for July. Remember every little bit helps.

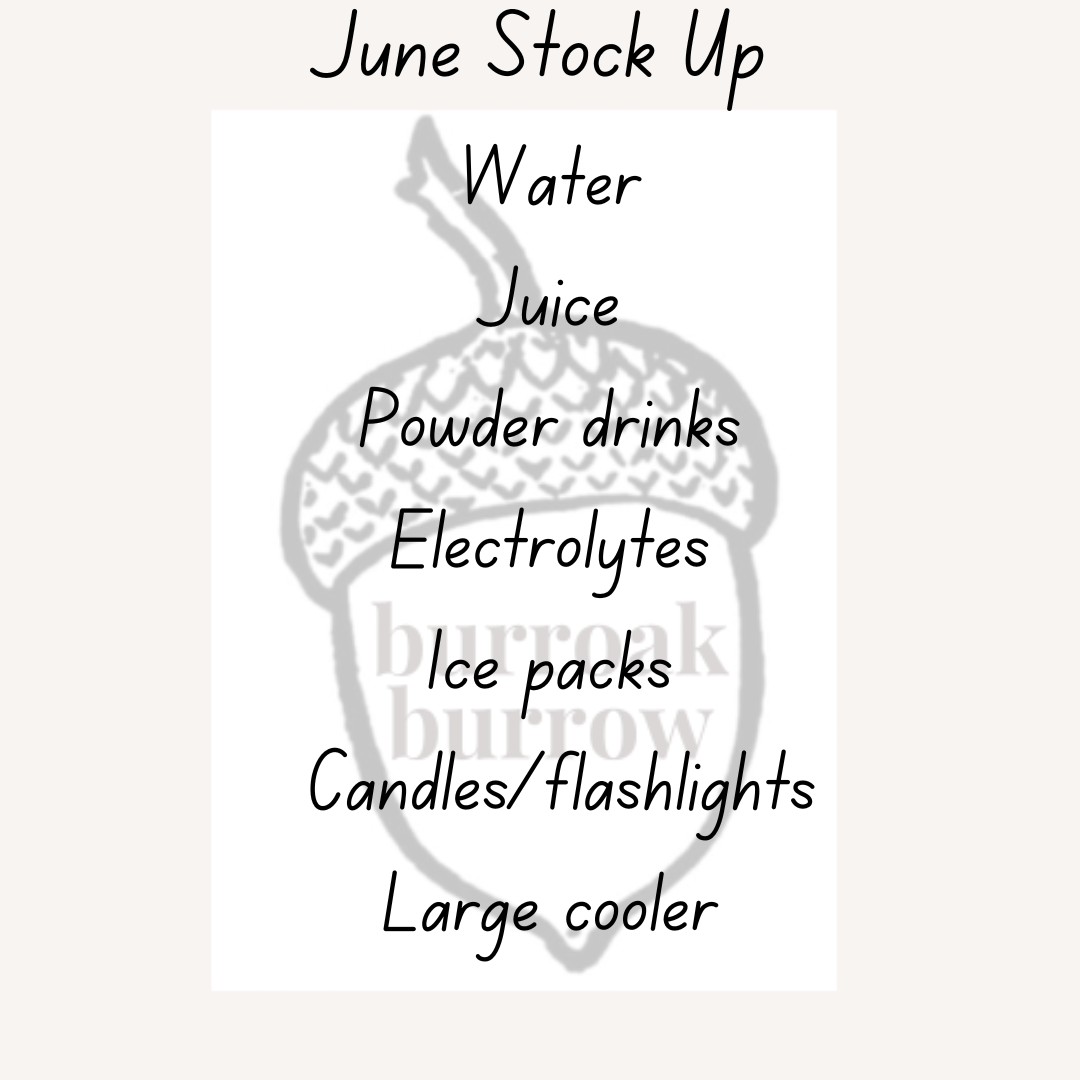
June Stock up
Welcome to June friends! I hope the warmer weather is treating you well and your gardens are kicking into full swing.
This month focuses on drinks and keeping them cool. It’s so easy to get dehydrated this time of year so make sure you stay hydrated and prepare to be hydrated in the future!

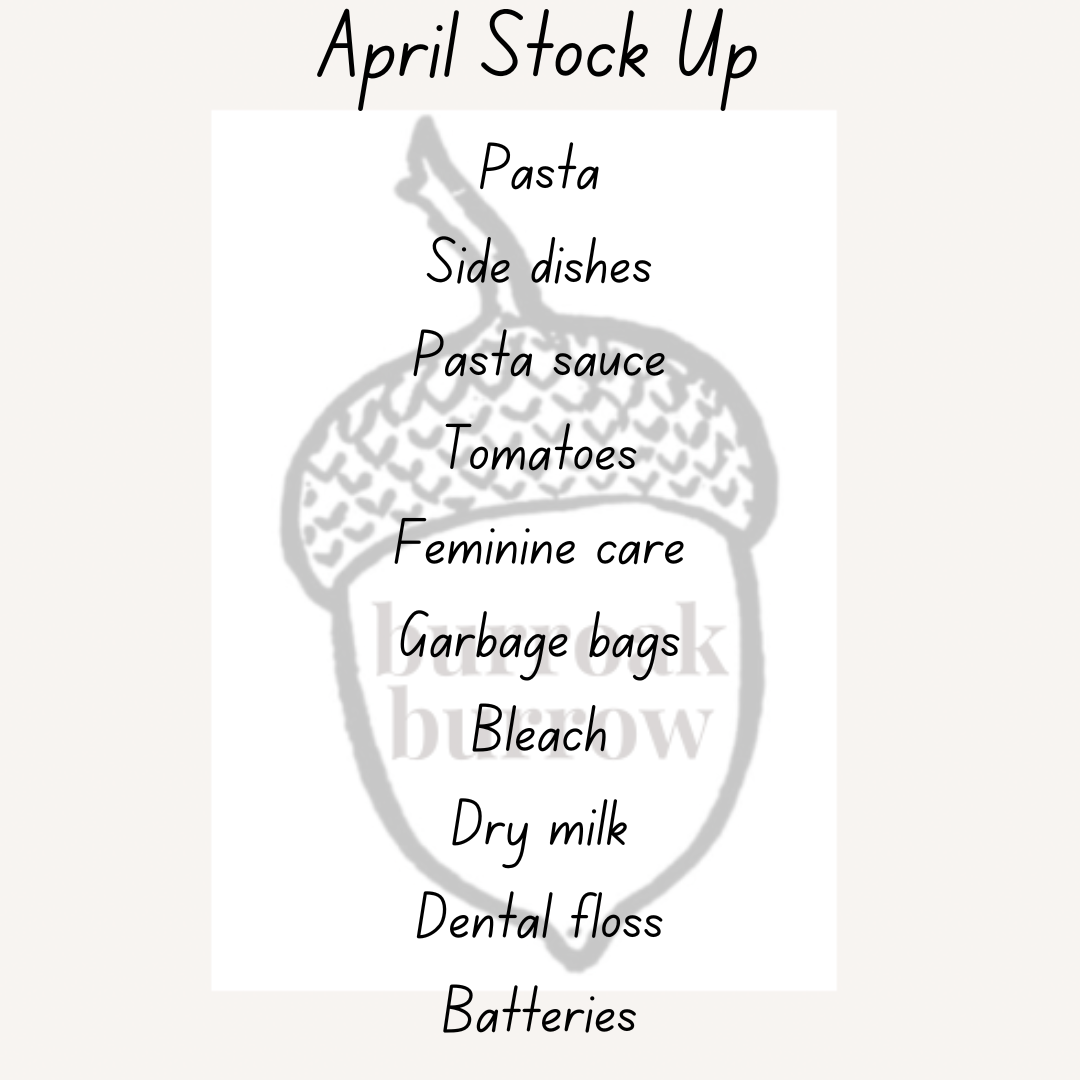
April Stock Up
Welcome to April!
This month we have a solar eclipse! Some local governments are recommending caution due to large crowds and issues that can come with them. They’ve recommended having extra groceries, a full gas tank and other basics like that. I think most like minded individuals have these things anyways, but be cautious (as always) and if you watch the phenomenon make sure you protect your eyes!
April is when we start spending more time outside so I am also making sure I have things like sunscreen, garden supplies and seeds, and of course things like chalk and bubbles. Our foraging will also increase in April.
Make sure to keep an eye out for the following things on sale:

March Stock Update
March is nearly over! I hope everyone has had a good month full of celebrations. I’m so thankful to have a long weekend with my family.
I didn’t buy much on this stock up as any extra went towards the holiday meals and garden supplies (which count as stocking!). Here’s a quick example of some of the stuff I picked up.

The beans and lentils are quite cheap if you buy them dried and they last for a really long time if you store them properly. They’re even cheaper if you buy them in bulk, but little bags like this are perfect to pick up every time you shop as they’re only a couple dollars and they add to your stock quickly.
I like to buy our over the counter medications so that I have an open one, one on the shelf and one extra to put up then rotate through as they get used up. That way I never have to panic and run to an all night pharmacy when the kids wake up sick.
I use the same stocking system when it comes to other non perishables, such as the cleaning supplies I bought for March spring cleaning.
Its beginning to look like a greenhouse in my living room (the only place with good lighting) with seedlings and pots of dirt everywhere. I’ve also started foraging for early spring plants as they’re popping up everywhere and in large, sustainable amounts.
What did you get up to in March? Have you started seeds? Did you take advantage of the sales related to the holidays? Do you now have pounds and pounds of chocolate?
Make sure to follow us on social media to keep up with everything that doesn’t necessarily make it to the blog!

March Stock Up
March has so many different holidays in many cultures so there is all sorts of basic ingredients on sale! What better time to stock up?
For holidays we have (in order) Ramadan, Purim, St Patrick’s Day, Holi, Palm Sunday and Easter. In addition to the items on the stock up list, which is fairly generic, you can also find on sale lots of dried fruits, nuts and seeds. Corned beef and cabbage should be on sale near the middle of the month (and cabbage dehydrates wonderfully). Of course with Easter there’s mountains of sweets and hopefully we will see turkey or ham be on sale.
Additionally it’s a good time to grab oxygen absorbers, candles and garden seeds.

February Stock Up Update
Even with an extra day, February went quick around here. The stock up list was smaller in February than January, so I managed to stock up on more of the list.
I got oats and breakfast cereals on sale. The oats were repackaged into mylar for long term storage. Cereal never lasts long in this house.
I took GG’s pancake recipe (here) and froze a bunch for school day breakfasts. Of course I made sure I had extra syrup.
The price of coffee seems to be different every week, and not in a good way, so I grabbed the first sale I found (and it still wasn’t a great price). I also grabbed a large bag of rice that was featured for Lunar New Year.

Check back tomorrow to see March’s stock up list.
Pancake day!
It’s pancake day! There’s nothing better than fresh, hot pancakes smothered in maple syrup. At our house we do pancakes a bit different, using great-grandma’s recipe.
It’s a flat pancake; not a flapjack but not a crepe either. GG used this recipe for pancakes but also Yorkshire pudding and something like a Dutch baby. It’s very easy to do and remember, using things you likely already have.
I use 3s to do my batch but it’s easily adjustable. (1 c flour to 1 c milk to 1 egg)
3c flour,
3 eggs
3c milk
3tbsp sugar
1tsp salt
1/3c oil/melted butter
You can also add anything you’d like (fruit, chocolate etc) but we like to add bacon.
Mix it all together and cook it as normal.
Let me know if you try GG’s recipe!

