Blog Archives

March Stock Update
March is nearly over! I hope everyone has had a good month full of celebrations. I’m so thankful to have a long weekend with my family.
I didn’t buy much on this stock up as any extra went towards the holiday meals and garden supplies (which count as stocking!). Here’s a quick example of some of the stuff I picked up.

The beans and lentils are quite cheap if you buy them dried and they last for a really long time if you store them properly. They’re even cheaper if you buy them in bulk, but little bags like this are perfect to pick up every time you shop as they’re only a couple dollars and they add to your stock quickly.
I like to buy our over the counter medications so that I have an open one, one on the shelf and one extra to put up then rotate through as they get used up. That way I never have to panic and run to an all night pharmacy when the kids wake up sick.
I use the same stocking system when it comes to other non perishables, such as the cleaning supplies I bought for March spring cleaning.
Its beginning to look like a greenhouse in my living room (the only place with good lighting) with seedlings and pots of dirt everywhere. I’ve also started foraging for early spring plants as they’re popping up everywhere and in large, sustainable amounts.
What did you get up to in March? Have you started seeds? Did you take advantage of the sales related to the holidays? Do you now have pounds and pounds of chocolate?
Make sure to follow us on social media to keep up with everything that doesn’t necessarily make it to the blog!

Seed bombs!
Here’s a fun little project you can do with your little preppers! Seed bombs are little balls made of seeds and growing medium. The ones we made were clay, soil and seeds.
You need:
4 parts air dry clay (found here)
1 part potting soil
1 part seeds
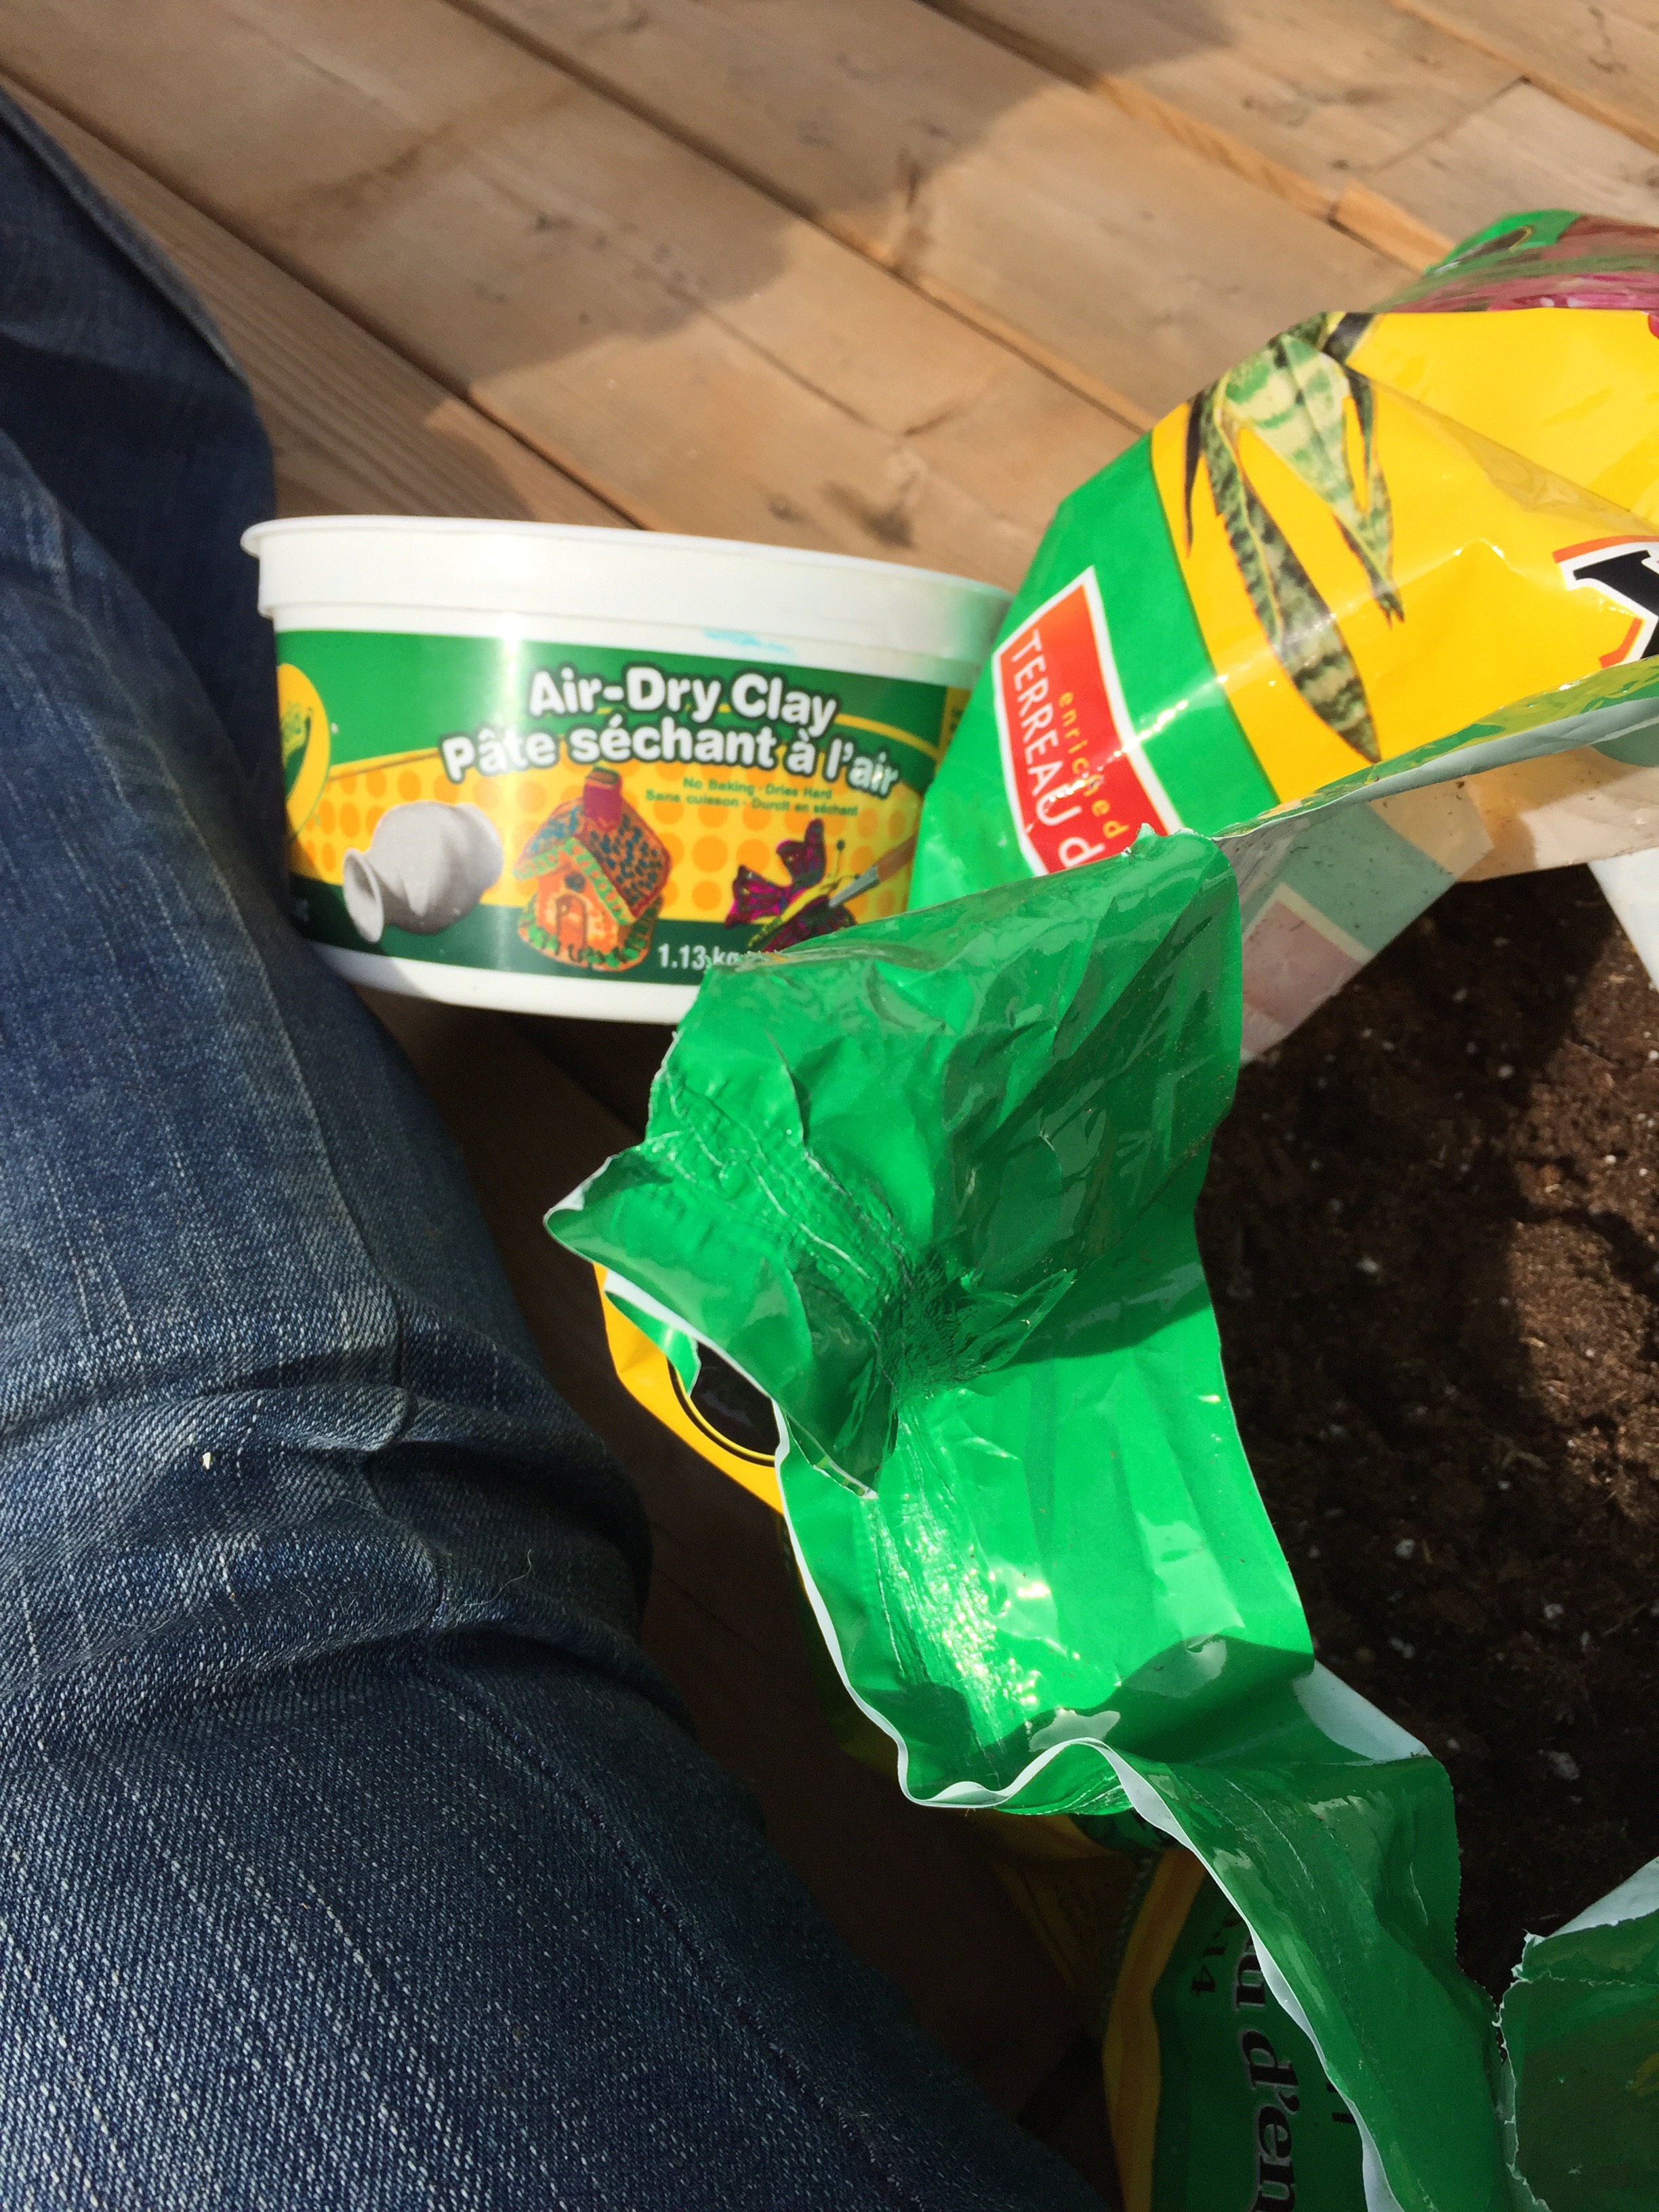
Mix your clay so that its pliable, add in your soil and then add in your seeds. We made two types of seed bombs: one with local edible and medicinal herbs and the other with wild flowers.

Let them dry 24 hours and then spread them around! A great way to beautify (or make usable and an additional prep!) an empty space!
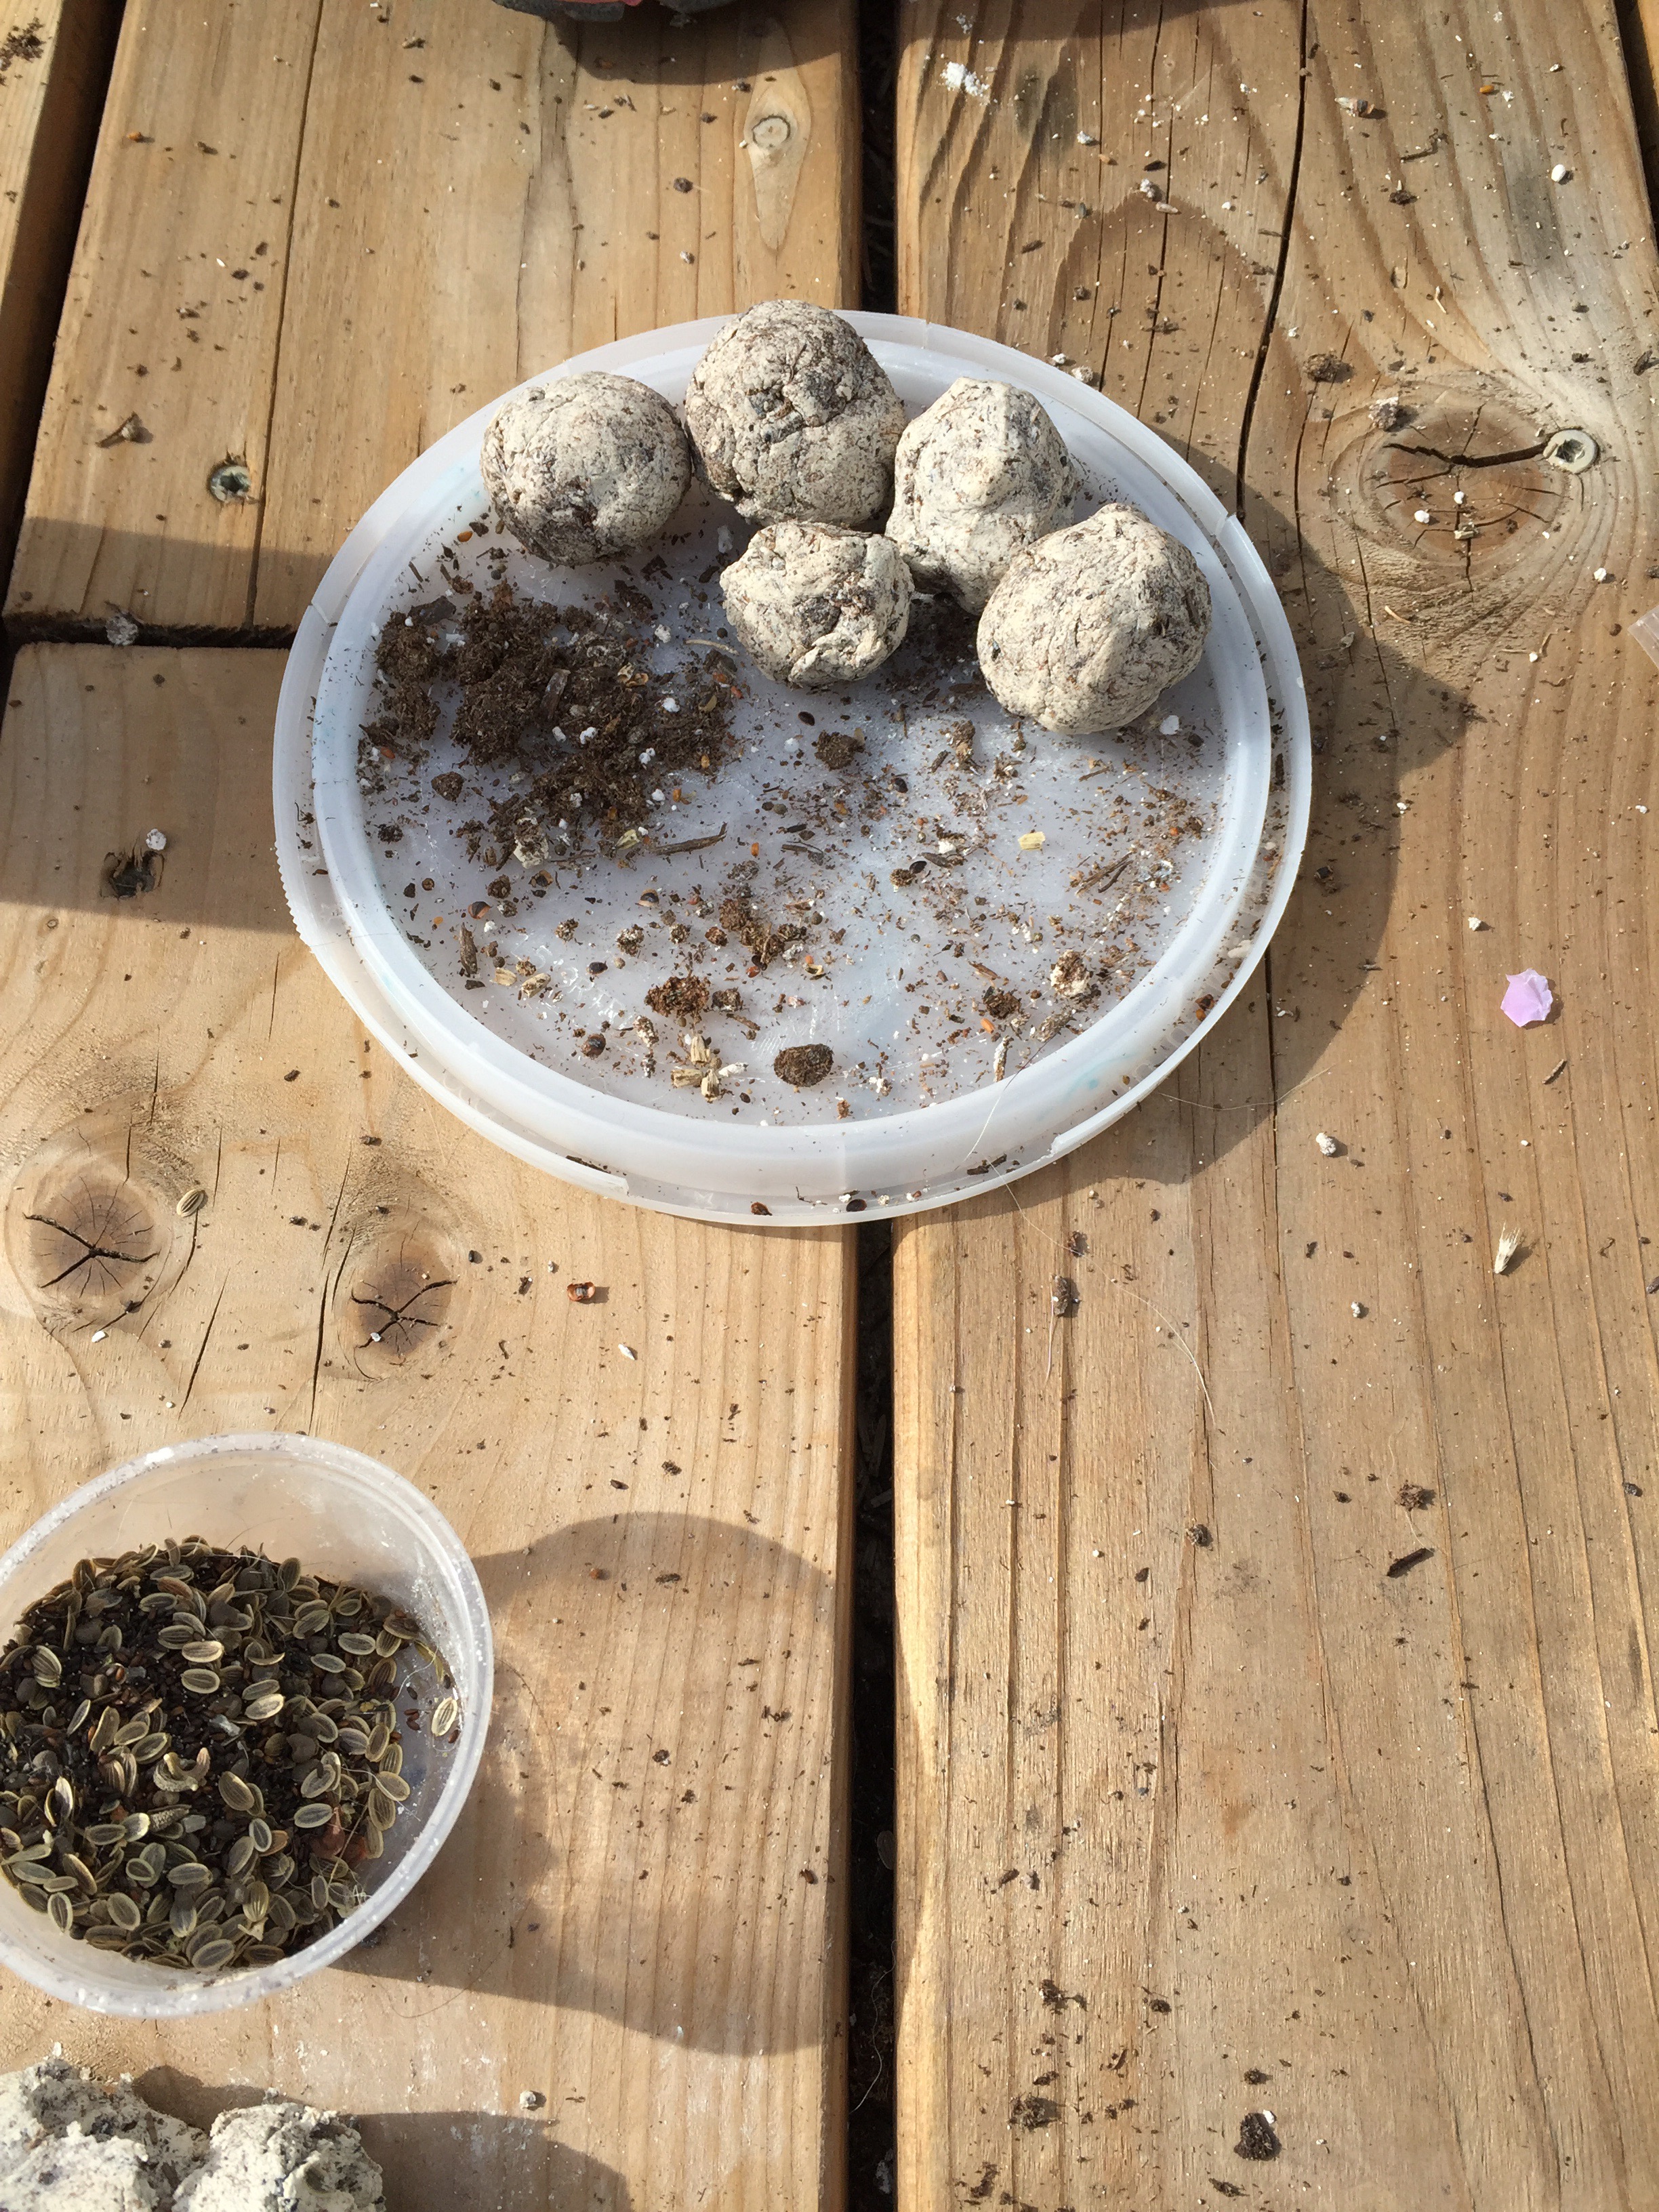 Here’s the ones the kids did!
Love the idea, don’t have the time? These things seem to be popular on etsy and you can find them there (including my shop soon!). Get out there and guerrilla garden!
Newsprint and the Prepper
I use newsprint for a lot of projects around the house. We get two sets of advertisements and local news once a week and it adds up to a lot of paper. Over the summer I use this paper to start fires but here are three things I do with it in the other seasons.
1.) Shred: I save my flyers for about a month and then spend an hour shredding them (by hand). I keep my shreds in a tupper bin until the summer time when I make them into paper bricks for the fire. I got my paper brick maker from Lehmans (www.lehmans.com) This is an easy and free way to have heat and cooking material.
2.) Spread: Once spring comes and I re-dig my garden beds, I spread newsprint on the bottom. This keeps the weeds to a minimum by suffocating them. By the time the papers disintegrate, the weeds have been killed. I usually do a layer about 3 sheets of newsprint thick.
3.) Seed: I use newsprint to make little pots for starting my seeds. There are little gadgets you can get to help you do this (check here). They stand up fairly easy in my mini greenhouse and the roots have no trouble pushing their way through the wet paper. You can take the whole pot and put it in the ground as is.
Starting Seeds
Starting seeds doesn’t have to be rocket science. You don’t need green houses and heat lamps. Kindergarten children plant beans in their classrooms to learn about spring time.
All you need is a cup, some paper towels or napkins, some water and a window sill.
I use clear plastic party cups to start my seeds. I stuff a little bit of brown paper towel in the bottom and then add water. I let the paper towel absorb as much water as it can, then pour any extra out. I put two or three seeds in each cup then set the cup in a warm, sunny window sill. After a couple days to a week, the seeds should start showing some signs of life. If they haven’t, don’t give up, recently my cantaloupes took almost three weeks to start sprouting. Keep your paper towels moist (but don’t drown your little roots) and wait. Once your plant has developed a good size tap root (the biggest root in the middle that the other roots sprout from), carefully pull the plants out of the cups and put into some good quality potting soil until it’s warm enough to plant outside.
This is how we start the majority of our seeds. Currently we’ve got every window sill full of beans, peas, carrots, peppers, chilies, butternut squash, sunflowers, radishes, cucumbers and countless herbs. This is also great for any little helpers you might have hanging around (children, grandkids?), they usually get very excited to see their little projects grow.
I’ve personally used these seeds in the past and was very pleased with quality.

