Category Archives: recipes
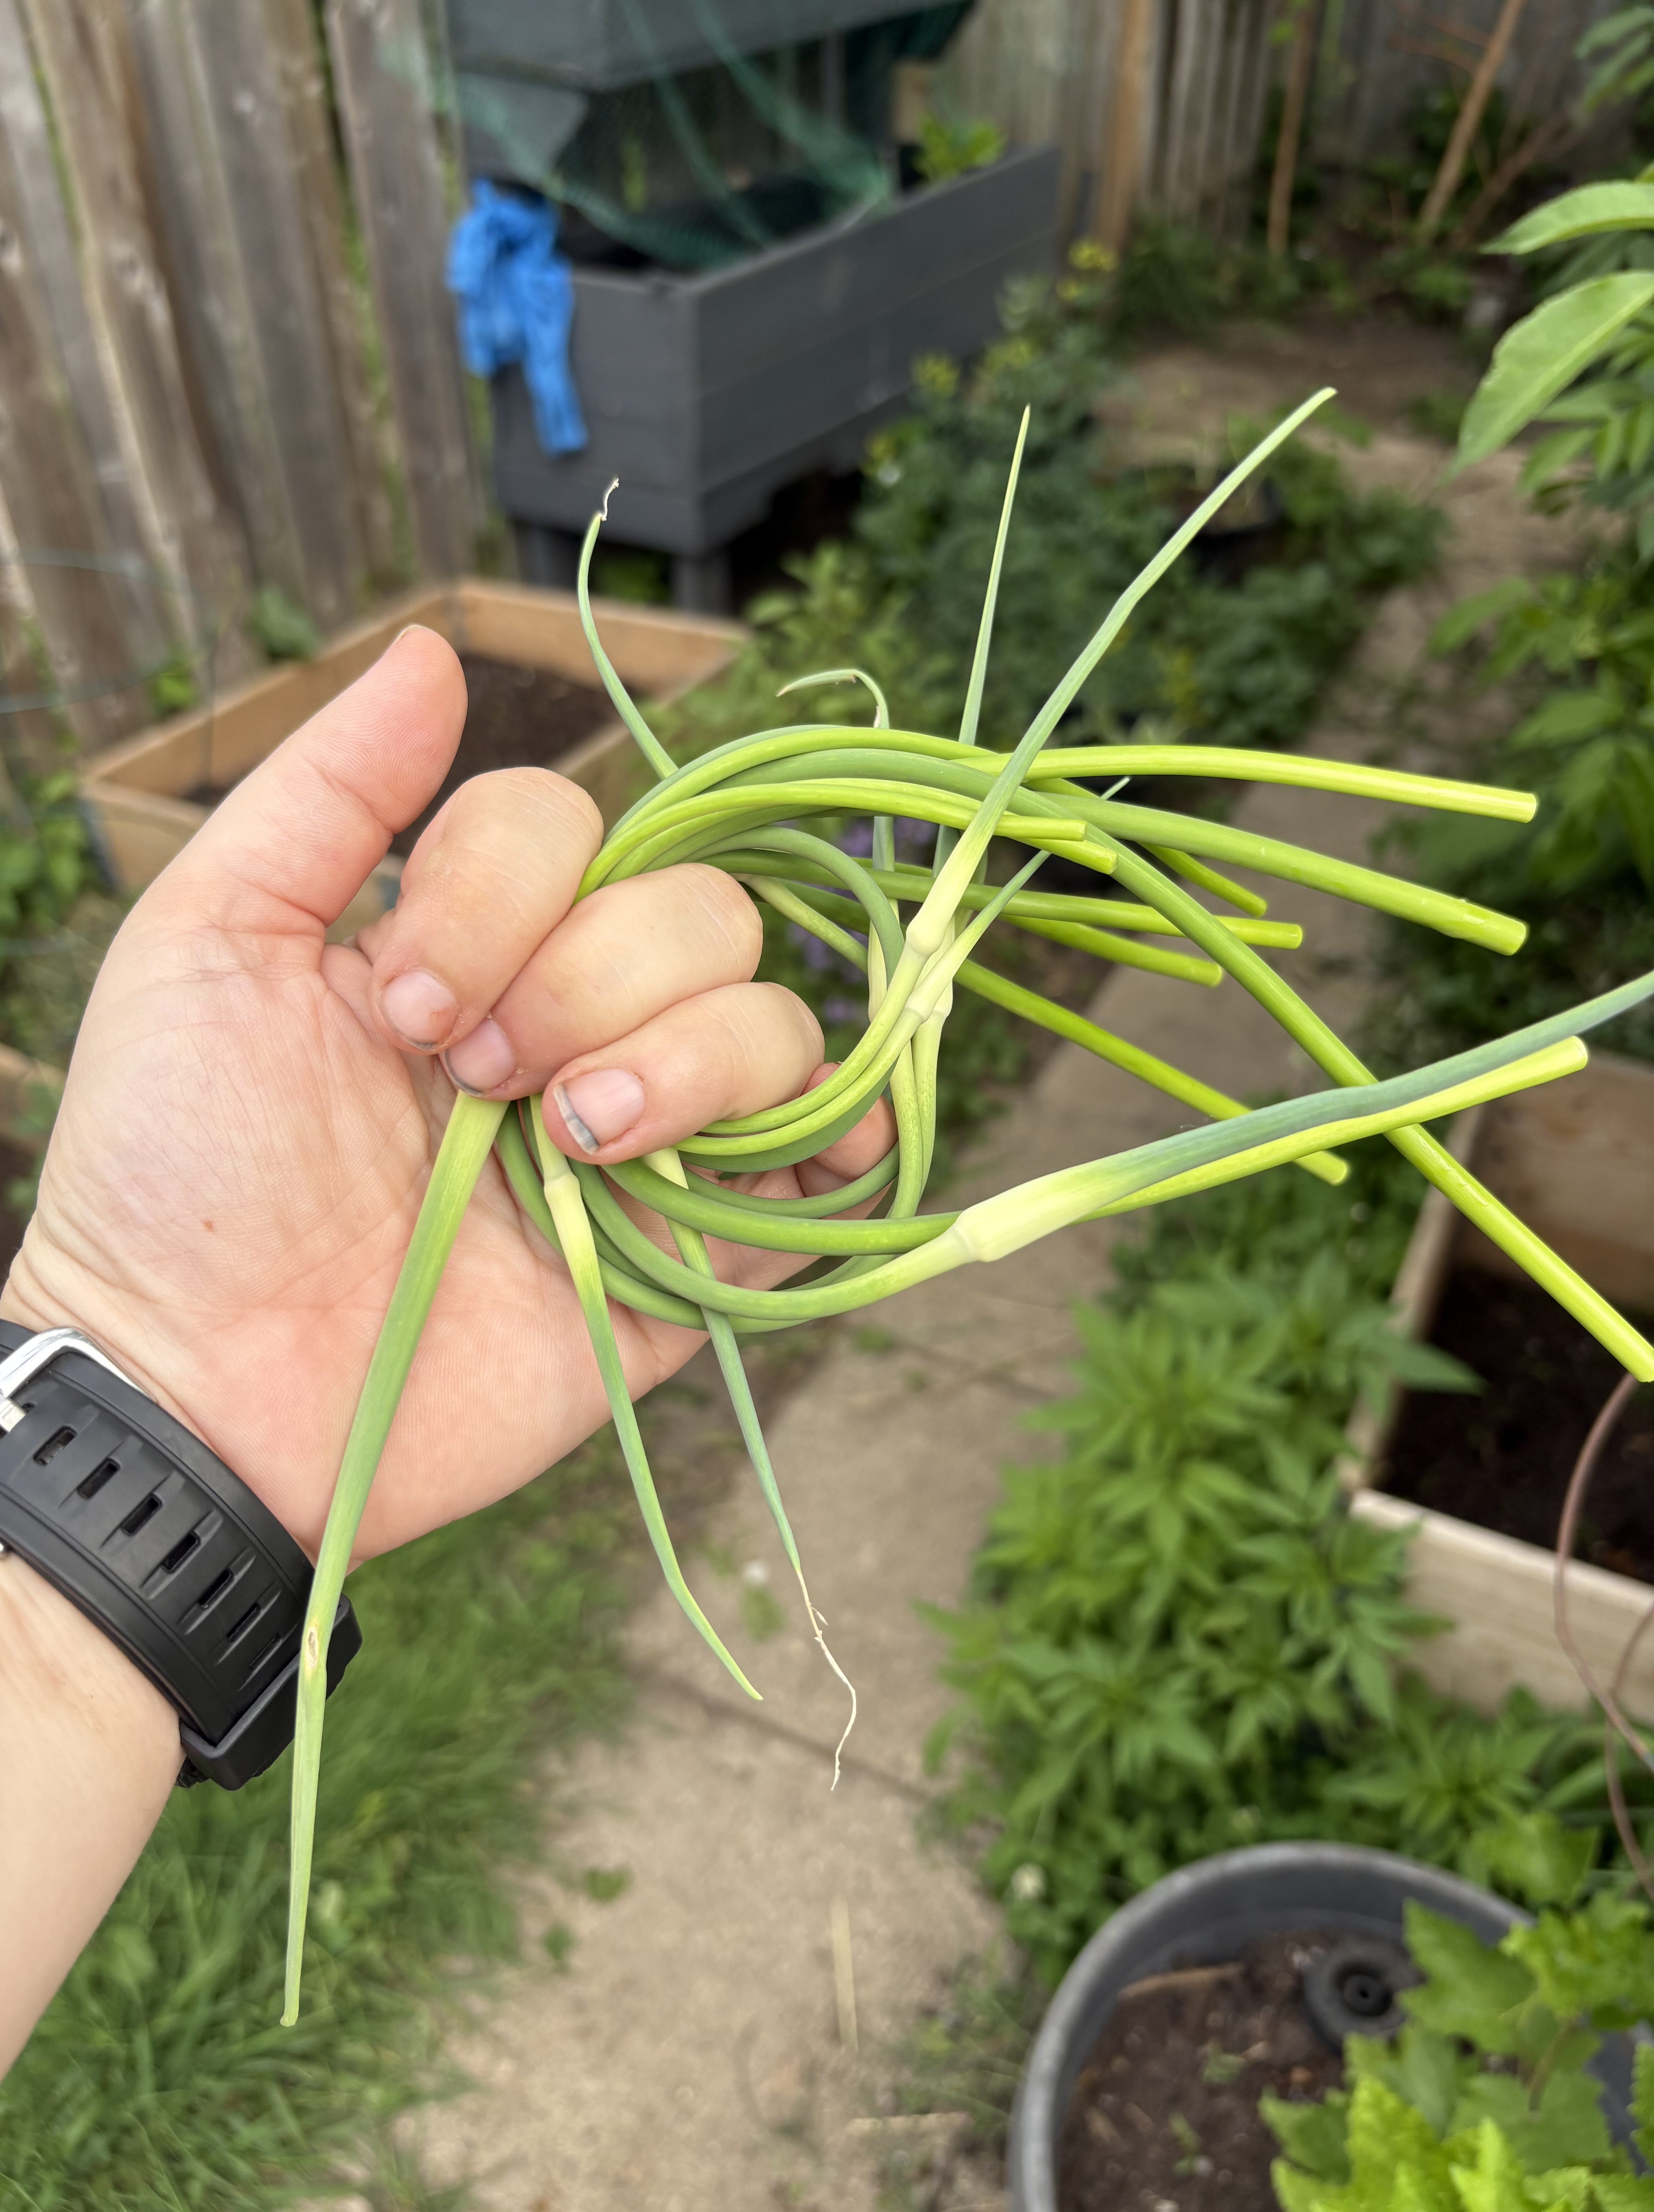
Garlic Scape Salt
It’s that time of year! Garlic scapes are so delicious, but after my freezer is full, and there’s still more coming, I make scape salt. It’s so easy.
Pick your scapes.
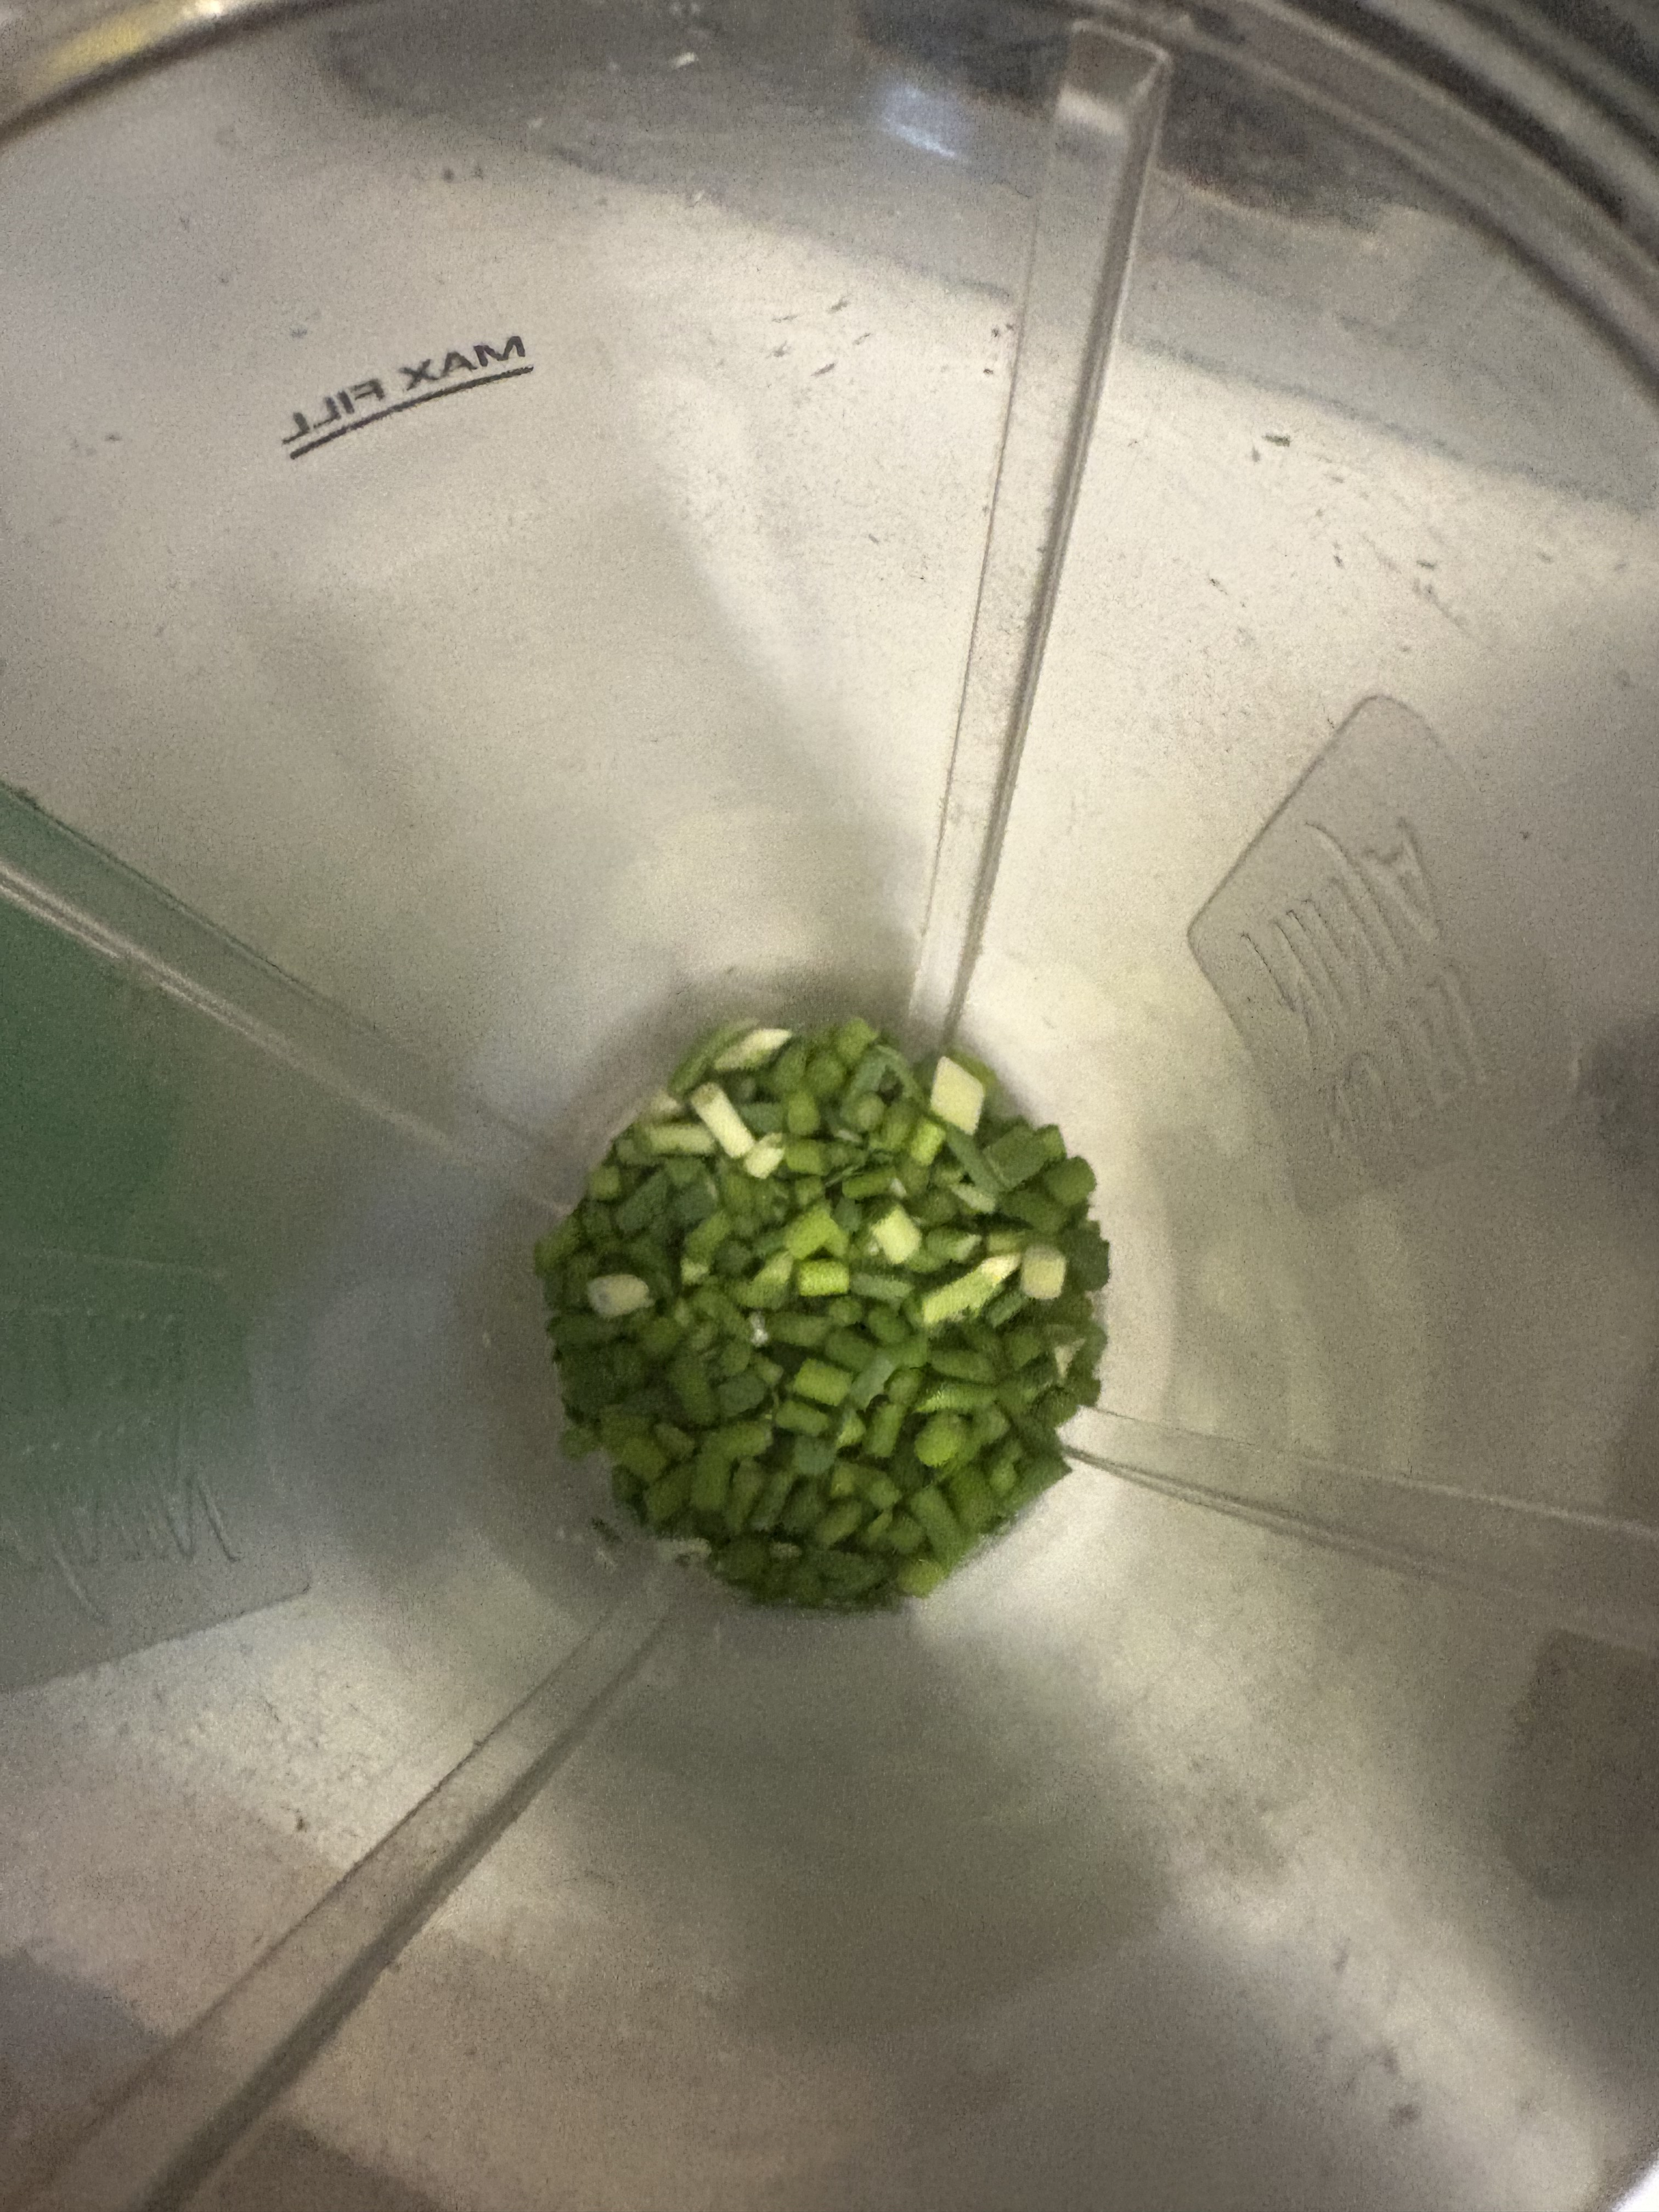
Throw them in the blender with salt (I used coarse sea salt).
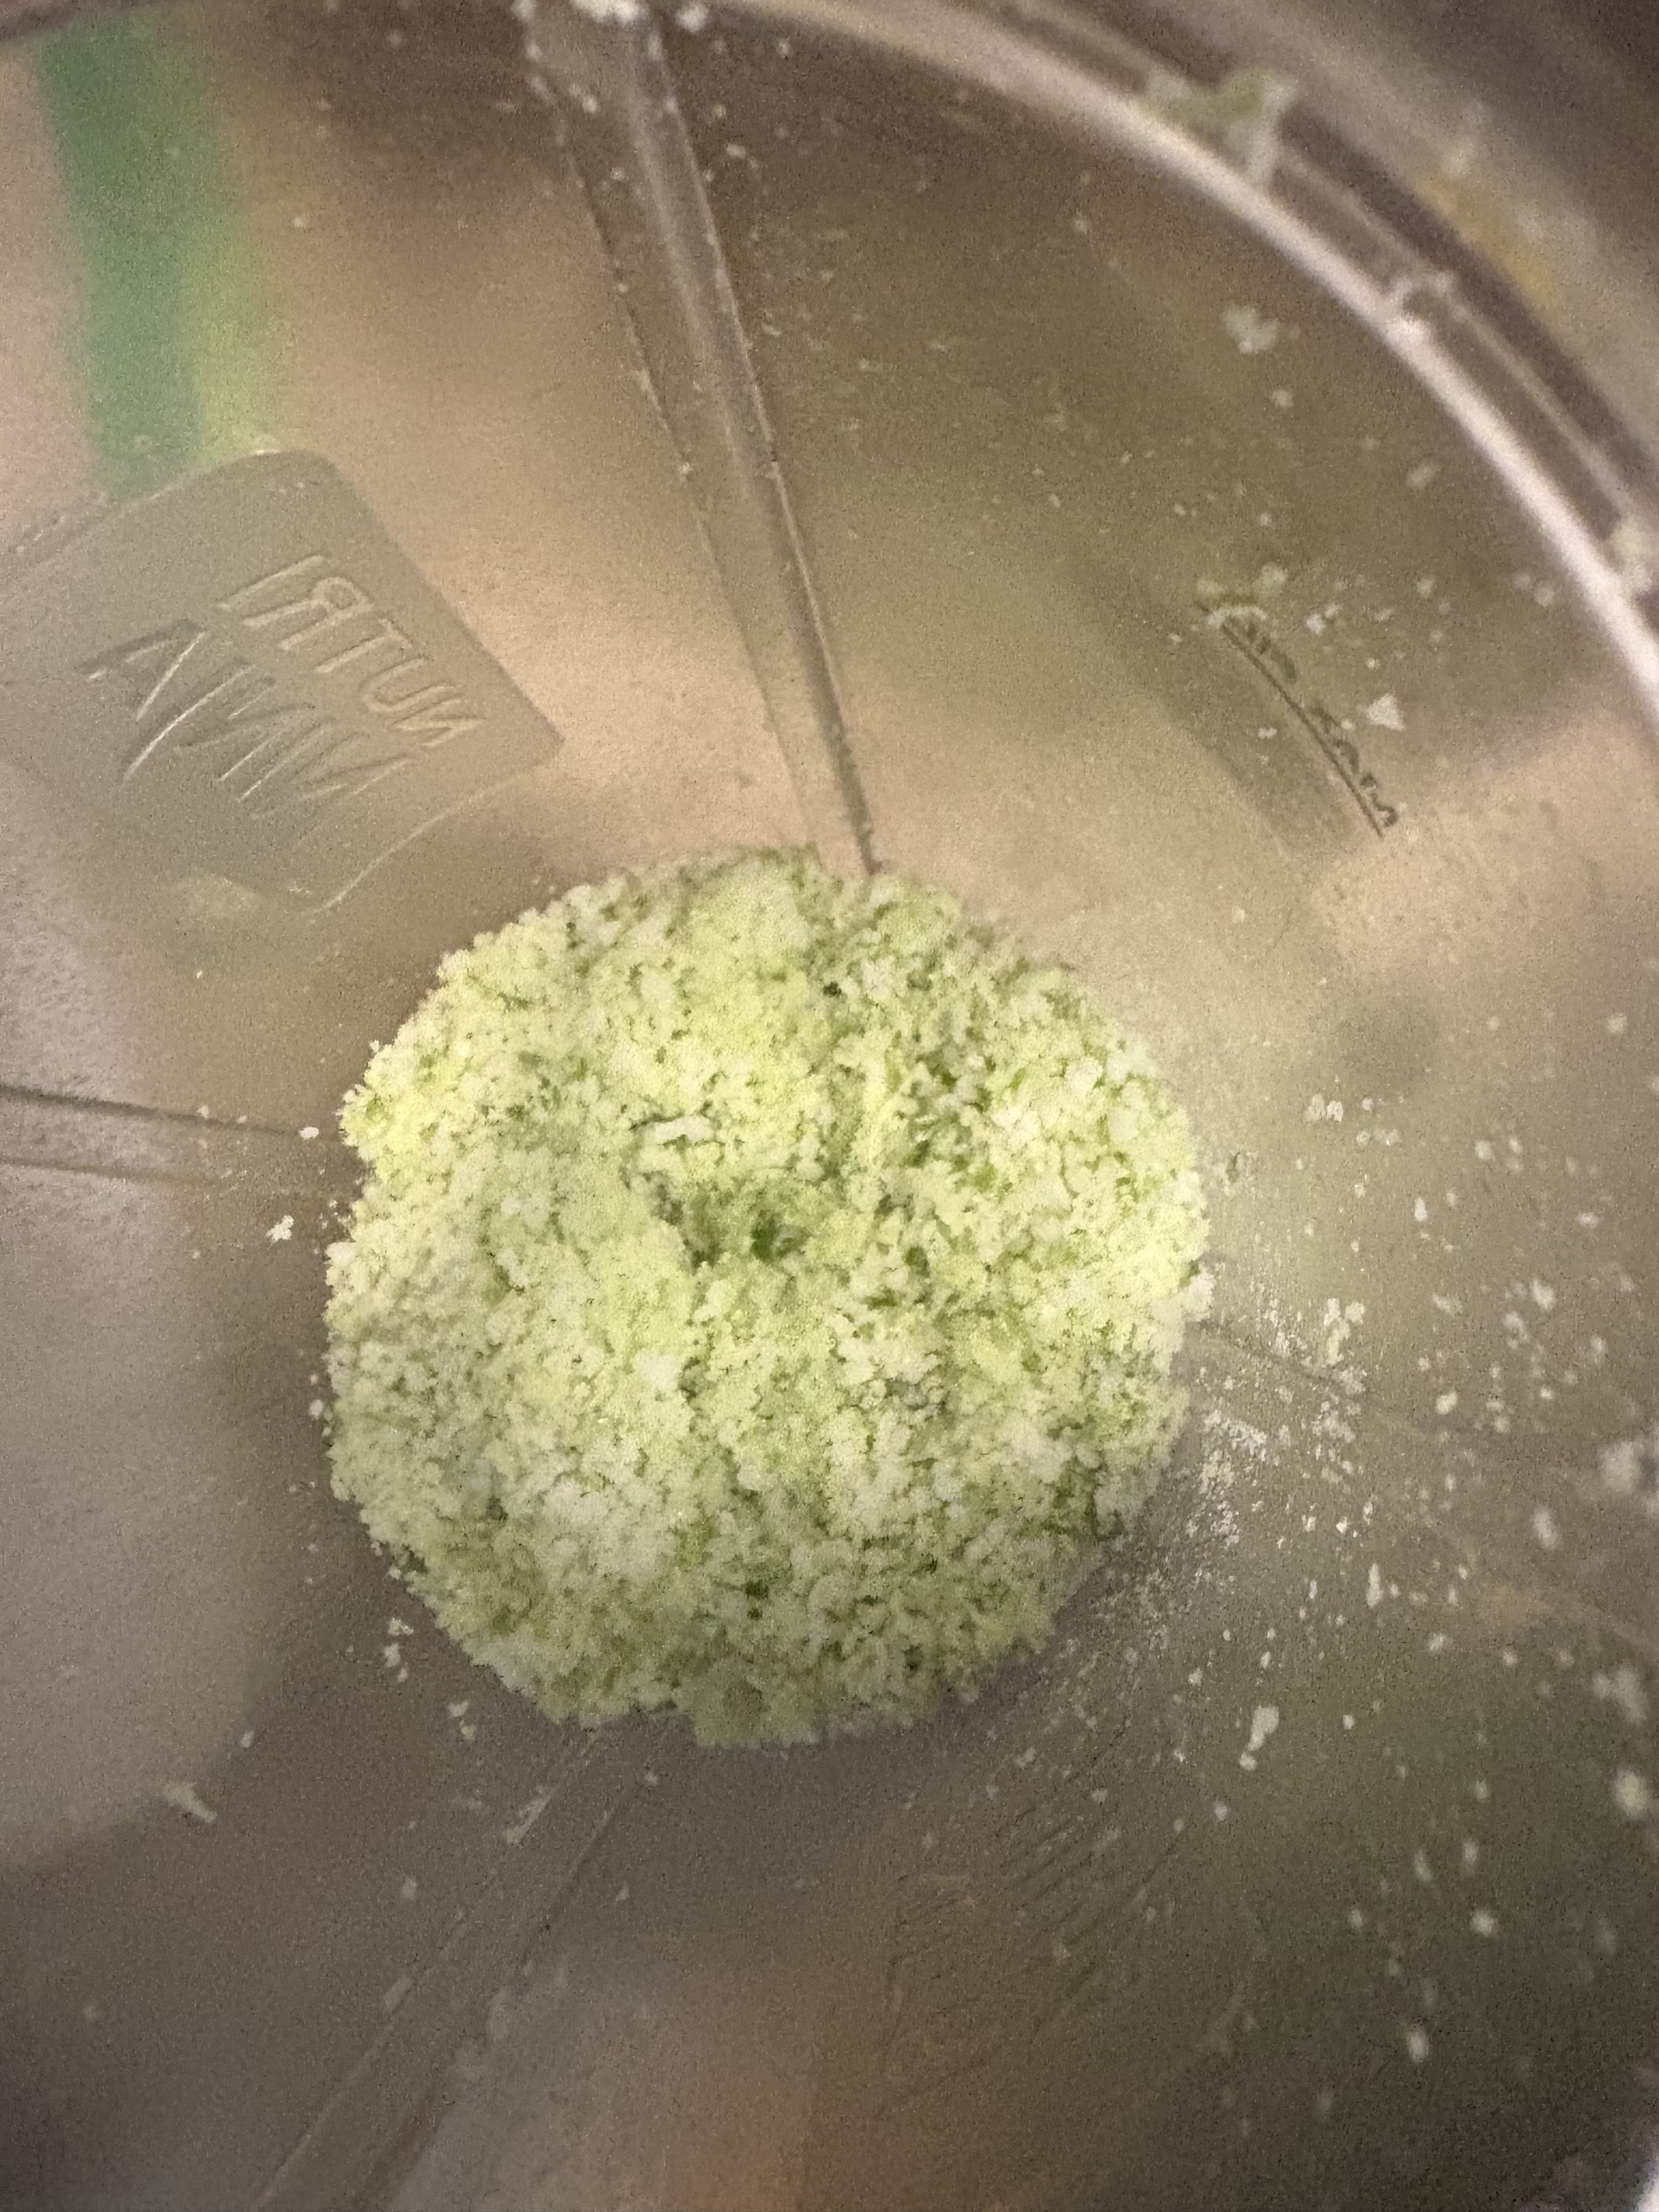
After they’re thoroughly blended, spread it out on a tray to dry a bit. Pack it into a jar and store in a cool dry place. Voila!
Homemade Play Dough
As 2020 rages on, I find myself looking for more activities to do with my kids. For the past 6 months we just kind of focused on making it day to day, doing some school work and some “home” work, such as gardening, baking, cooking and cleaning. Now that its time for school again, I’ve been trying to incorporate more education while keeping it fun.
Today we made play dough from scratch. I found this recipe online years ago and have kept a copy of it written in my books (so if its yours, let me know!). Making play dough can show children math and measurements (including fractions), you can play with colours to work in art subjects. It certainly counts as sensory play, digging your hands into the dough and kneading it.
I like this recipe because its very easy, contains ingredients I always have on hand, doesn’t include cooking and is totally non toxic. Here it is!
1 cup flour
1/2 cup salt
1/2 cup water
1 tablespoon vegetable oil
optional colours and/or scents (I use these cake colours, they’re much more vibrant but careful, they can stain clothes! https://amzn.to/2Rw5ML5 )
Mix your dry ingredients in a bowl and set aside. Mix your oil and water in a cup and slowly incorporate the wet ingredients into the dry. Add a few drops of food colouring (and/or your skin safe scents) and mix until your dough starts to form. Knead the dough for 5 minutes until its smooth. If your colours aren’t bright enough you can add a few more drops and work it in well. Store in a ziploc bag to keep from hardening.
Like I said above, I like that this is a non toxic recipe and I make sure to use safe for consumption essential oils so if my animals accidentally get into it I don’t have to worry. (My kids are a little too big to be putting stuff in their mouths anymore but you never know!)
Let me know if you try it! Don’t forget to follow me on Instagram @burroakburrow
Chive Blossom Vinegar
Every year I have a bumper crop of chives, regardless of the weather. I’ve started using the blossoms as I can’t possibly eat all the chives themselves, especially if I let them spread their seeds everywhere. My favorite way of using the flowers is making flavored vinegar.
Here’s a quick video we made:

Simply fill a mason jar with the fresh beautiful flowers and top off the jar with white vinegar. (If you want to get fancy, white wine vinegar is amazing in this.) Let the jar sit in a dark place for a couple weeks. When the vinegar is a pretty pink color, it is ready to use. Strain out the blossoms and use the vinegar on everything! Its got an awesome light onion flavor, it tastes so good on salads, raw veggies or anything potato.
Let me know if you try it!
Supplies:
Jars (https://amzn.to/2UrfDTh )
Chive seeds ( https://amzn.to/2yWd3hq )
Vinegar

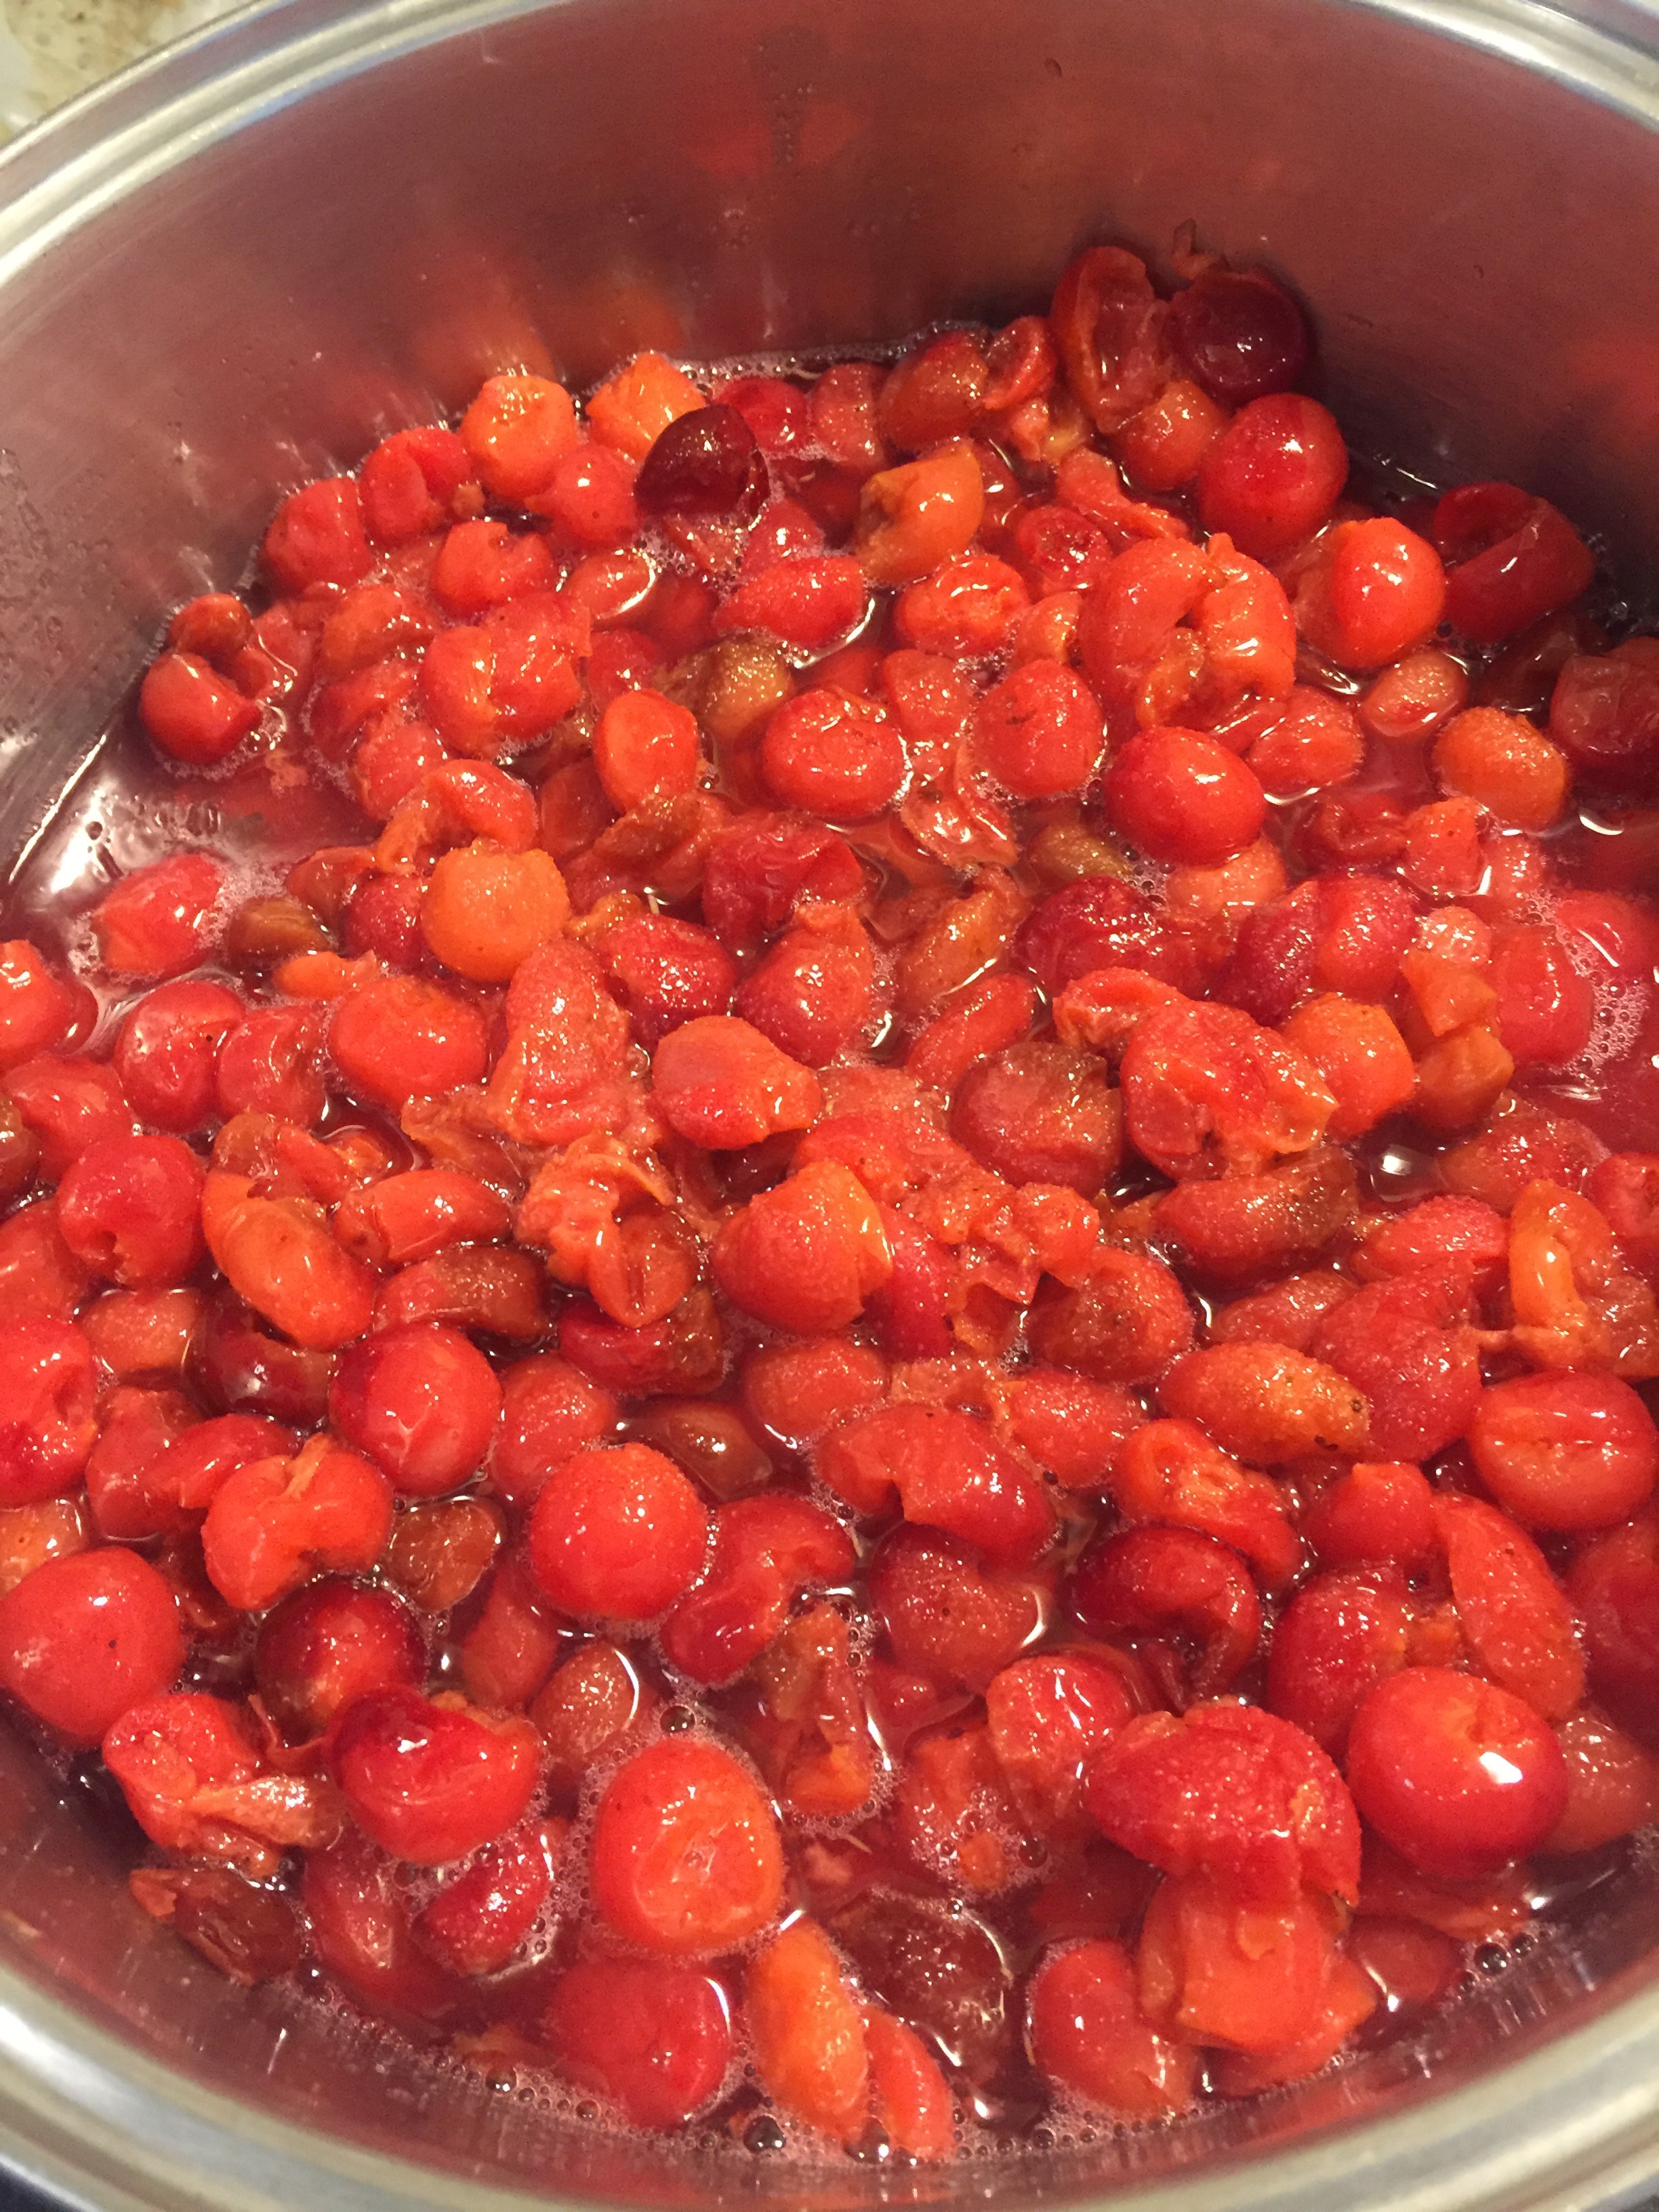
Sour Cherries
Hey! I was lucky enough to find a sour cherry tree in my neighbourhood. So I took the kids and we loaded up. 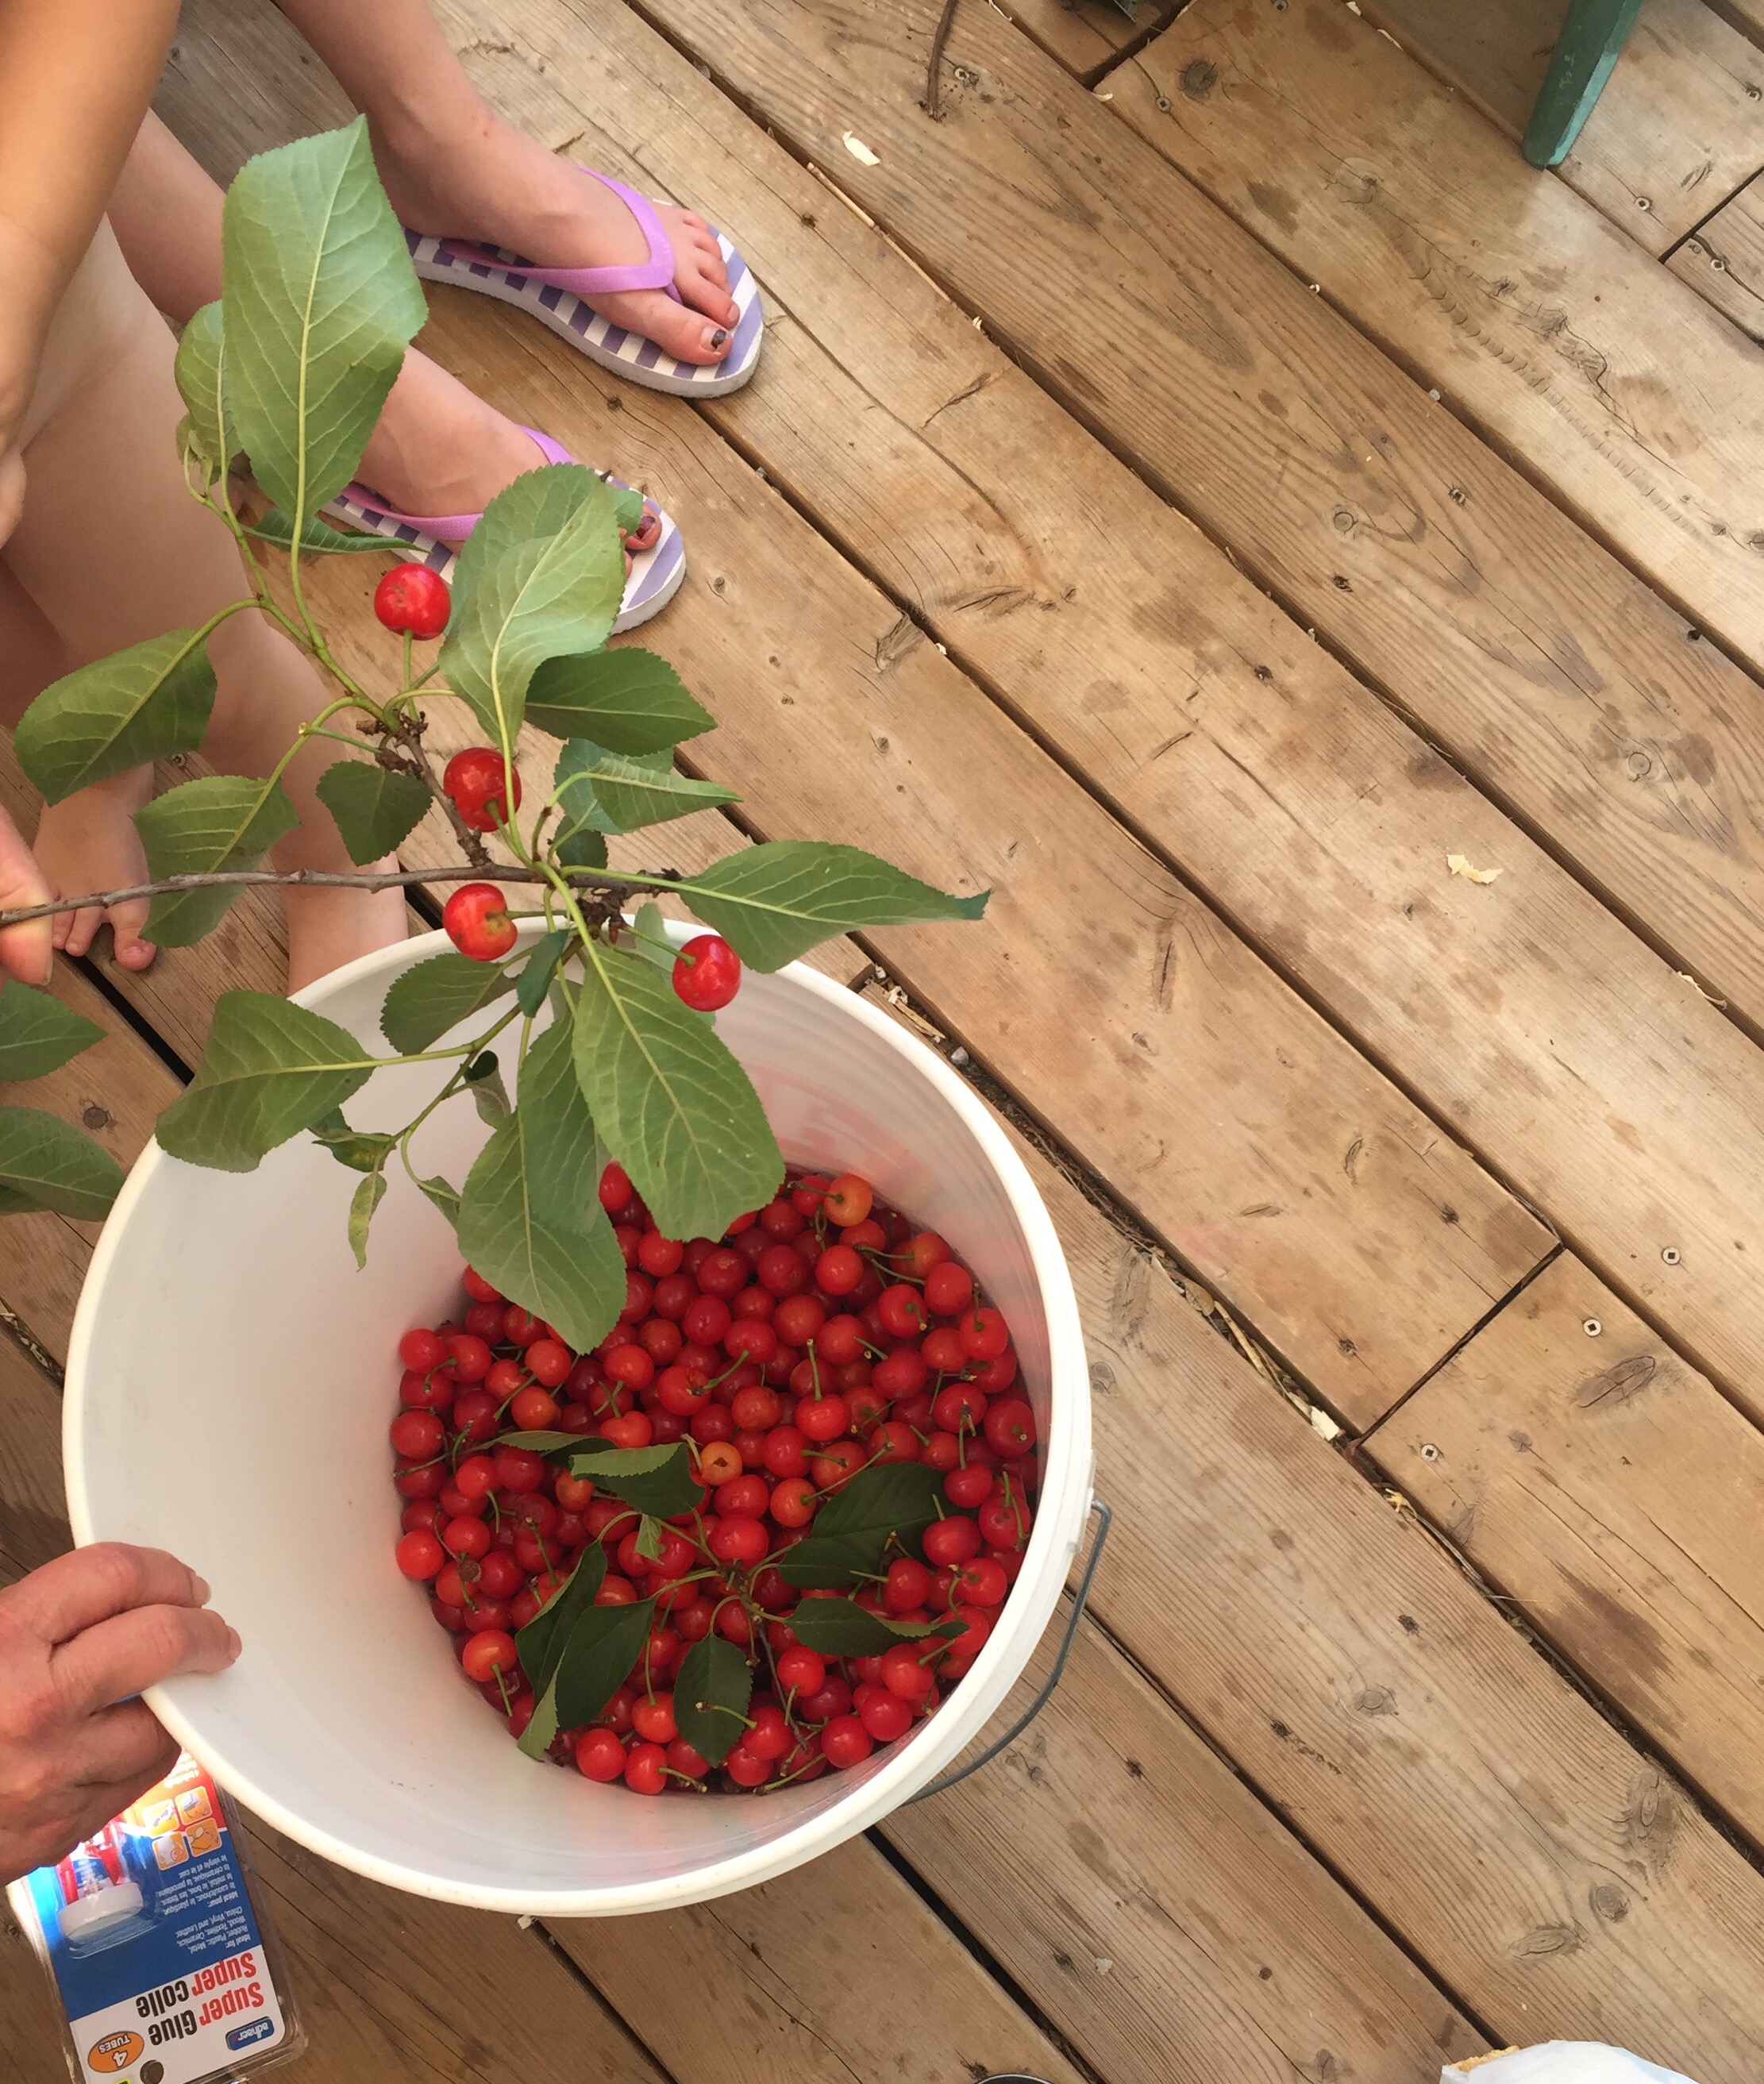
We got a good amount in a short amount of time. The trees are almost always full of fruit because people try one, thinking they’re regular cherries and don’t like them due to the sourness.
I had enough to make jam so I tried a new recipe. It didn’t set for me but next time I’ll either add pectin or boil longer. It’s still delicious and is being used in drinks and on ice cream.
I took 12 cups of pitted sour cherries and 5 cups of white sugar. Bring to a boil and left it boiling heavily for about an hour while my jars (8 250 ml jars) were in a hot water bath.
At this point I’d recommend testing for viscosity by taking out a bit and doing the wrinkle test.
I was impatient I guess and just canned it at that point. I left 1″ headspace in my jars and then boiled the jars for 10 minutes. They then sat on the counter for 24 hours while they sealed and cooled.
If you didn’t want to go this route, sour cherries are also good dehydrated with a bit of sugar, or frozen and added to baked goods.

Using the Tomato Harvest: Salsa!
Every year, I make my own salsa and can it. Every year I make more than the previous year and I still haven’t managed to be able to make it last over the winter. My vegetables this year in the garden did terribly, so when I saw that the grocery store had 50 lbs of tomatoes on for $10, I jumped all over that chance.
Here’s my favorite salsa recipe. I got it originally from my friend Judy (may she rest in peace) and altered it because she doesn’t add nearly enough heat for my family.
Salsa:
8 cups of Roma tomatoes (peeled and chopped)
4 cups onions, chopped
4 cups sweet peppers, chopped
1/4 cup vinegar
5 cloves garlic (or to taste)
Jalepeno pepper or to taste (I usually add a lot of jalepenos and Thai chilies but we like it really spicy)
1/4 to 1/2 tsp oregano (to taste)
1/2 tsp coriander
2-3 tbsp salt
Cook until veggies are done then add a small can of tomato paste. Cook for another
5-10 minutes then put into sterilized jars. Place your filled jars in a water bath canner and process for 20 minutes.
Home canned foods can last a long time but are usually best if consumed within a year to 18 months of canning.

Strawberry Jam – no pectin
Strawberry jam is a yearly occurrence in our house. Everyone loves strawberries (so much in fact that last year when I purchased two flats of strawberries, they were gone in a few days before I could make the jam). I always use local strawberries because the flavor is amazing (so much more so than berries that have ripened on a truck).
This is the recipe my grandmother used, I’m pretty sure it’s the Bernardin recipe, so clearly I don’t own it.
Place 8 250ml size jars (available here) on a rack in a water canner and heat to a simmer (make sure water is covering the jars). Heat snap lids separately. Keep hot until ready for use.
Bring mixture of 8 cups strawberries (crushed), 6 cups sugar and 1/3 cup lemon juice to a boil slowly. (make sure sugar is dissolved so it doesn’t stick to the bottom). Boil for about 30 minutes or until the mixture thickens and passes the ‘gelling test’. (Coat a spoon with the jam and move it away from your pot, watch the jam slide off the spoon, if it falls in chunks instead of drips, its ready).
Pour your hot jam into the hot jars leaving a quarter inch of headspace. Keep your rims clean! Place your snap lid on the jar and screw the band on until finger tight. Boil filled jam jars for 10 minutes. Pull out and let sit for 24 hours (do not move them).
Traditionally, items canned like this last for about a year (not exactly long-term food storage) but I’ve used them after the year has come and gone.

Dehydrating Onions
Onions are such a versatile vegetable. They are cheap and add so much flavor, just about any savory recipe is better when onions are added. Dehydrating onions is quick and easy.
Begin by chopping your onions to the desired size. I usually do large flakes so the pieces don’t fall through the holes on my dehydrator but you could always mince them. Try to remove the thin pieces of skin that clings between the layers. (You can get a dehydrator like mine here)
Dunk your onion pieces into boiling water for about 30 seconds to a minute. They will turn slightly translucent when they are ready and they will be softer. Put them in a strainer and run cold water over them to stop the cooking process.
Pat the pieces dry with some paper towel and remove any extra bits of the skin (which will now be mushy and easy to remove). Arrange the pieces in a single layer on your dehydrator and turn it on.
My dehydrator doesn’t have a temperature control so I just let it run for about 5 hours to have the onions as dry as I need them. They end up paper thin. Recommended temperature for dehydrating vegetables is 135°. I recommend dehydrating these outdoors unless you want your house smelling like an onion factory.
Now here’s a recipe you can use your onions for:
Dry Onion Soup Mix
1 cup dehydrated onion flakes
1/3 c bouillon
1/4 tsp sugar
1 tsp parsley
Store the ingredients in an airtight jar until ready for use. I also like to throw in some other dehydrated veggies (carrots, garlic, celery and whatever else catches your fancy.) To make into soup, add 4 c of water, or for dip, add to a tub of sour cream.

Dehydrating Broccoli and Using It
To dehydrate broccoli, first cut it into bite sized pieces and blanch for about a minute in boiling water. This will help to maintain the green color (otherwise it goes a nasty brown). Plunge the hot broccoli into some cold or iced water to stop the cooking process. Drain to get as much water off as possible. I then spray with a bit of lemon juice (also helps the green color). Place on your dehydrator trays (not touching otherwise you get damp spots). It usually takes my dehydrator about 6 to 8 hours to dehydrate broccoli. Store as you would other dehydrated foods. Here is the dehydrator I use: (Excalibur Dehydrator)
To use your broccoli, here’s a simple but tasty broccoli soup recipe using things that are probably already in your food storage.
Broccoli Soup
3 cups chicken broth (approx 2 cans. You can also use water or water with bouillon cubes)
5 cups rehydrated (or fresh) broccoli (approx 2.5 cups dehydrated)
1.5 cups fresh (or rehydrated) onions (approx 3/4 cups dehydrated)
2 bay leaves
6 tbsp butter (can also use canned butter or butter powder)
7 tbsp flour
3 cups milk (can use reconstituted powdered milk)
Bring chicken broth (or water etc) to a boil. Add broccoli, onions and bay leaves. Reduce heat and simmer until broccoli is tender. Remember to remove your bay leaves.
In a separate saucepan melt butter and stir in your flour to make a roux (paste). Slowly stir in the milk and incorporate it into the roux. Cook until thickened. Add your broccoli mix slowly. Heat and stir until thick.
If you have no butter and flour to make a roux you can also thicken your soup with cornstarch (make sure it boils to cook out the cornstarch) or potato flakes.

