Blog Archives

March Stock Up
March has so many different holidays in many cultures so there is all sorts of basic ingredients on sale! What better time to stock up?
For holidays we have (in order) Ramadan, Purim, St Patrick’s Day, Holi, Palm Sunday and Easter. In addition to the items on the stock up list, which is fairly generic, you can also find on sale lots of dried fruits, nuts and seeds. Corned beef and cabbage should be on sale near the middle of the month (and cabbage dehydrates wonderfully). Of course with Easter there’s mountains of sweets and hopefully we will see turkey or ham be on sale.
Additionally it’s a good time to grab oxygen absorbers, candles and garden seeds.


Dehydrating Apples
I try never to waste food, but especially right now during the Covid-19 pandemic, it’s not so simple to just go to the store.
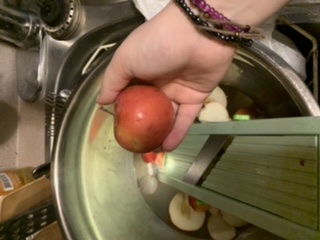
I had a bag of apples that the kids just weren’t eating fast enough so I decided to dehydrate them before they went bad (they were already on the soft side).
I used a mandolin slicer (you can get the same one here) to slice the apples thinly. I put them in water with a bit of lemon juice while slicing to keep them from turning brown.
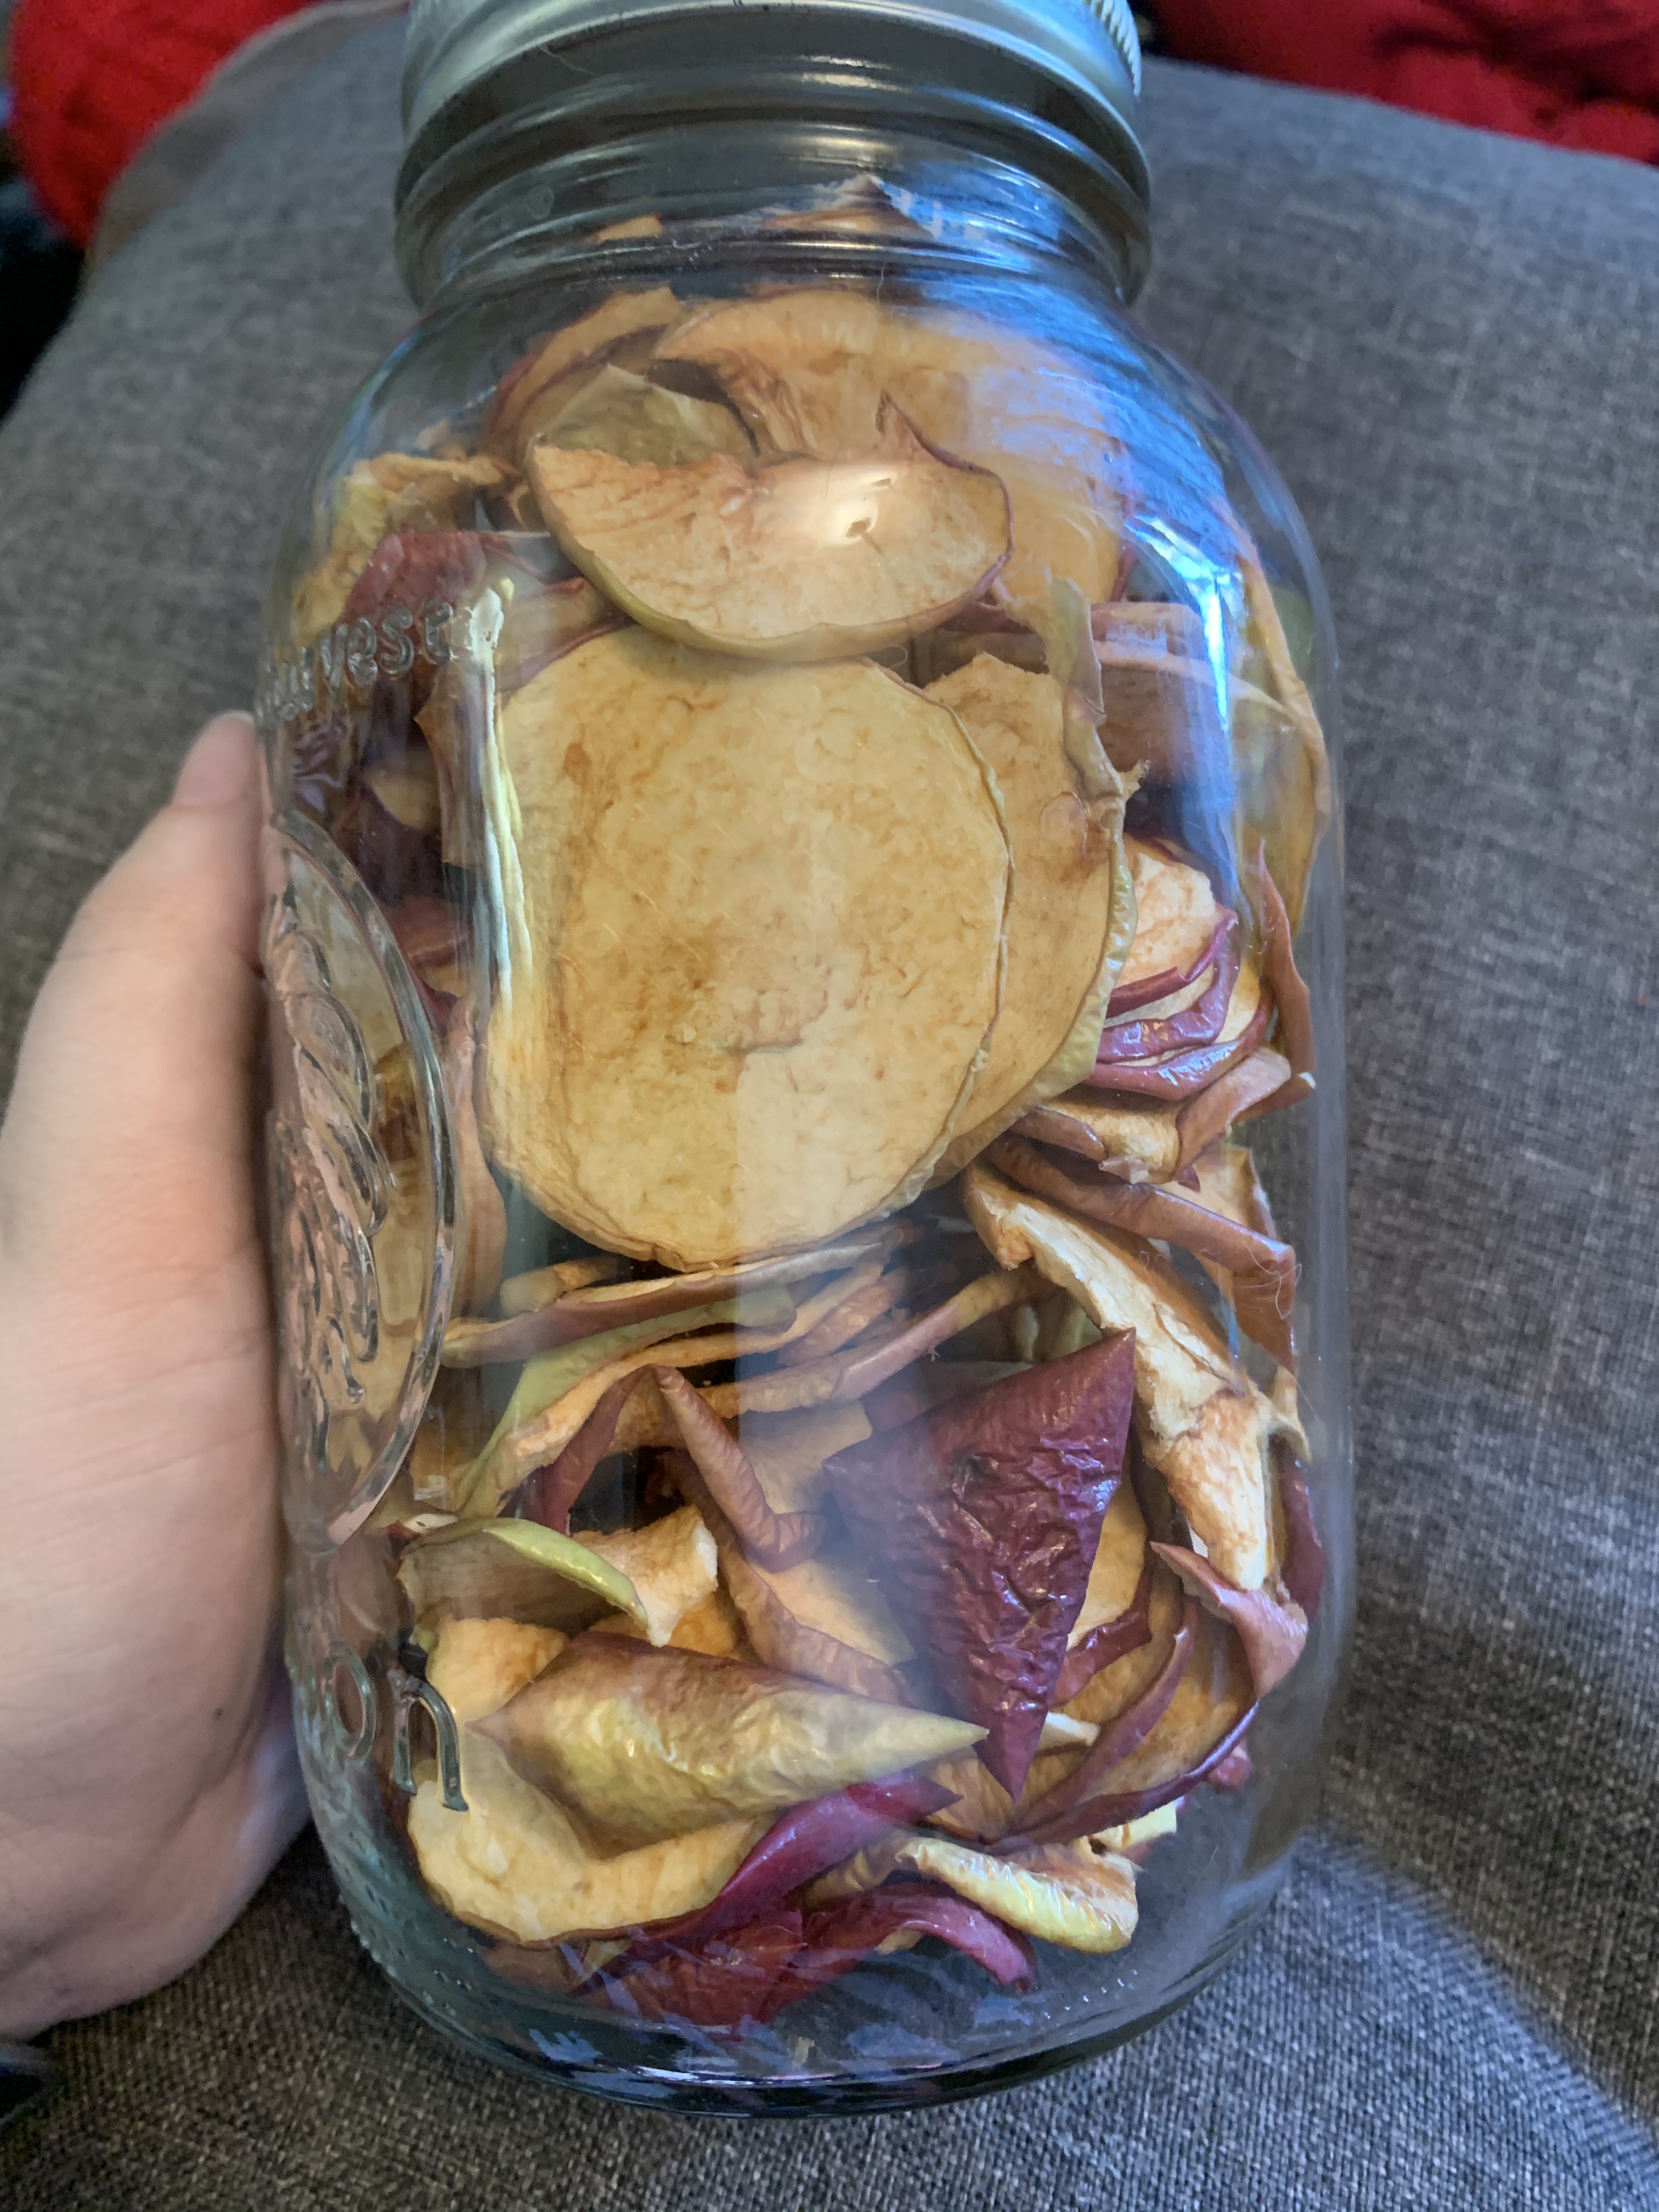
I then spread them out on my dehydrator and turned it on low for about 12 hours. I like to add the chips to muffins and loaves but you could also rehydrate them and turn them into apple sauce. My dog likes to eat them as treats and they’re a lot healthier than some other treat options.
To store, I put them in a mason jar with an oxygen absorber. You could also vacuum seal them but I don’t expect mine to hang around too long as I’m already planning ways to use them.

Dehydrating Turnip
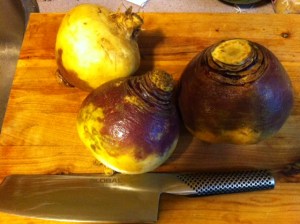
Turnips, along with most other root vegetables, are fairly cheap and easy to dehydrate. This time of year, they are very easy to find and usually on sale.
Wash and peel your turnips

Slice into thin pieces, the easiest way to do this is to use a mandolin slicer.
You can then blanch them (I don’t blanch my turnips) and then place them on your trays.
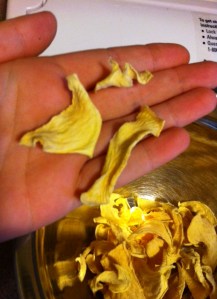
I leave them on overnight at 125 F to make turnip chips. You can eat these as is. They are great with dips as well. Or you can rehydrate them and use them as you would fresh turnips. Try putting the dehydrated pieces in soups and stews.
Preserving Corn (While We Can Afford To)
Thanks to the weather conditions all over North America, crops are failing at alarming rates, especially corn. The price of corn has sky rocketed and I can only assume will continue to do so. Corn is of course animal feed but it is also a major ingredient in just about everything we buy today. I went to the farmers market and was asked to buy corn for $5 a dozen (this of course is locally grown but not organic). Later that same week, corn was on sale at the grocery store for $2 for 10 cobs. I grabbed as much of the $2 corn as I could (it also happened to be local).
You can freeze a cob of corn as is. No prep. Don’t shuck it or cook it, just throw it in the freezer (although I usually look for bugs and give it a rinse first). To cook your frozen cobs of corn, you can cook them with the husks on (takes a bit longer) or you can husk them while frozen and just throw the frozen corn in the boiling water just like you would if it was raw. The corn is best if used before 8-12 months in the freezer.
Corn can be canned using a pressure canner. Because it is a low acid food, you cannot properly can corn in a water bath canner. Make sure you use an USDA approved corn canning recipe.
The easiest and most space effective way for me to preserve corn is of course my ever faithful dehydrator (which you can purchase here). To do this, you can cook your corn as if you were going to eat it. Once it is cool to the touch, slice the corn off the cob. Break up the little pieces of corn and spread it out on your dehydrator trays. It takes around 6 hours (or more depending on the humidity in your area) for the corn to dry. I find frozen bagged niblets of corn dehydrate a lot faster (and sometimes nicer) than your own cobs. Once it is dehydrated, you can enjoy it as is for a snack. It is sweet and crunchy (make sure you drink lots of water). You can also grind it into corn meal or corn flour. You can add it, as is, to soup or stews.
I’m personally going to do as much as I can. There has been rumor of the cost of corn going up to $9 a bushel in some areas.
Make sure to store your dehydrated corn in a cool, dry area in a airtight container.

10 cobs of corn fit into one standard sandwich bag when dehydrated
Dehydrating Citrus – and Why It’s Important
Vitamin C is a very important nutrient that seems to be lacking in a lot of survival foods. Getting enough vitamin C is vital in an emergency situation. It is necessary for collagen synthesis (collagen is what heals your wounds, and knits the skin back together), without it your new wounds may not heal properly and older cuts may start to fall apart.
Enough vitamin C can cut back on how often you get colds and flus and cut back on how much they affect you. It can also delay the onset of certain neurological disorders such as Alzheimers. It is essential for drug metabolism, helping medications to reach their full potential in your system.
Sources of vitamin C include: broccoli, sweet bell peppers, sprouts, kale, spinach, tomatoes, strawberries and of course citrus fruits. Citrus can be found easily and cheaply by almost everyone and it is so simple to dehydrate.
Pick nice, firm just ripened fruits. Cut into thin wheels (1/4″) and lay on your dehydrator trays. Using a temperature controlled dehydrator, set it to 125° F. It takes about 6-8 hours depending on the humidity in your area, it could also take more. (Here’s my dehydrator: https://amzn.to/39aoRbO )
To use your citrus, you can place it in glasses of water or juice to add flavor or you can powder the inner parts to make juice mix. Make sure to store your fruit in airtight containers in a cool dry environment.

dehydrated oranges
