Category Archives: dehydrating

March Stock Up
March has so many different holidays in many cultures so there is all sorts of basic ingredients on sale! What better time to stock up?
For holidays we have (in order) Ramadan, Purim, St Patrick’s Day, Holi, Palm Sunday and Easter. In addition to the items on the stock up list, which is fairly generic, you can also find on sale lots of dried fruits, nuts and seeds. Corned beef and cabbage should be on sale near the middle of the month (and cabbage dehydrates wonderfully). Of course with Easter there’s mountains of sweets and hopefully we will see turkey or ham be on sale.
Additionally it’s a good time to grab oxygen absorbers, candles and garden seeds.


January Stock up Update
January Stock Up Update
January had a big list to start out the year. (you can find the original list here ) The goal of the stock up lists isn’t to convince you to go buy everything, but a compilation of things that are likely on sale to stretch your budget; if its something you need, you may as well get it cheaper, right?
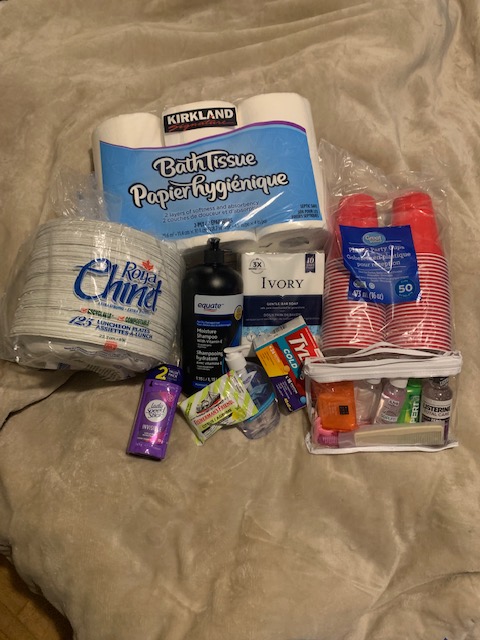
You also don’t need to go to the big box store and buy the largest case of whatever. For example, I took one 6-pack of toilet paper out of the Costco pack and put it aside. You could put a single roll aside, or one bar of soap. Putting anything up is better than putting nothing up.
On the subject of soap, I got some toiletry sets for the holidays so I put some of that aside instead of spending additional money (’cause who has that in January?). A lot of stores also have left over gift sets from Christmas and you can pick them up for way less money than buying the same separate products off the shelf.
I didn’t personally get everything on the list. I dehydrated citrus left over from the holidays. A friend is buying bulk flour and yeast so I’m waiting on that to come in. Unfortunately hard wheat is out of my budget right now (#10 cans etc are pricey in Canada), and I didn’t find any great deals on health foods that my family likes. So know that you don’t have to be perfect, you don’t have to buy anything from anyone’s lists. Being prepared is a personal journey and you have to do what works best for you and your family otherwise you will just throw away money when things go bad or no one will use the items you bought.
Ready for February’s stock up list? It will be posted tomorrow!

January Stock Up
Starting now in January, I’ll be posting a monthly stock up list. I’ve looked through lots of trends and sales patterns to come up with the list I’ll be following.
Some of the items are seasonal while some you can switch around between months to suit your family better.
Remember to visit us on social media for more updates!


Dehydrating Apples
I try never to waste food, but especially right now during the Covid-19 pandemic, it’s not so simple to just go to the store.
I had a bag of apples that the kids just weren’t eating fast enough so I decided to dehydrate them before they went bad (they were already on the soft side).
I used a mandolin slicer (you can get the same one here) to slice the apples thinly. I put them in water with a bit of lemon juice while slicing to keep them from turning brown.

I then spread them out on my dehydrator and turned it on low for about 12 hours. I like to add the chips to muffins and loaves but you could also rehydrate them and turn them into apple sauce. My dog likes to eat them as treats and they’re a lot healthier than some other treat options.
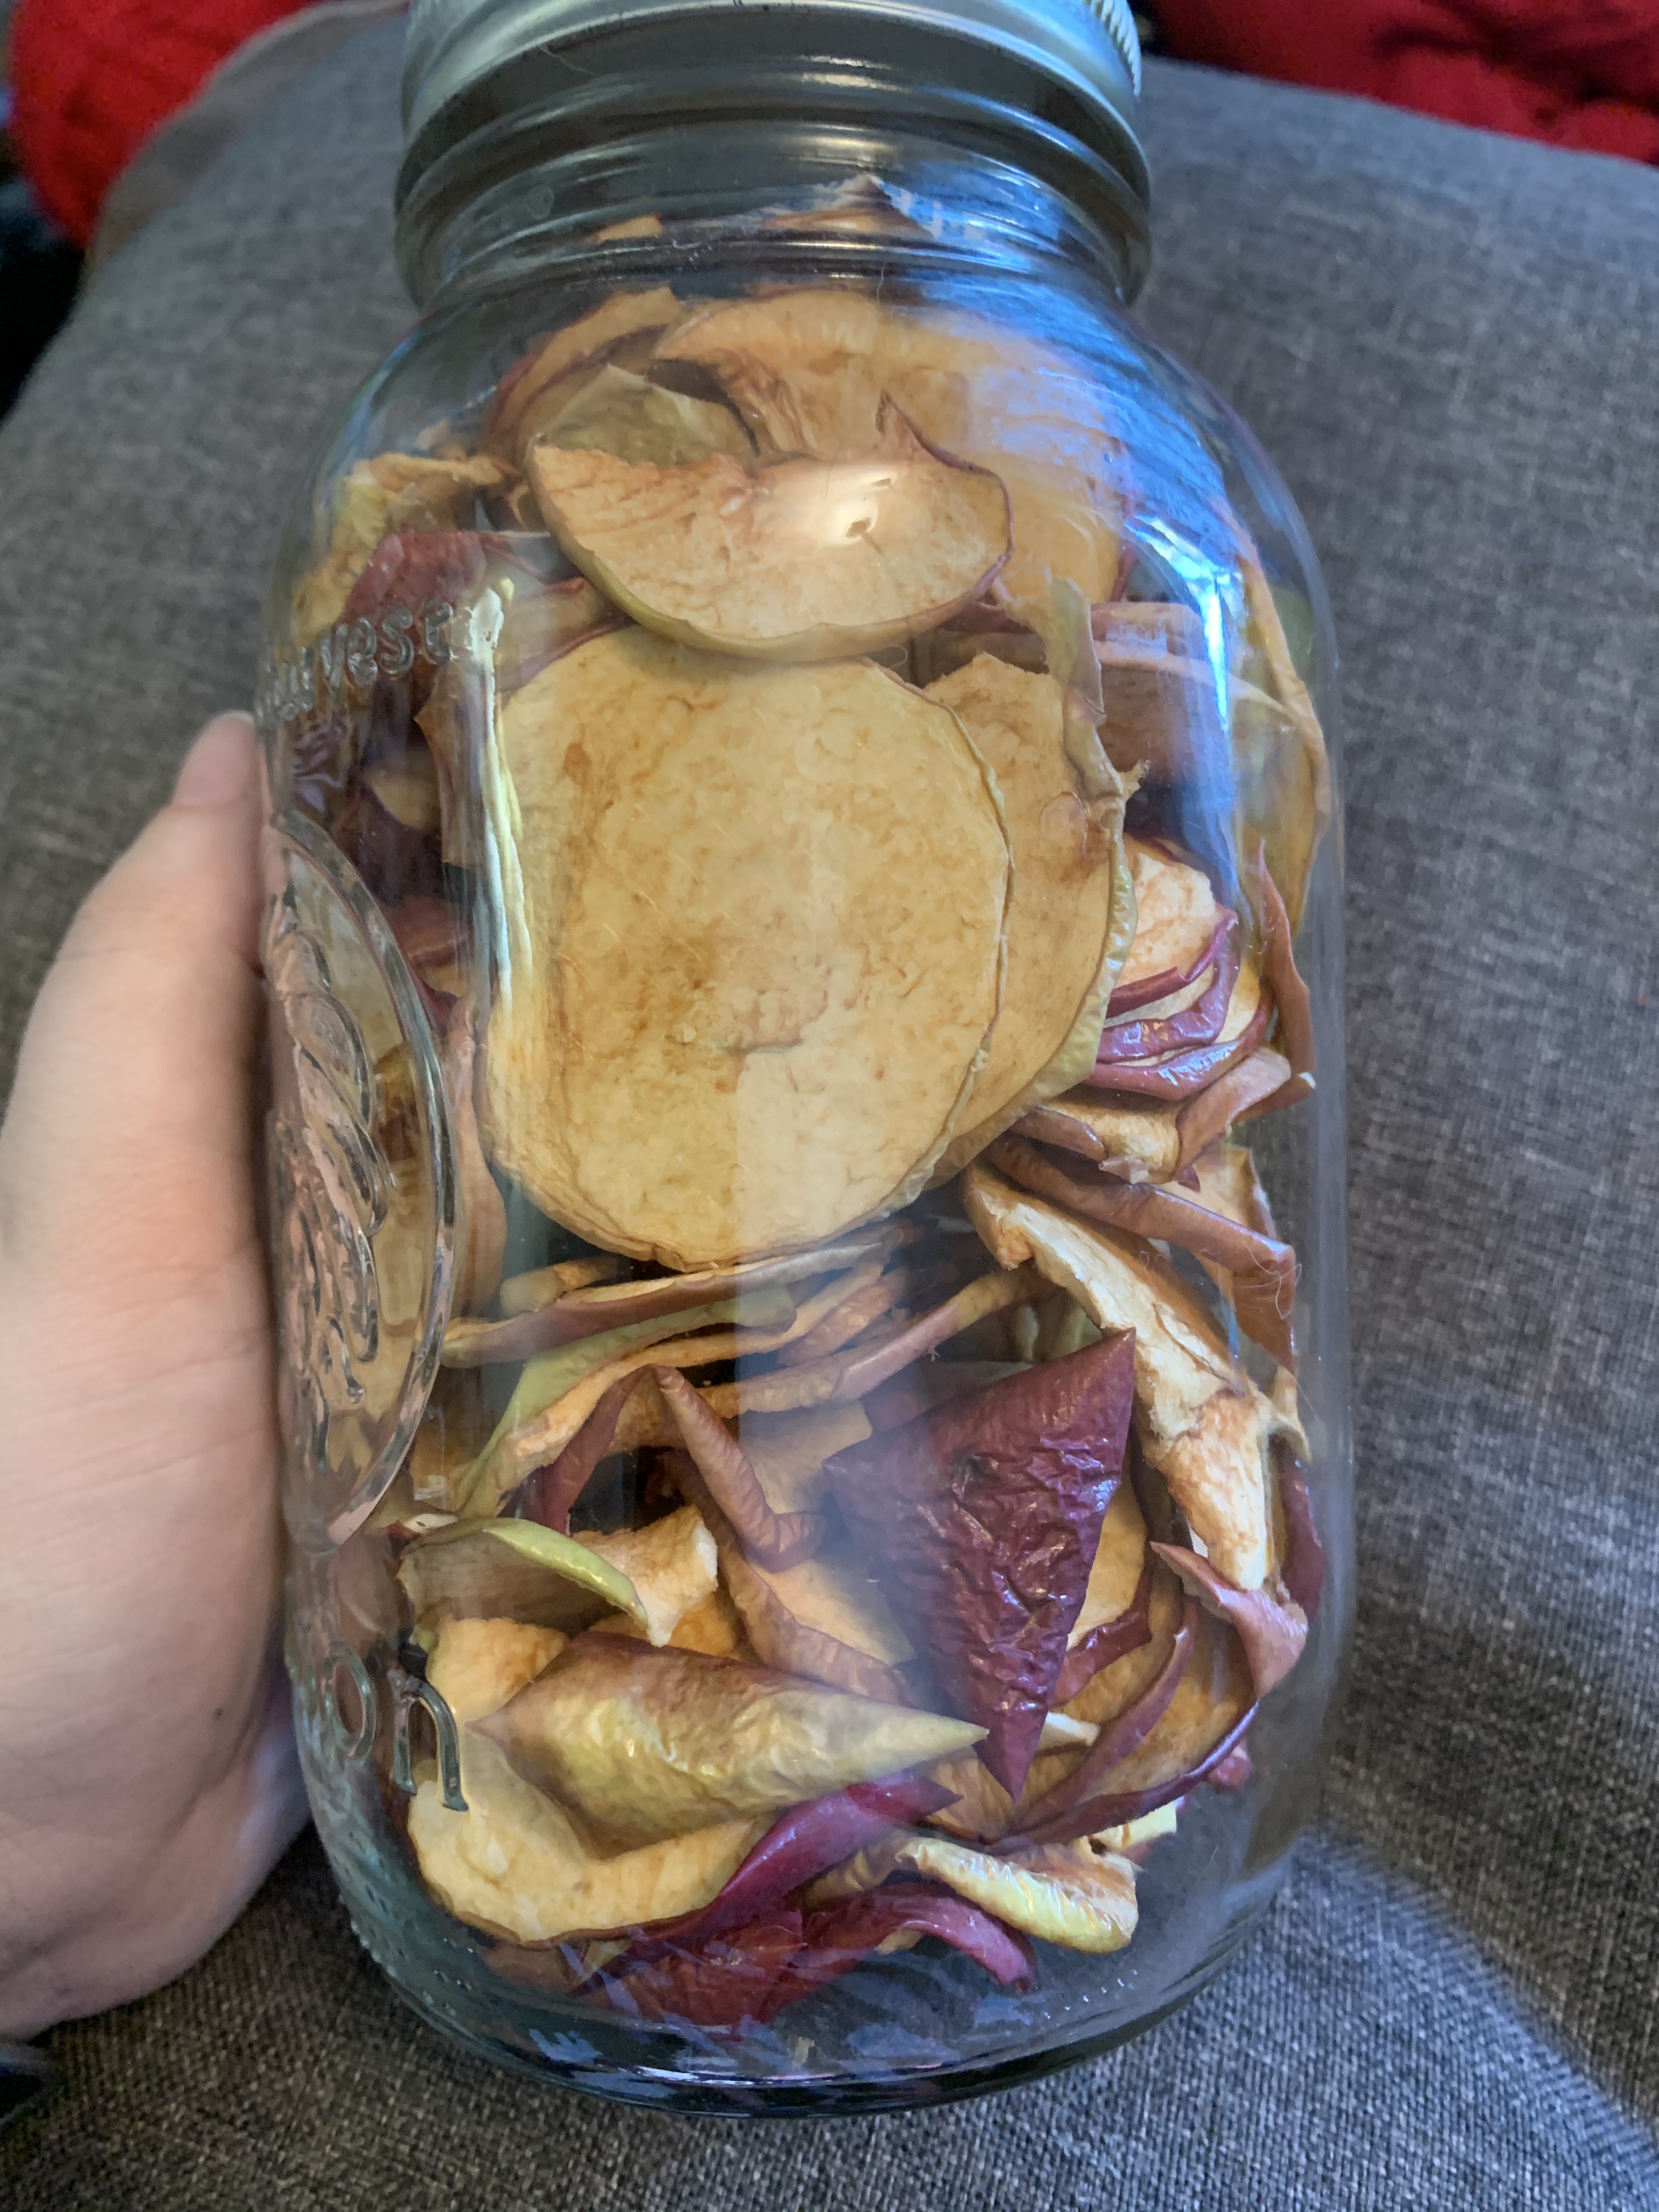
To store, I put them in a mason jar with an oxygen absorber. You could also vacuum seal them but I don’t expect mine to hang around too long as I’m already planning ways to use them.

Prepping with Pumpkin
Tis the season of the pumpkin!
A couple days after Halloween, a friend of mine asked me if I wanted some pumpkins left over from landscaping. They were large and hadn’t been carved so I said sure! I hate to see them go to waste.
 This picture is the smallest of the three I received.
Two I opened up, gutted and saved the seeds then cut up and roasted the flesh for puree (more in a sec). The third made for great machete practice!
To make the pumpkin purée, I cut the flesh (after scraping etc) into manageable sized chunks and put them on a cookie sheet with skins up. I baked them at 350 F for about 2 hours (they had super thick flesh, start at 45 minutes, it’s ready when a knife passes easily through). Let them cool a bit then scrape all the good stuff off the skins with a spoon and let cool further. The skins then went into my compost.
The roasted flesh then went through my blender (but you could easily use a food processor or food mill) then into freezer bags.
If you’re freezing it, get as much air out as possible and freeze flat. You can also dehydrate the pumpkin purée, if you don’t have the fruit leather tray covers, use parchment paper to line your trays.
Half the seeds I roasted for a snack for my family and the other half will be planted come spring.
Pumpkins are cheap and plentiful this time of year, with many grocery stores putting them on clearance after Halloween or thanksgiving. Don’t pass up your chance for a whole lot of food for little money!
 About 3/4 of the above pictured pumpkin.

Dehydrating Turnip

Turnips, along with most other root vegetables, are fairly cheap and easy to dehydrate. This time of year, they are very easy to find and usually on sale.
Wash and peel your turnips

Slice into thin pieces, the easiest way to do this is to use a mandolin slicer.
You can then blanch them (I don’t blanch my turnips) and then place them on your trays.
I leave them on overnight at 125 F to make turnip chips. You can eat these as is. They are great with dips as well. Or you can rehydrate them and use them as you would fresh turnips. Try putting the dehydrated pieces in soups and stews.
Dehydrating Your Own Milk
Let me just say, this isn’t necessarily a recommended practice, do your research (as always) and decide if its for you.
I recently got 6 litres of milk for $1 each and decided to dehydrate them to make my own powdered milk. Most preppers order their powdered milk in #10 cans from various food suppliers in the US, however this is out of my price range and the tariffs Canadians have to pay on dairy are ridiculous.
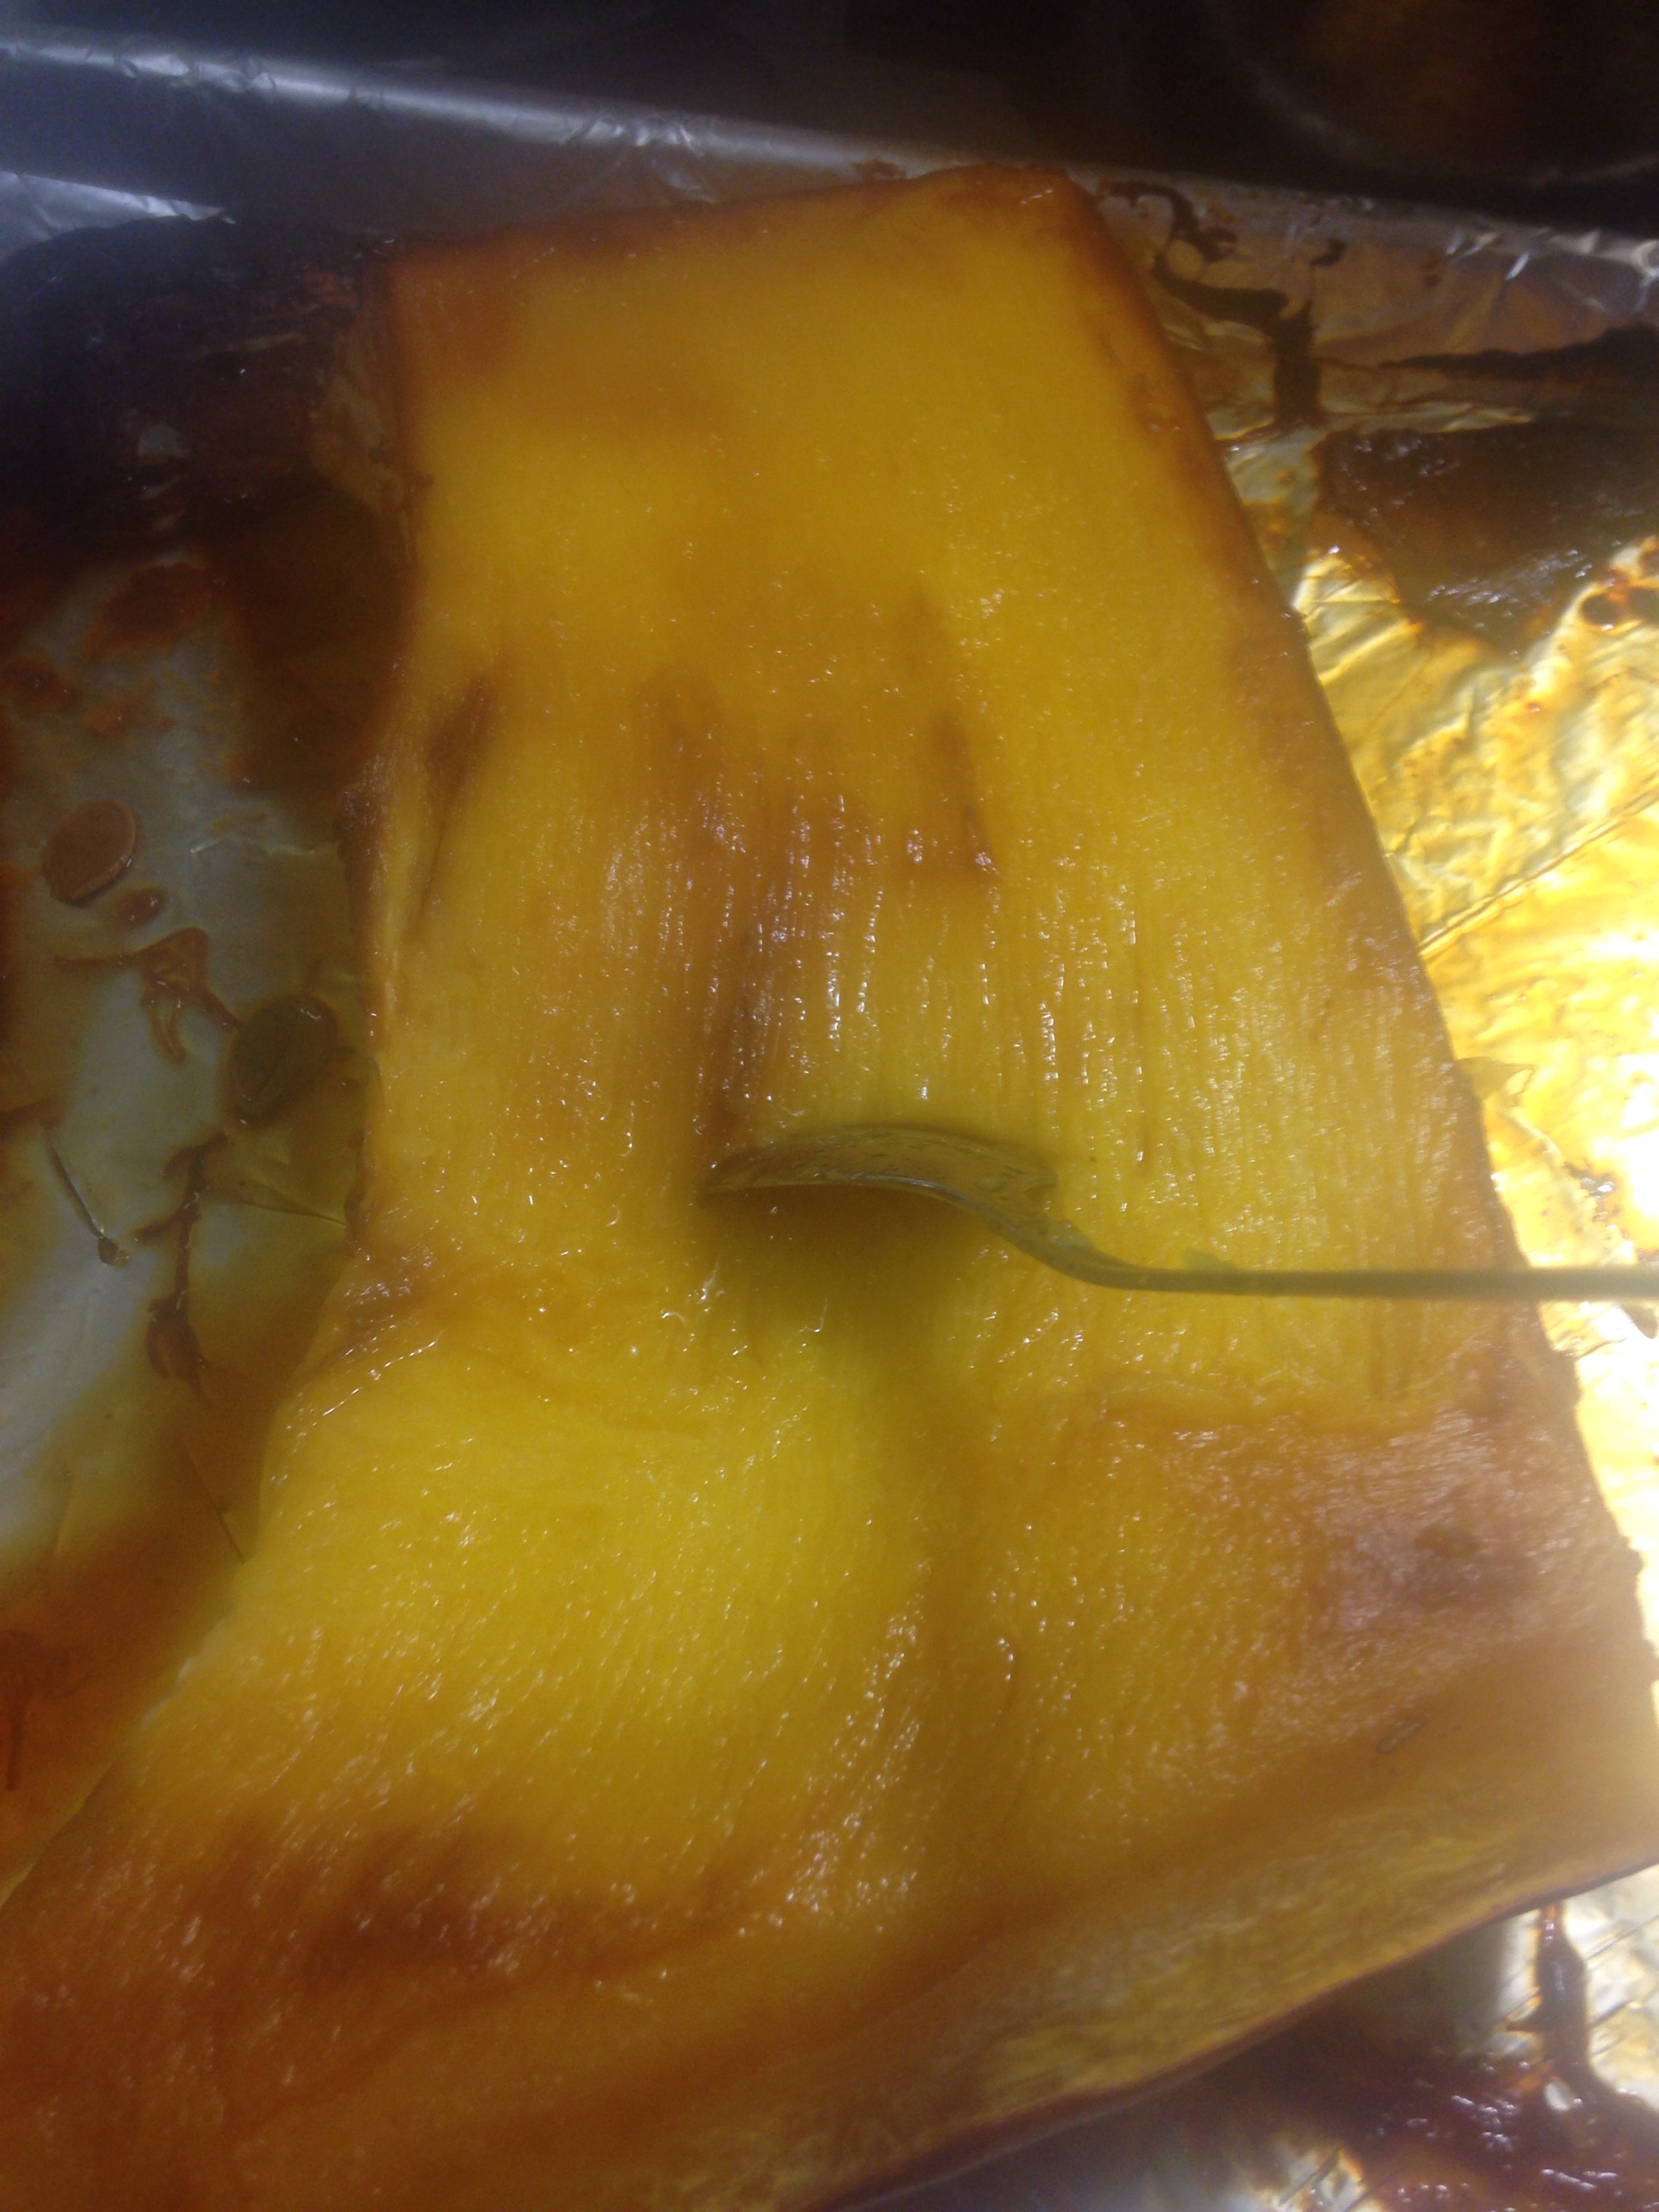
To dehydrate my milk, first I had to make parchment paper containers to cover the screens in my Excalibur. I did this by cutting a square and folding up all the edges so they folded over themselves and then I stapled it just to be sure. Put the parchment on your screen and pour a small thin layer of 1% milk onto it. (I used 1% aka non fat milk because the more fat, the more likely it is to go rancid.
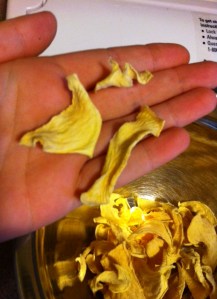
I cranked my dehydrator to 135 F and left it over night. About 10 hours later it was ready. The milk turns into a crackly sheet in a sort of yellow color. At this point all you have to do it toss it in a blender or food processor and buzz it up until its a fine powder. Store it in a jar or mylar bag with an oxygen absorber.
To rehydrate, mix it with cold water and shake it until you get all the chunks out.

