Blog Archives
Budget Friendly Food Tips
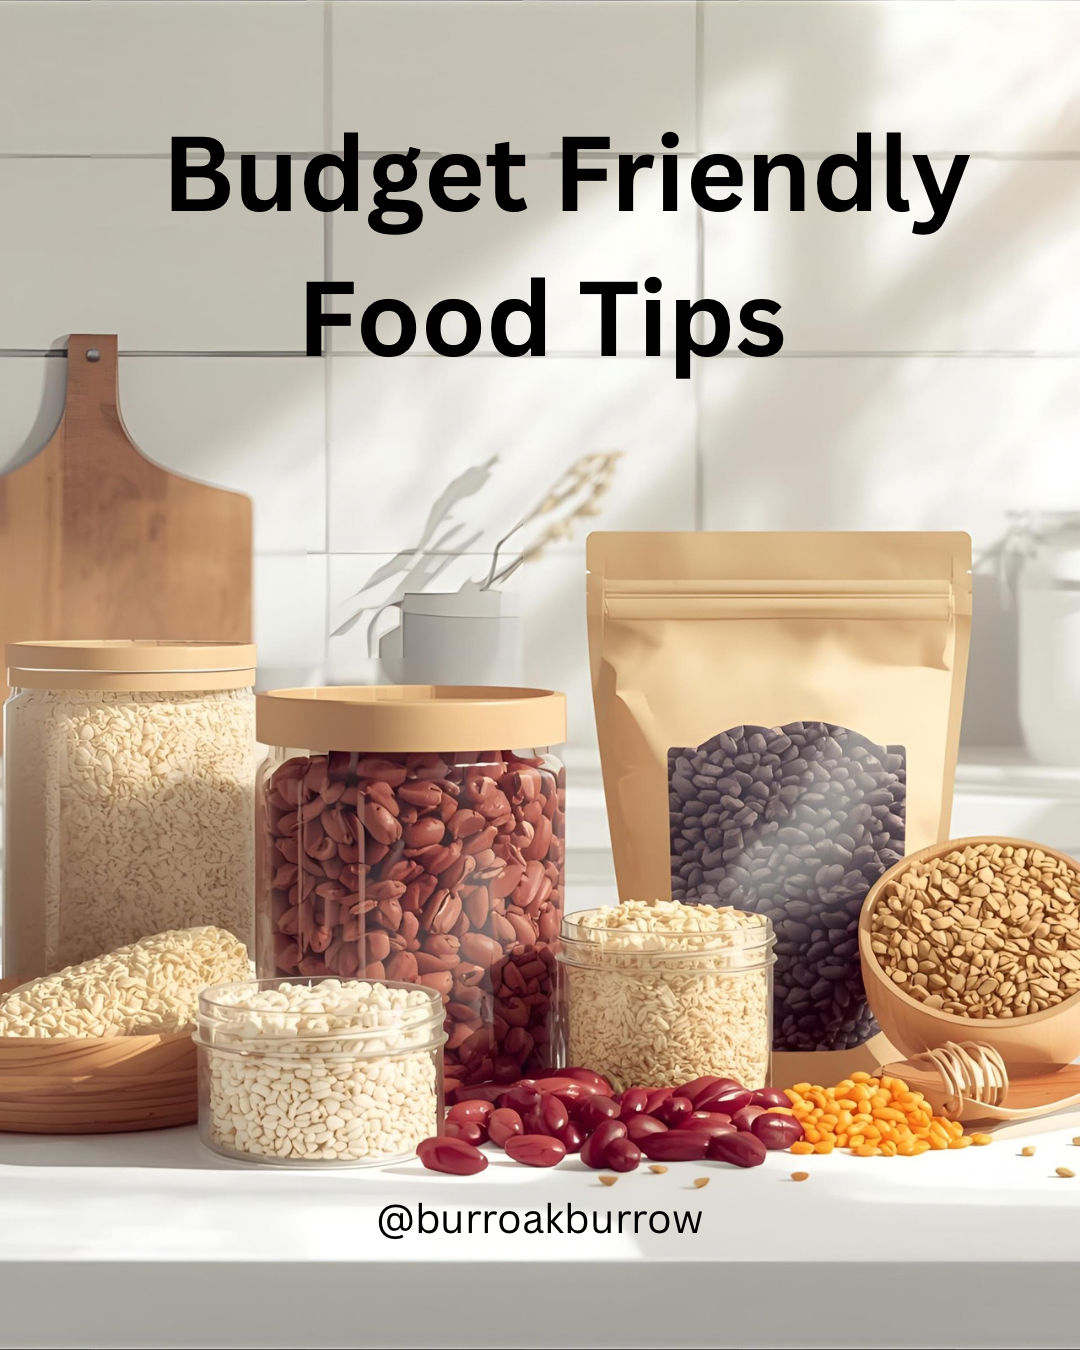
Everything is SO expensive these days!
With grocery prices being what they are, why don’t we all share our favourite tips to cut the food costs!
This post will be updated with some of my favourite tips coming from you!
As for me;
Growing up poor, we ate a LOT of spaghetti. We were basically vegetarian, our most common source of “meat” was chicken hot dogs.
I also ate a lot of oatmeal. Our only fruits were apples and bananas because they were the cheapest.
When there was a sale, mum bought as much as she could, often sending myself and my brother through separate check outs with the limit as well. Then she would hold back some for a rainy day.
Now: we eat a lot of rice.
Most common meat source is ground beef. We still eat a lot of spaghetti but also Shepard’s pie, tacos… stuff that makes more than one meal and is easily stretched out by beans, lentils or rice.
Get into soups, the main ingredient is water!
Buy in bulk when you can, even if you split it with someone, the price per gram is usually lower.
Speaking of, make sure you look at your prices per gram. Bigger (or smaller) isn’t always better
Fall Gardens
Gardening doesn’t stop til the snow flies!
There are so many things you can still plant and get a good harvest.
A second crop of beans or peas, many herbs will grow quickly in the time left. Things like kale will even survive frosts.
Get going and plan your fall garden today!

Sprouts
Let’s talk about sprouts!
When you sprout seeds, you don’t need soil or sunlight, just a container and some water. (Great if for some reason you couldn’t leave your house)
Sprouts are PACKED with nutrients! A great way to get vitamins and minerals that you may not otherwise have on hand.
Sprouts are easy on the digestive system! They’re full of antioxidants. They take up hardly any space. You can store seeds (properly) for years and years, always having access to quick nutrition.
Today I made my own sprouting mix!

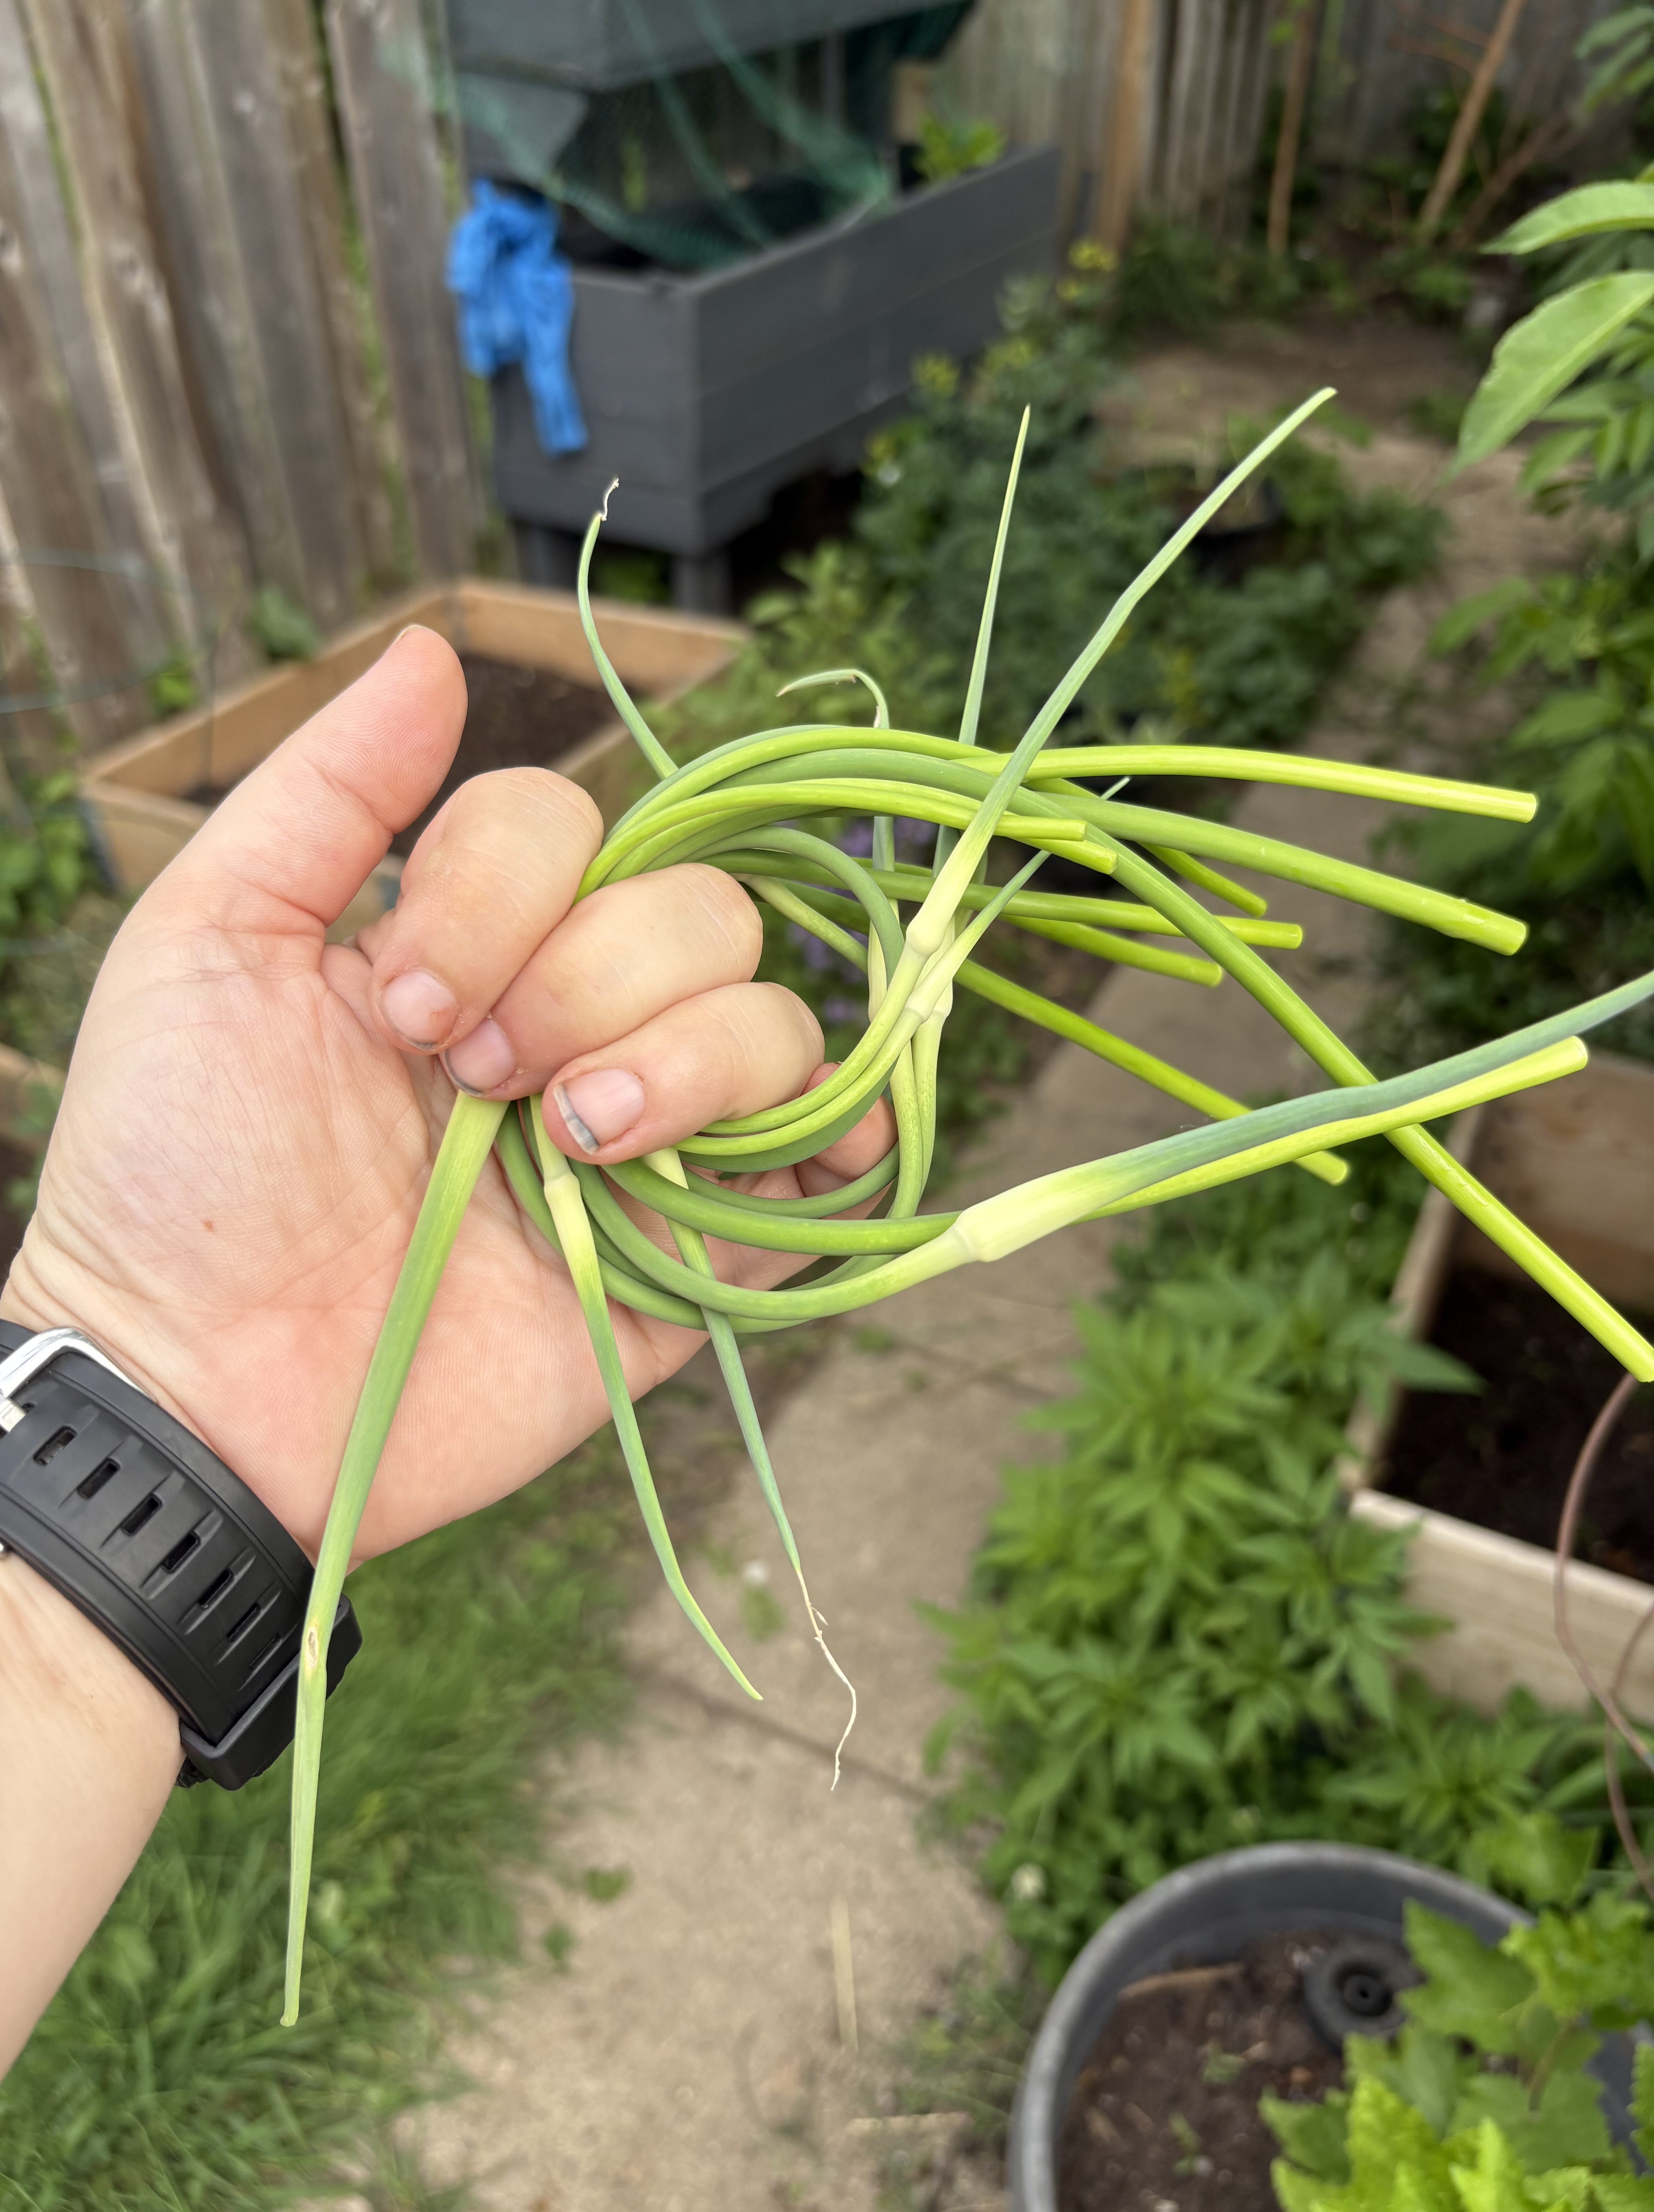
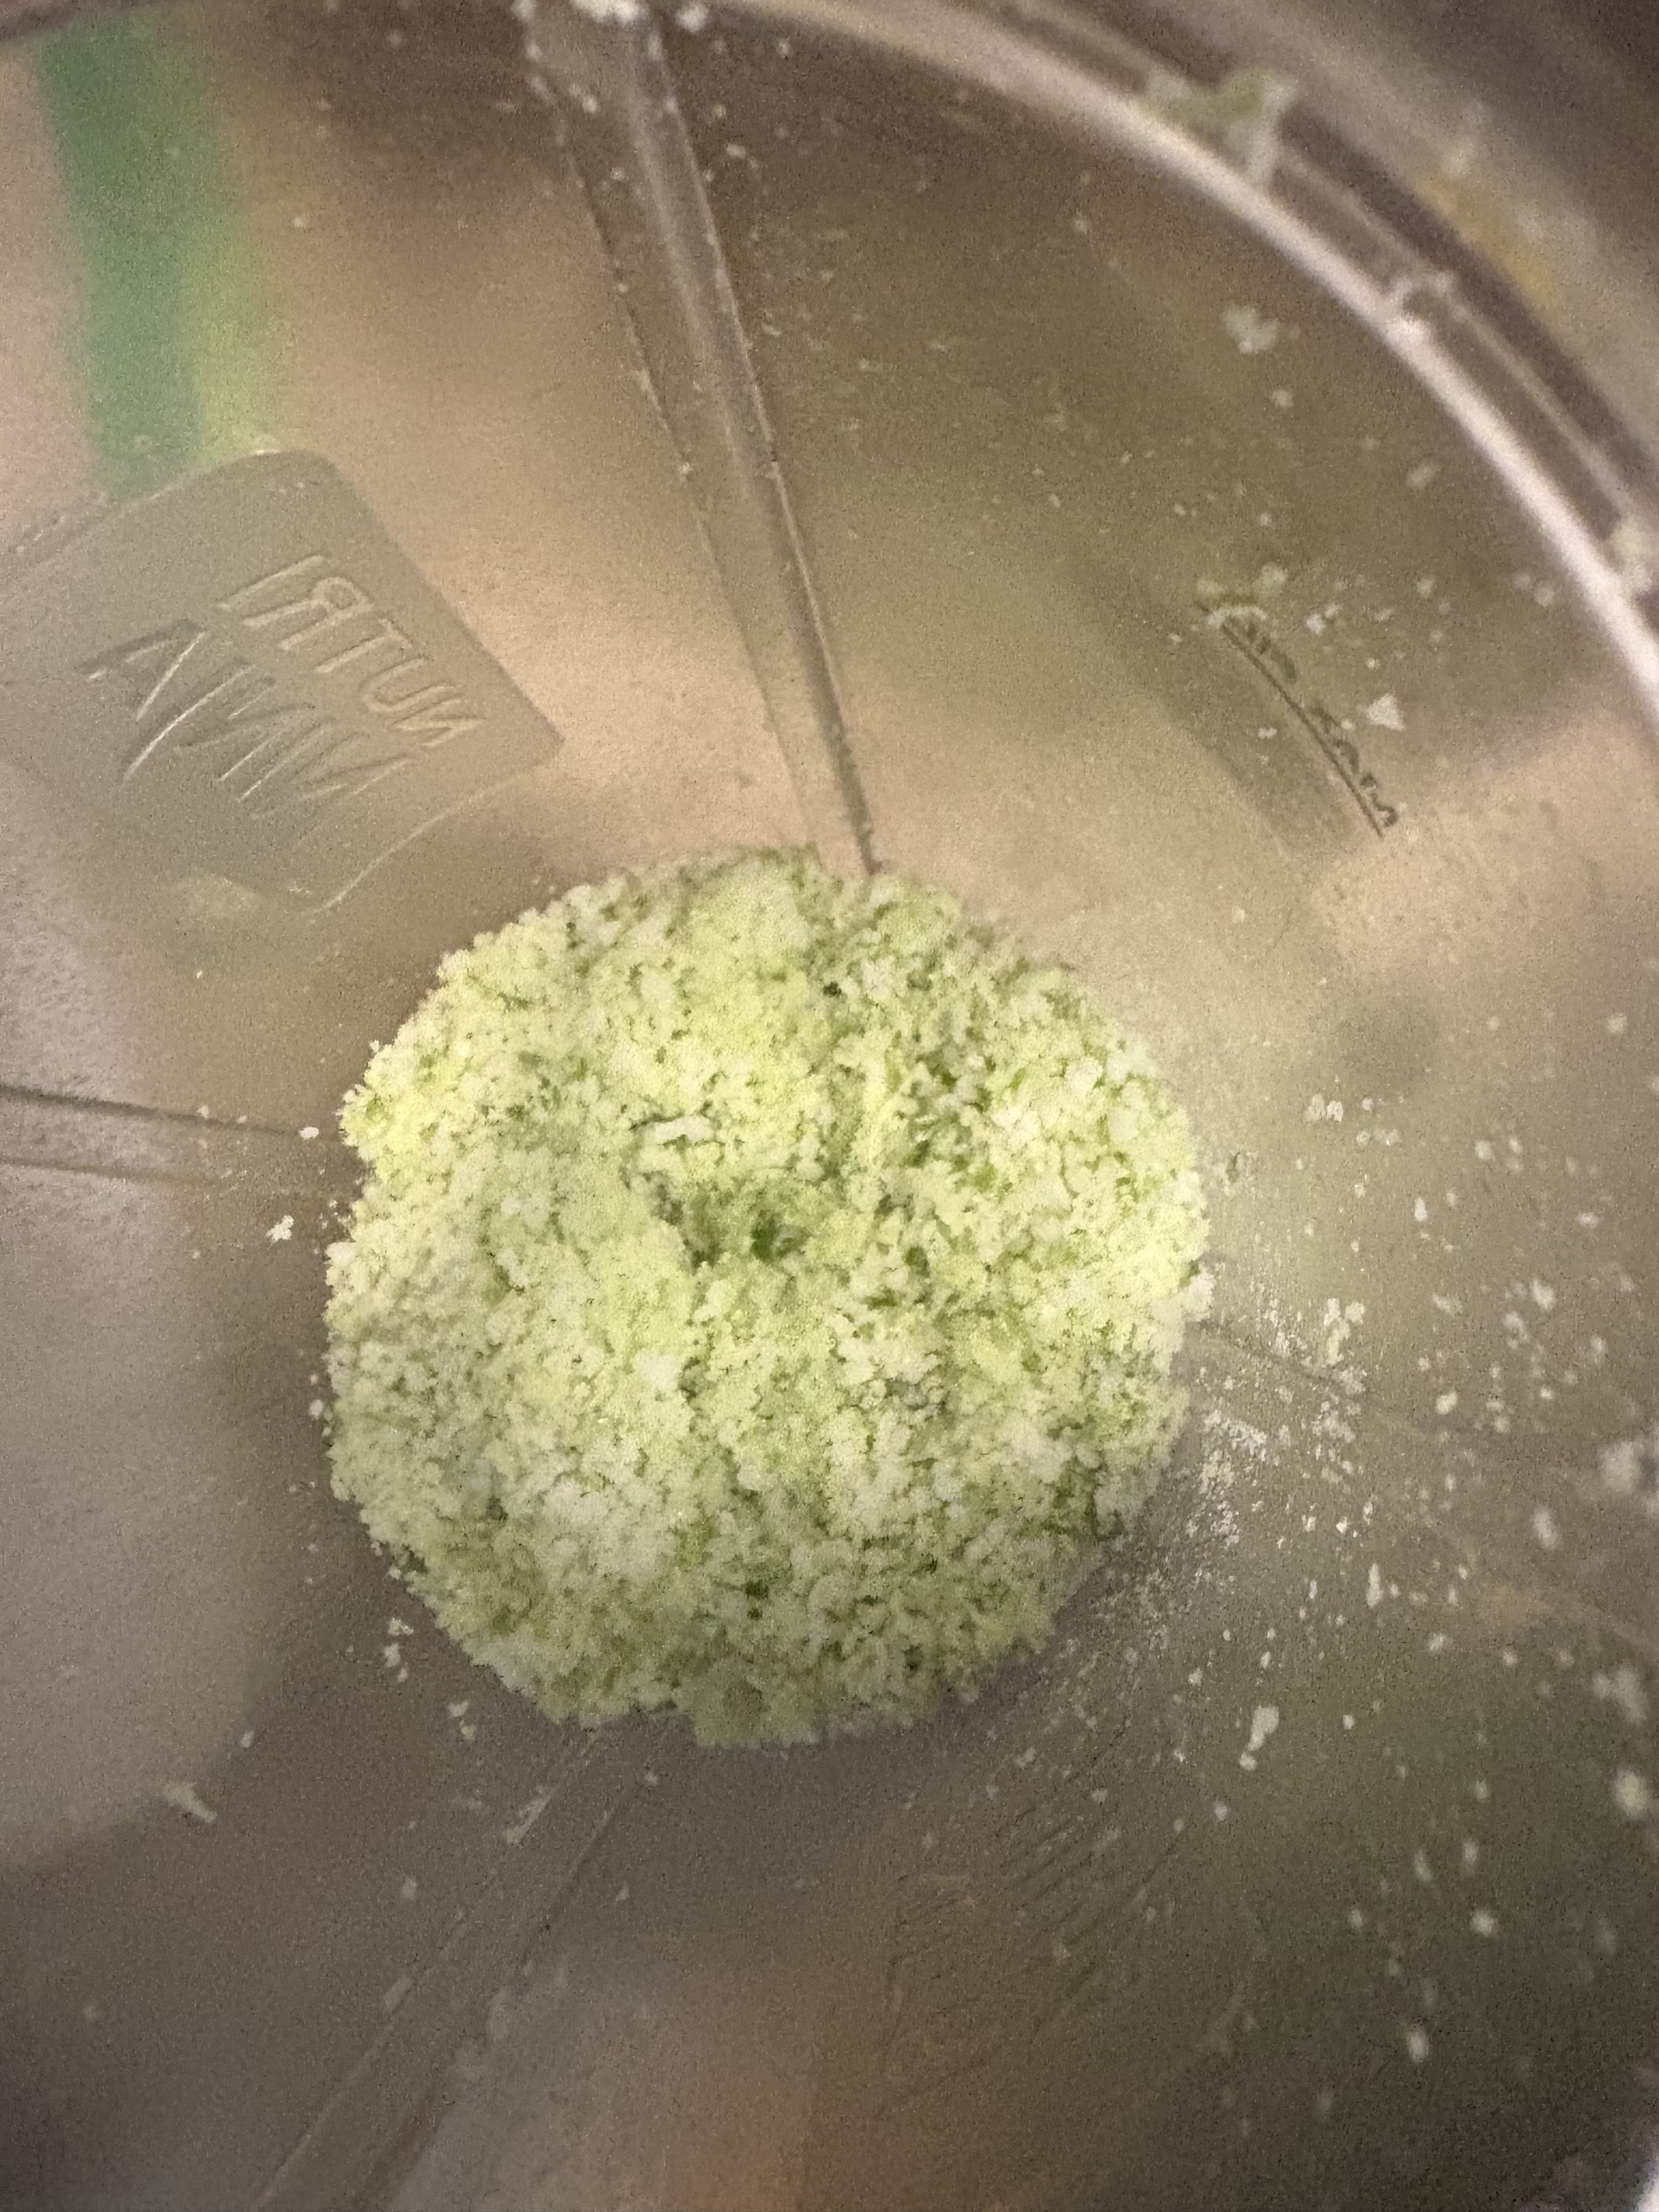
Garlic Scape Salt
It’s that time of year! Garlic scapes are so delicious, but after my freezer is full, and there’s still more coming, I make scape salt. It’s so easy.
Pick your scapes.
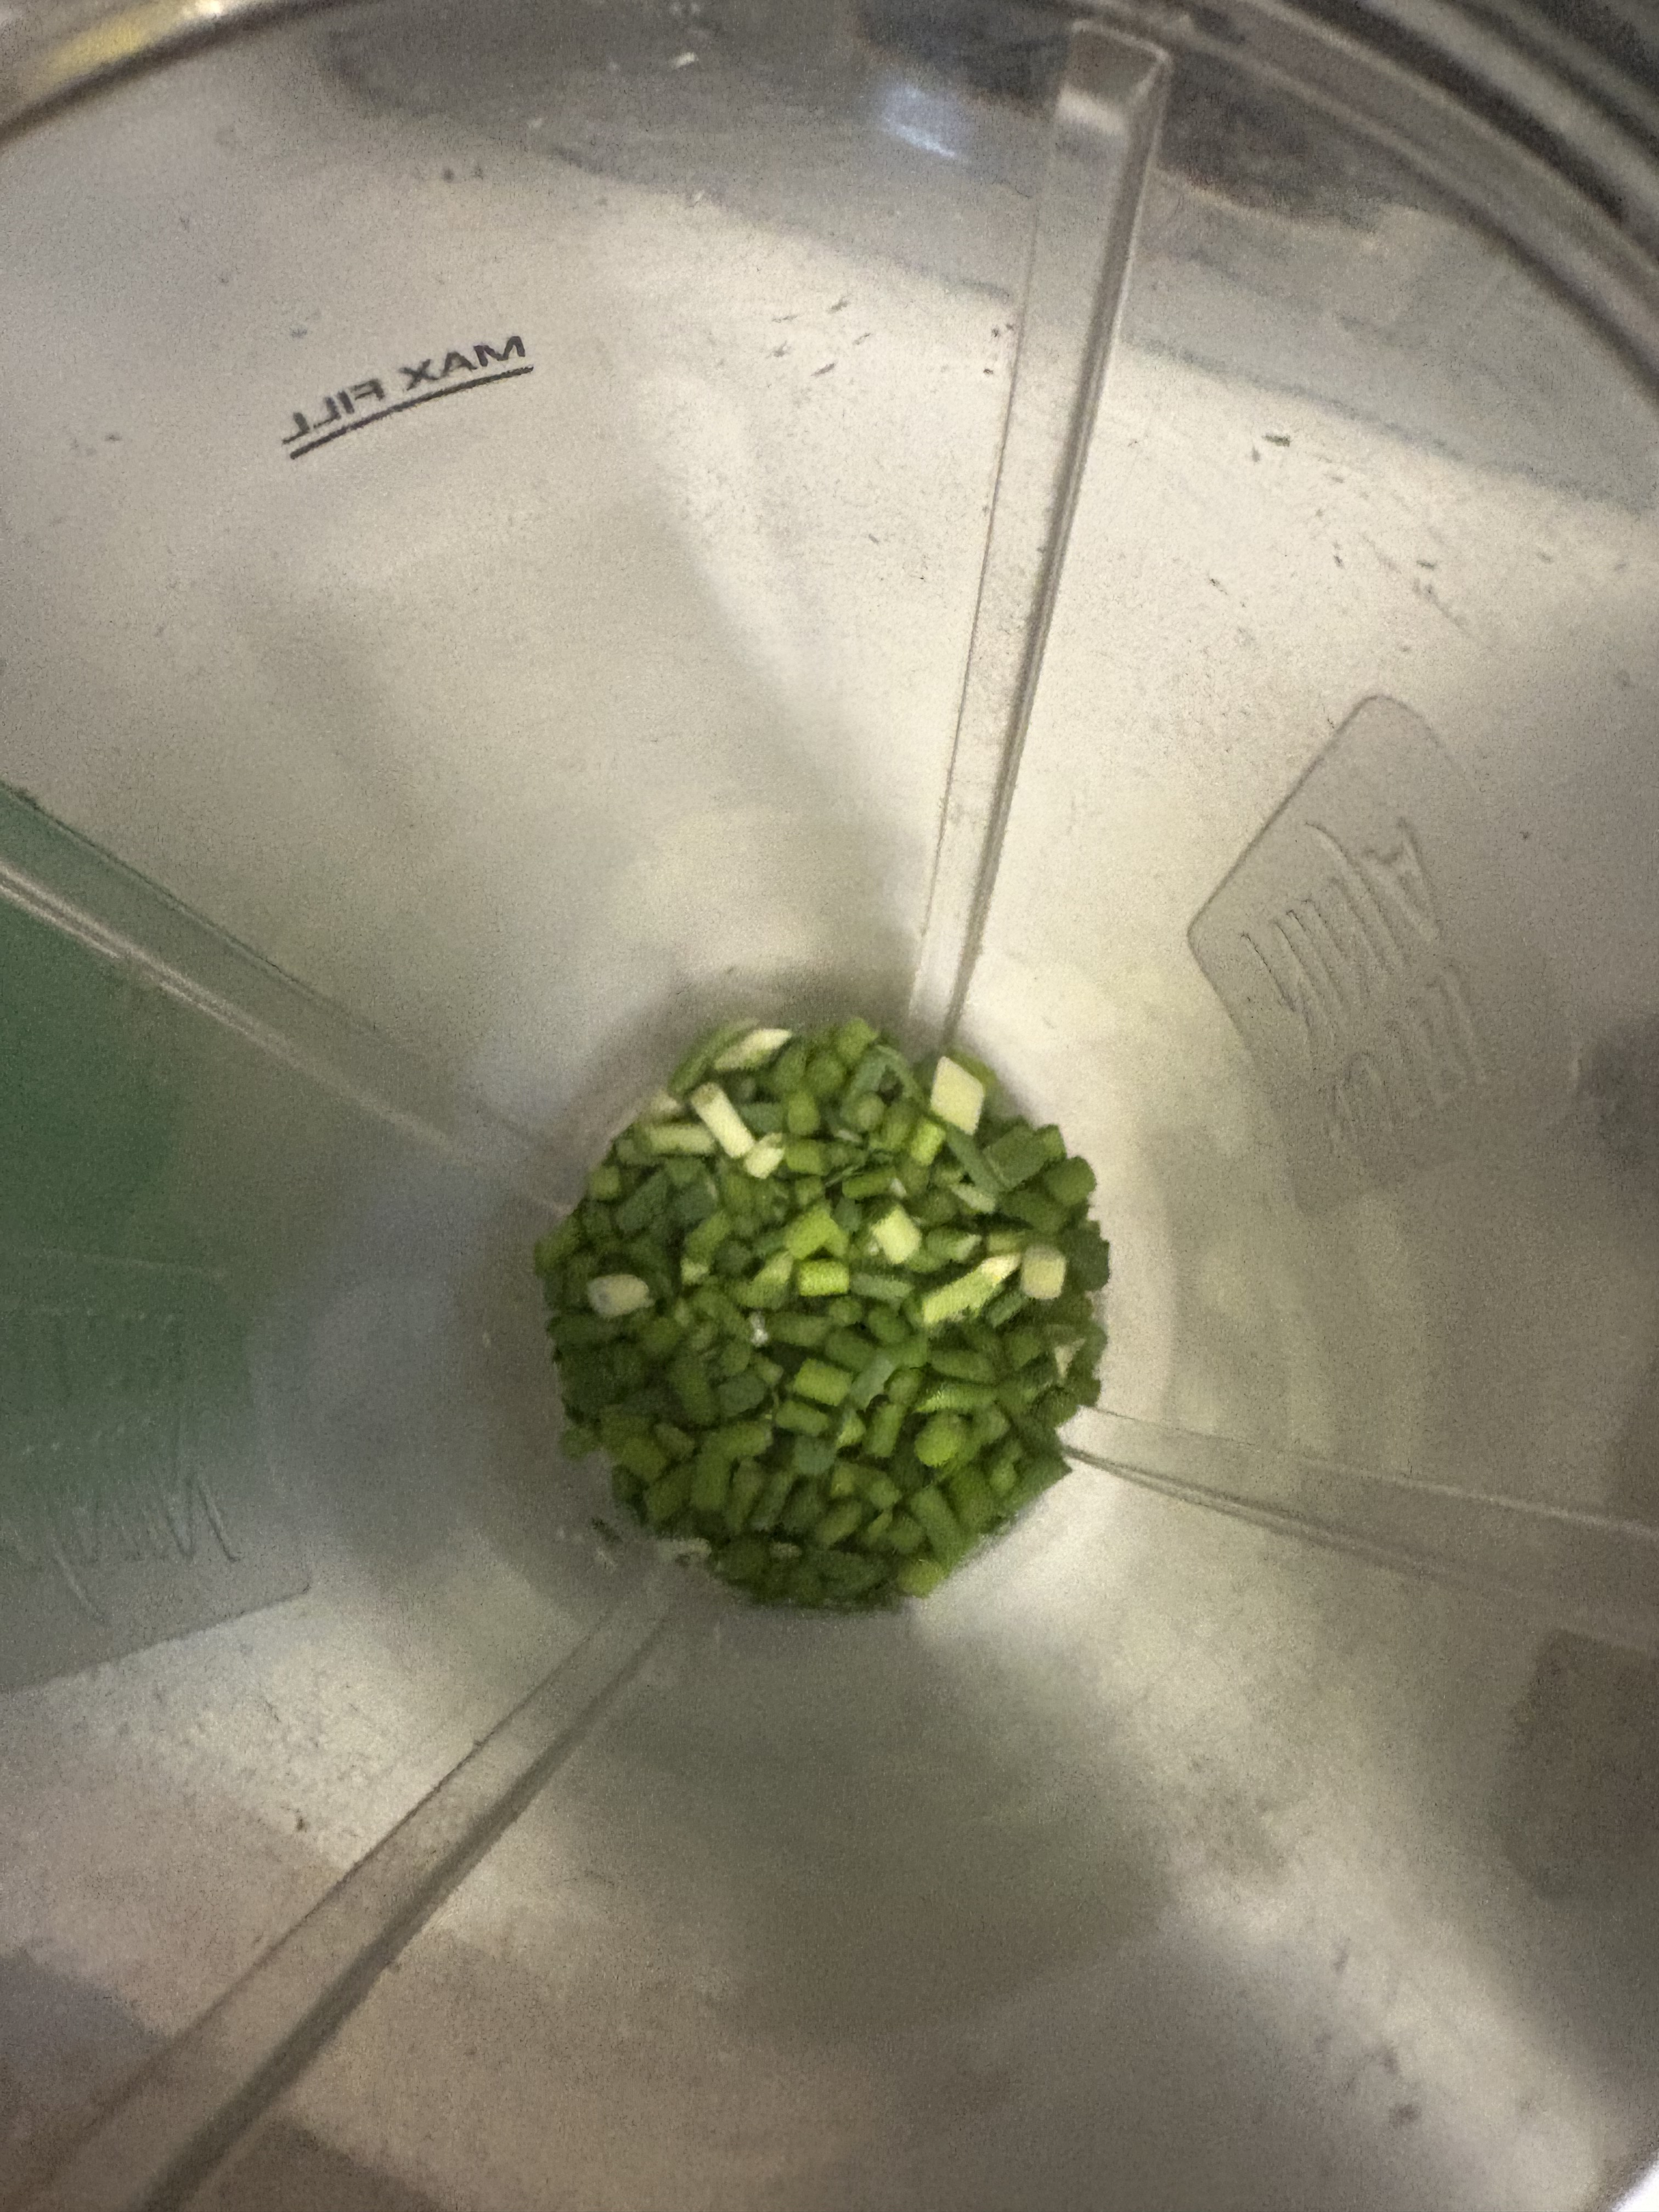
Throw them in the blender with salt (I used coarse sea salt).
After they’re thoroughly blended, spread it out on a tray to dry a bit. Pack it into a jar and store in a cool dry place. Voila!
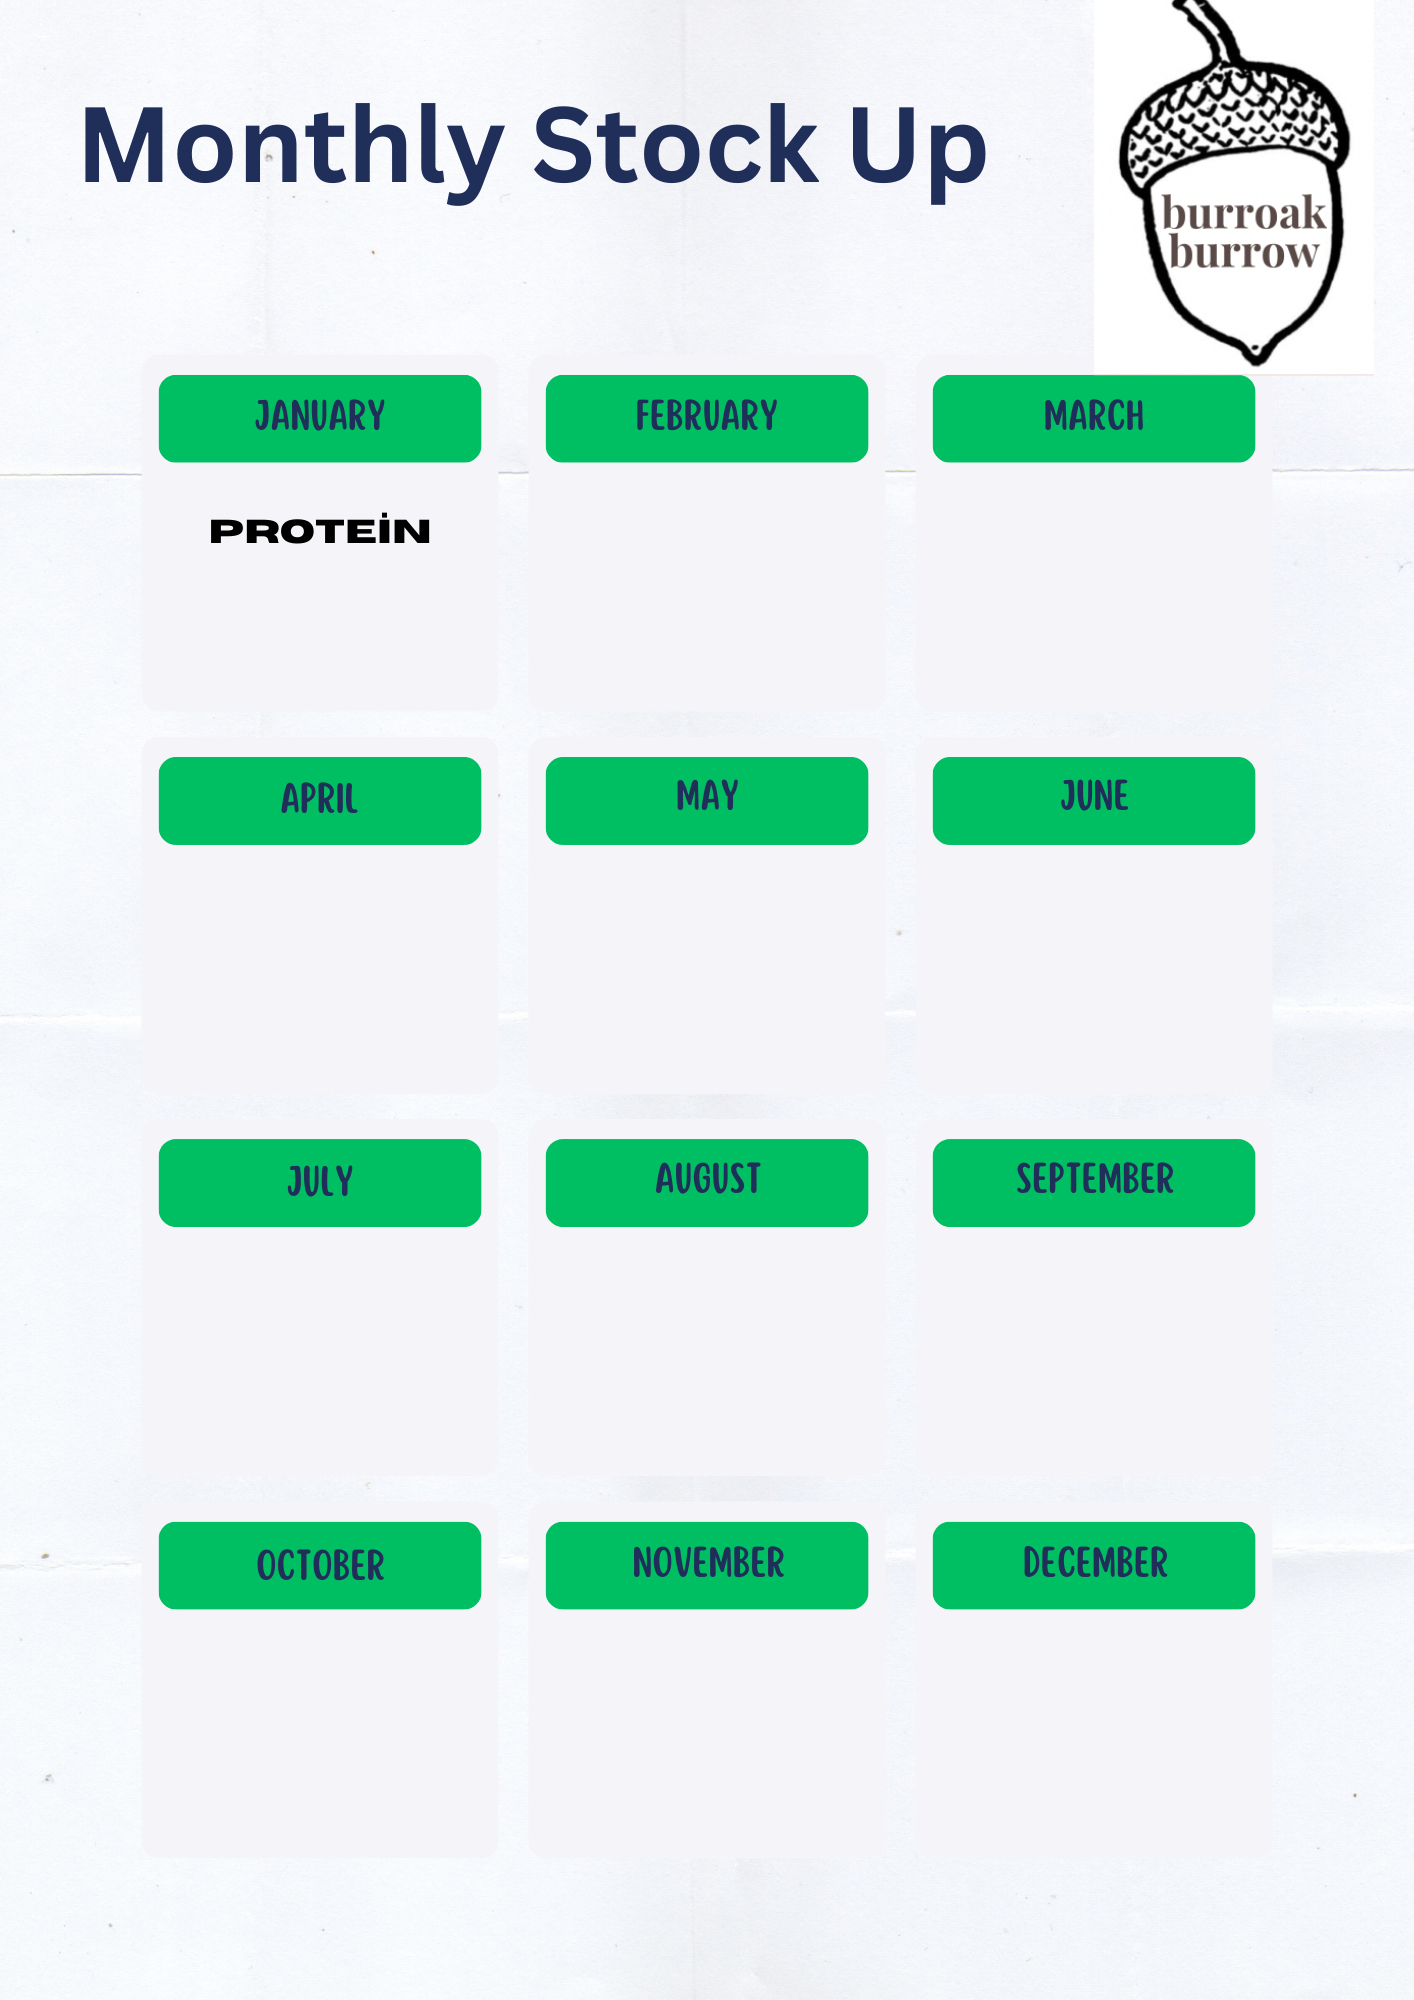
Monthly Stock Up Challenge 2025
Welcome to 2025 and our new stock up challenge for the year!
This year is a little different! We’re focusing on a different area to stock up on every month. January is protein! Meats, beans, fish….. whatever you would like to have on hand!
December Stock up list
Welcome to the last stock up list of the year!
Even if you only picked up a few things each month, you should have a nice little start to a short term food storage.
In the new year, we’ll be trying a new system out, so make sure you’re subscribed to keep up.
Given the holiday season, most of the stuff on sale is gift and baking oriented. Bath and body gift sets can be a good way to grab some hygiene items, batteries are on sale for toys but always good to grab them on special.
I hope you and your families have a great, and safe, holiday season ❤️

November Stock Up List
Welcome to November!
It’s that time of year where we start to hunker down and get cozy. Soups and baking are the sales themes.
As an added tip, you can buy some Halloween candy on clearance (or raid the kids’ stash) and vacuum seal it to last longer, OR, you can use the candy in your fall and holiday baking. M&Ms or chopped chocolate bars are excellent in cookies!

October Stock Up List
Welcome to October!
I LOVE this time of year. All the harvests and cooler weather… let me grab a flannel and a hot drink!
Here’s our stock up list for the month (and only a few days late!! 😅) Lots of baking goods leading up to the holidays. And don’t forget stuff like pumpkins, apples and squash which can last all winter when stored properly.

September Stock Up
Welcome to the ‘ber months! I’m so excited, I love fall and the harvesting that comes with it. I can’t wait to hear all my canning jars start to “ping”.
Here’s our stock up list for September, with the things that are likely to be on sale this month. Not included in the list, but also on sale is basic furniture and shelving for all the kids off to uni and setting up their dorms!
Let me know if you find a good deal!

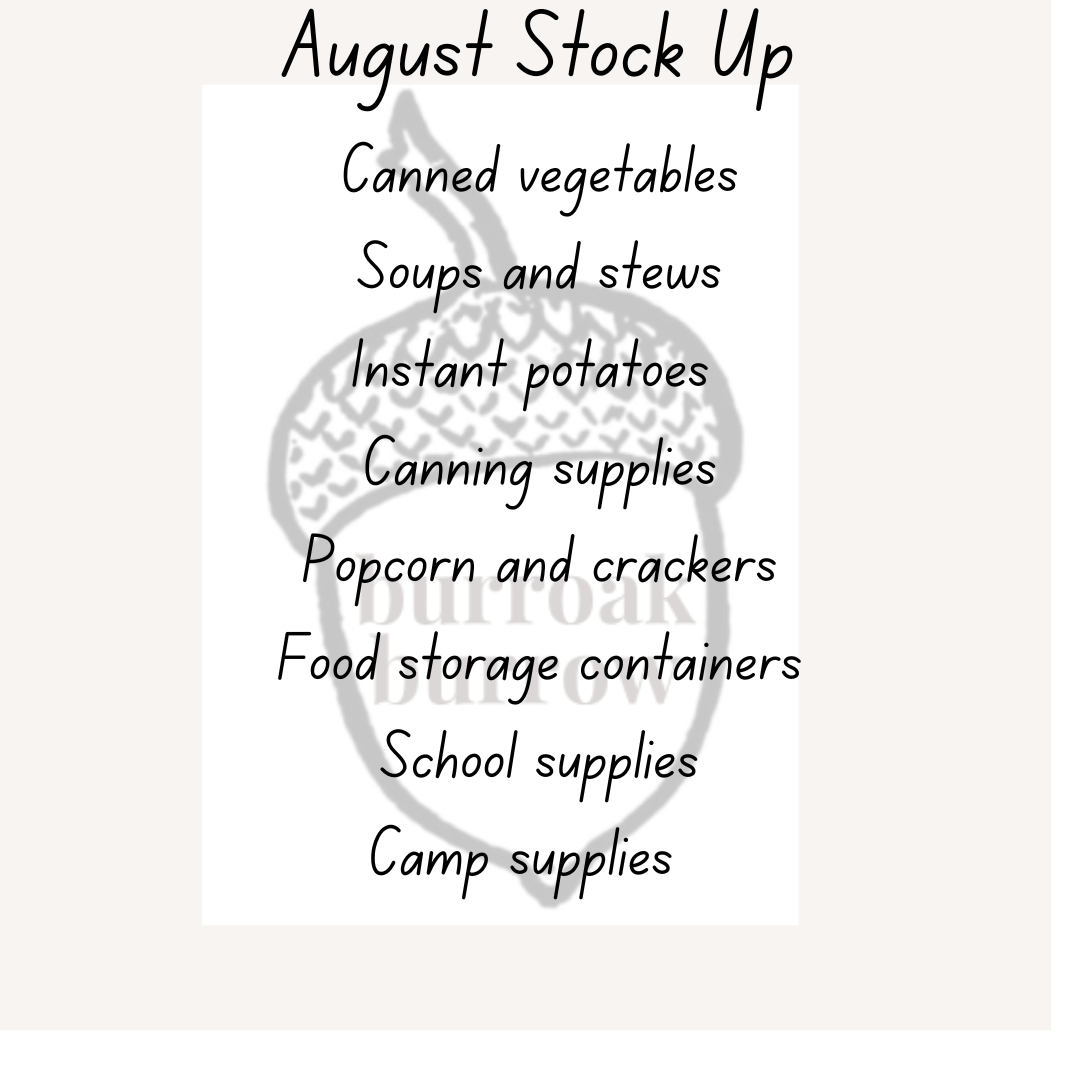
August Stock Up List
August can be a great month to stock up! There’s lots of back to school sales, so quick easy meal deals are plentiful (think instant potatoes, macaroni and cheese etc), dorm supplies like shelving and various containers are on sale too.
As summer is coming to a close, we start seeing clearance pricing on things like tents, cylinders of propane for camp stoves and all sorts of camping and outdoor living items. Keep your eyes out for great deals! Let me know what you score 🙂