Blog Archives

Those Old Onions
It happens to the best of us, you reach into the bag of onions and you find greens. Sometimes you can still use these onions but other times, well, they’re gross. Instead of tossing them in the garbage or compost heap, watch my video on how to plant them so you get more onions!
Scenario: settler winter
Here’s a quick scenario I posted on my social media accounts, let’s get YOUR thoughts!
Scenario time: it’s back to little house on the prairie. Winter is coming. You have nothing but the clothes on your back and a house. What do you need to survive winter (family of 4 let’s say)
Unsure Times
For about the past month or so, my Facebook, Instagram and email inboxes have been overflowing. My texts almost constant. So, rather than type a response a hundred times, I’m now directing people here to my blog. (Yes, I’m back to writing after much too long).
First; preparedness is not about hoarding. I have 4 boxes of Kleenex, maybe 9 rolls of toilet paper and 6 cans of chicken noodle soup. Preparedness is about knowing what to do.
To survive, the human being needs: air, water, shelter and food, pretty much in that order. So, I know how to purify water, I can walk outside and find an edible plant within 5 feet of me pretty much wherever I am. I constantly learn as much as I can. All the gear in the world is nice, but if it ran out, or you had to leave it behind, knowledge weighs nothing.
I’ve always been open to teaching people how to garden, how to can, how to forage for wild edible and medicinal plants. (Hopefully starting a YouTube channel soon!) If it gives you peace of mind, let me help you. I’m not interested in opening a survival school, but one on one, small groups or online, I’ll teach you what I can to help you sleep better at night, knowing you can take care of yourself and your family, without 300 rolls of toilet paper.
Specifically related to the current virus (covid-19): stay hydrated, rest up, eat healthy. Don’t panic. Wash your hands and use hand sanitizer if you don’t have access to soap and water at the moment. Reach out to your friends and family, take care of each other. The human being is a social creature, we need our community. Be decent.
Its ok to be afraid, things are a little uncertain right now. But I’m afraid of everything (thanks a lot PTSD) and I’m actually very calm about this, surprisingly, given the immune status of some of my family.
Try not to give in to panic, keep your cool, and figure out what’s actually important. Most of what’s truly important can’t be found in any store or bought for any amount.
Be safe, be prepared and be kind.

Sour Cherries
Hey! I was lucky enough to find a sour cherry tree in my neighbourhood. So I took the kids and we loaded up. 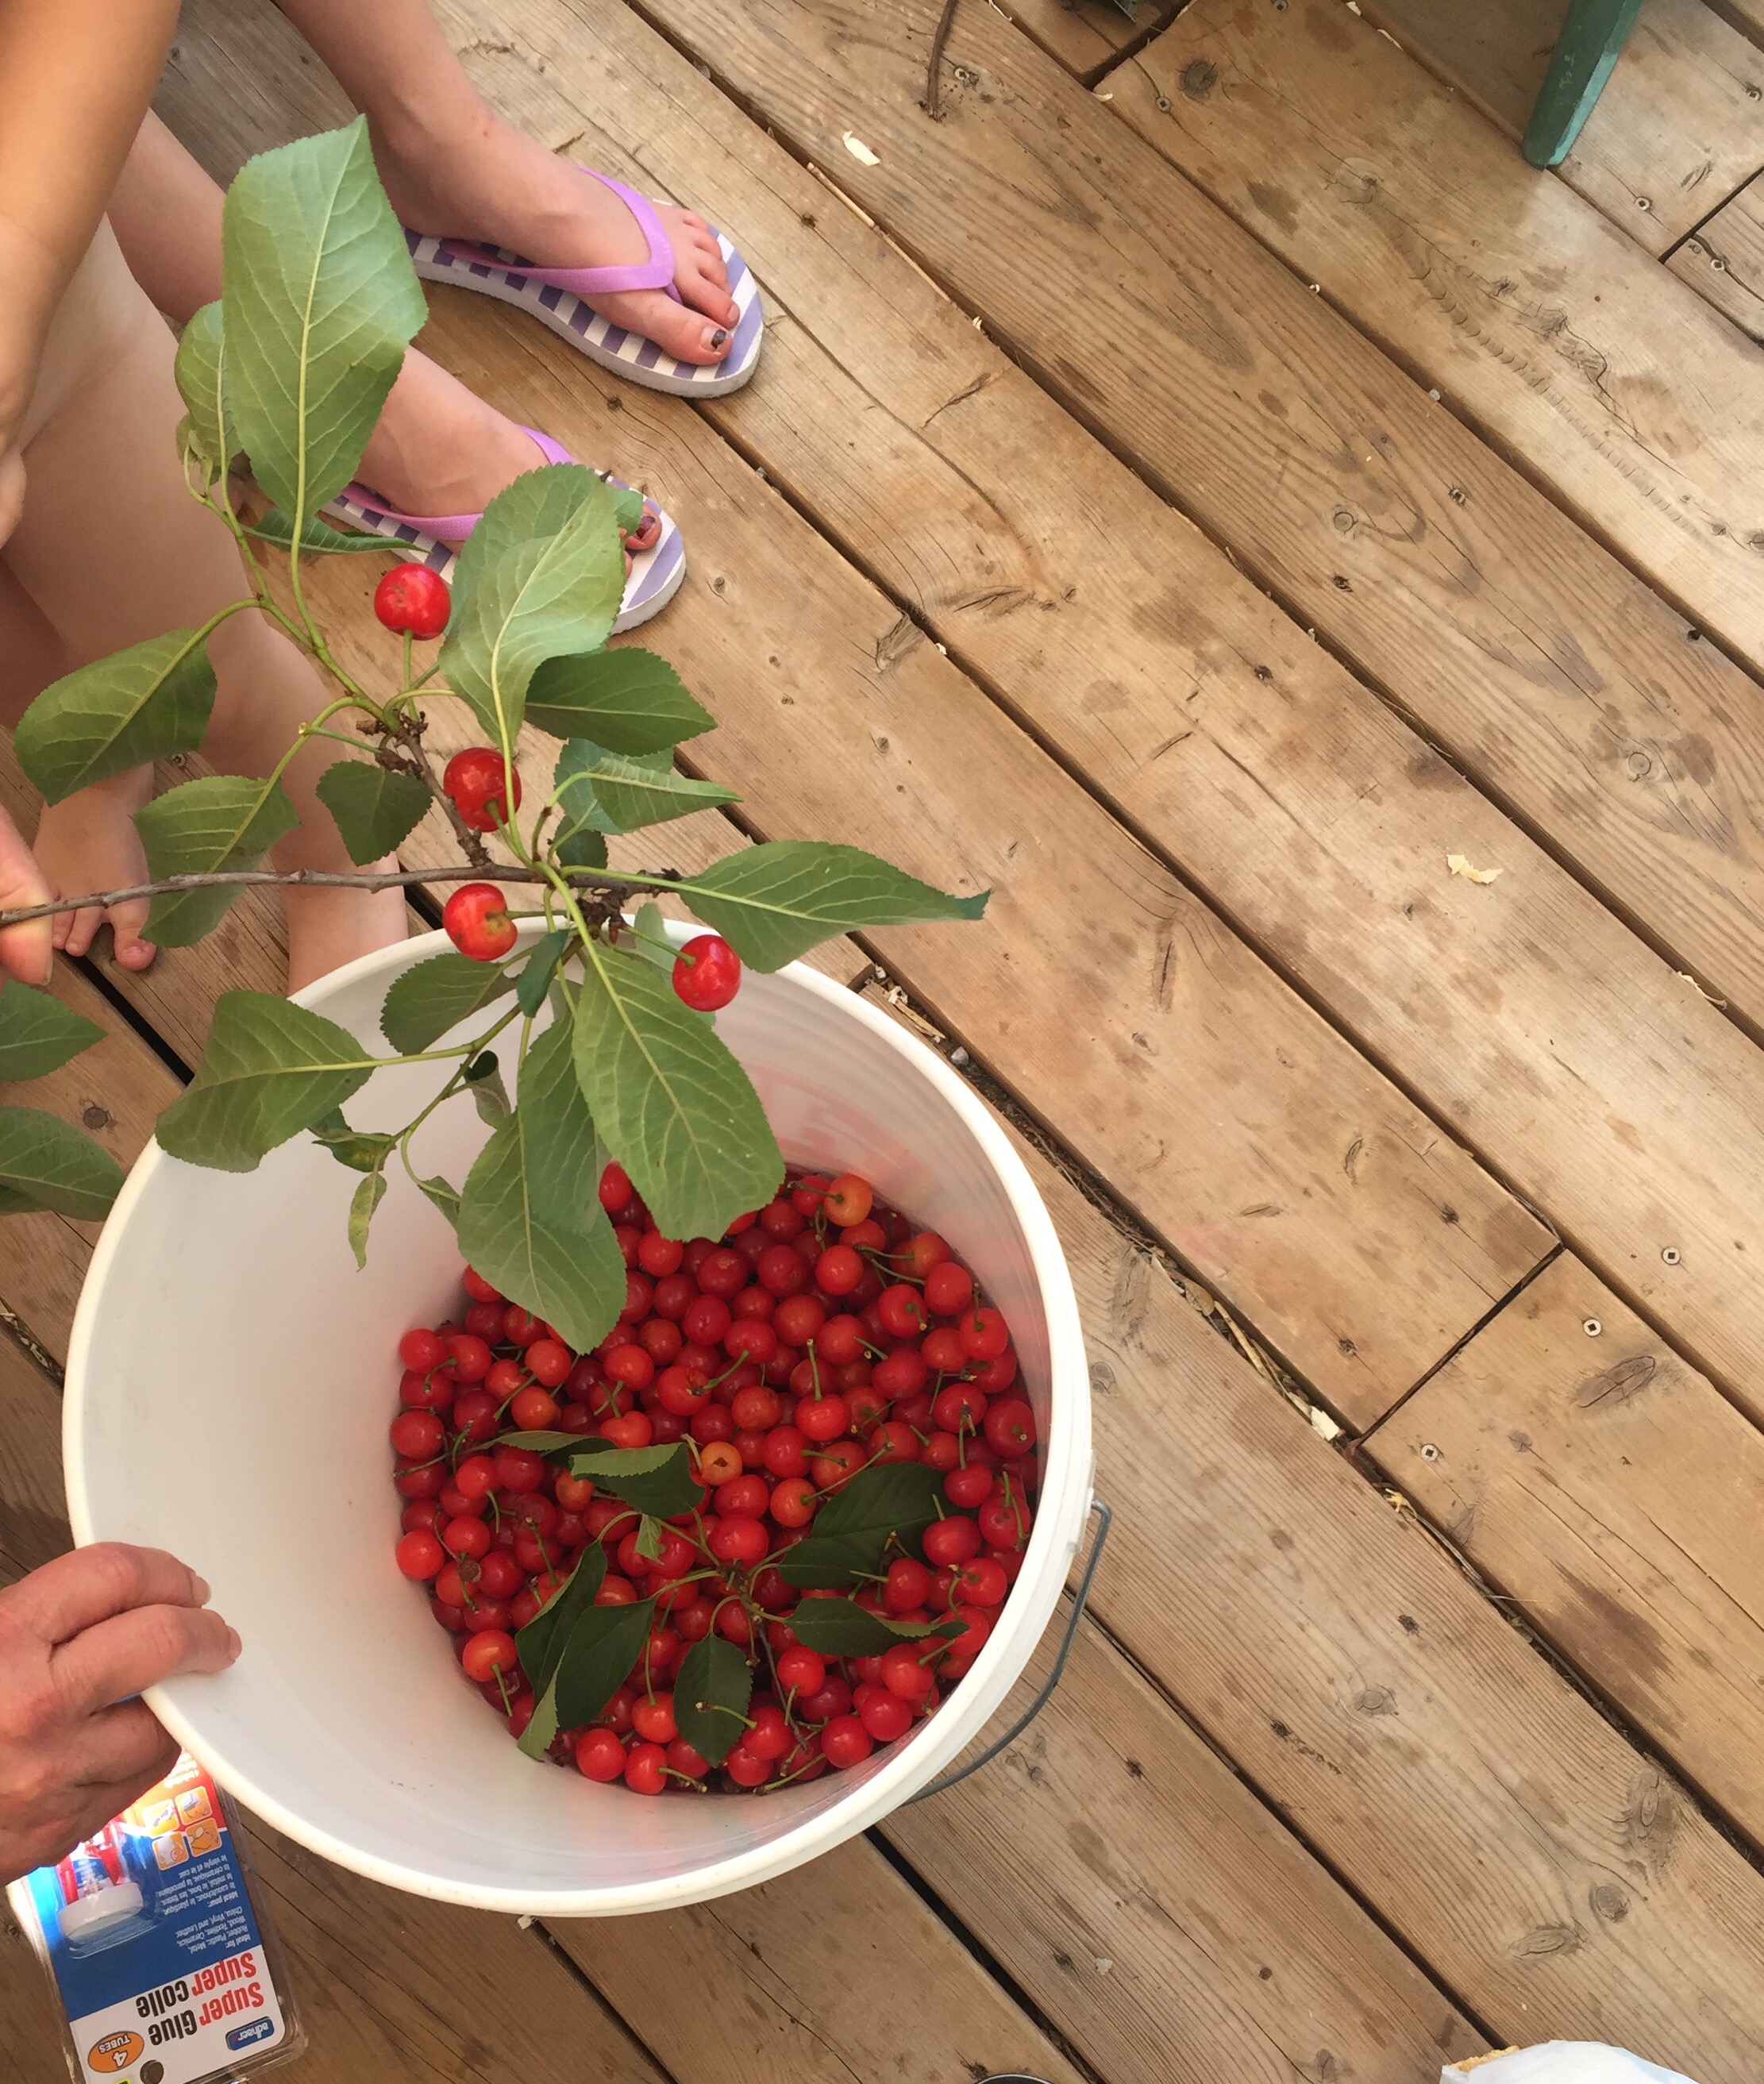
We got a good amount in a short amount of time. The trees are almost always full of fruit because people try one, thinking they’re regular cherries and don’t like them due to the sourness.
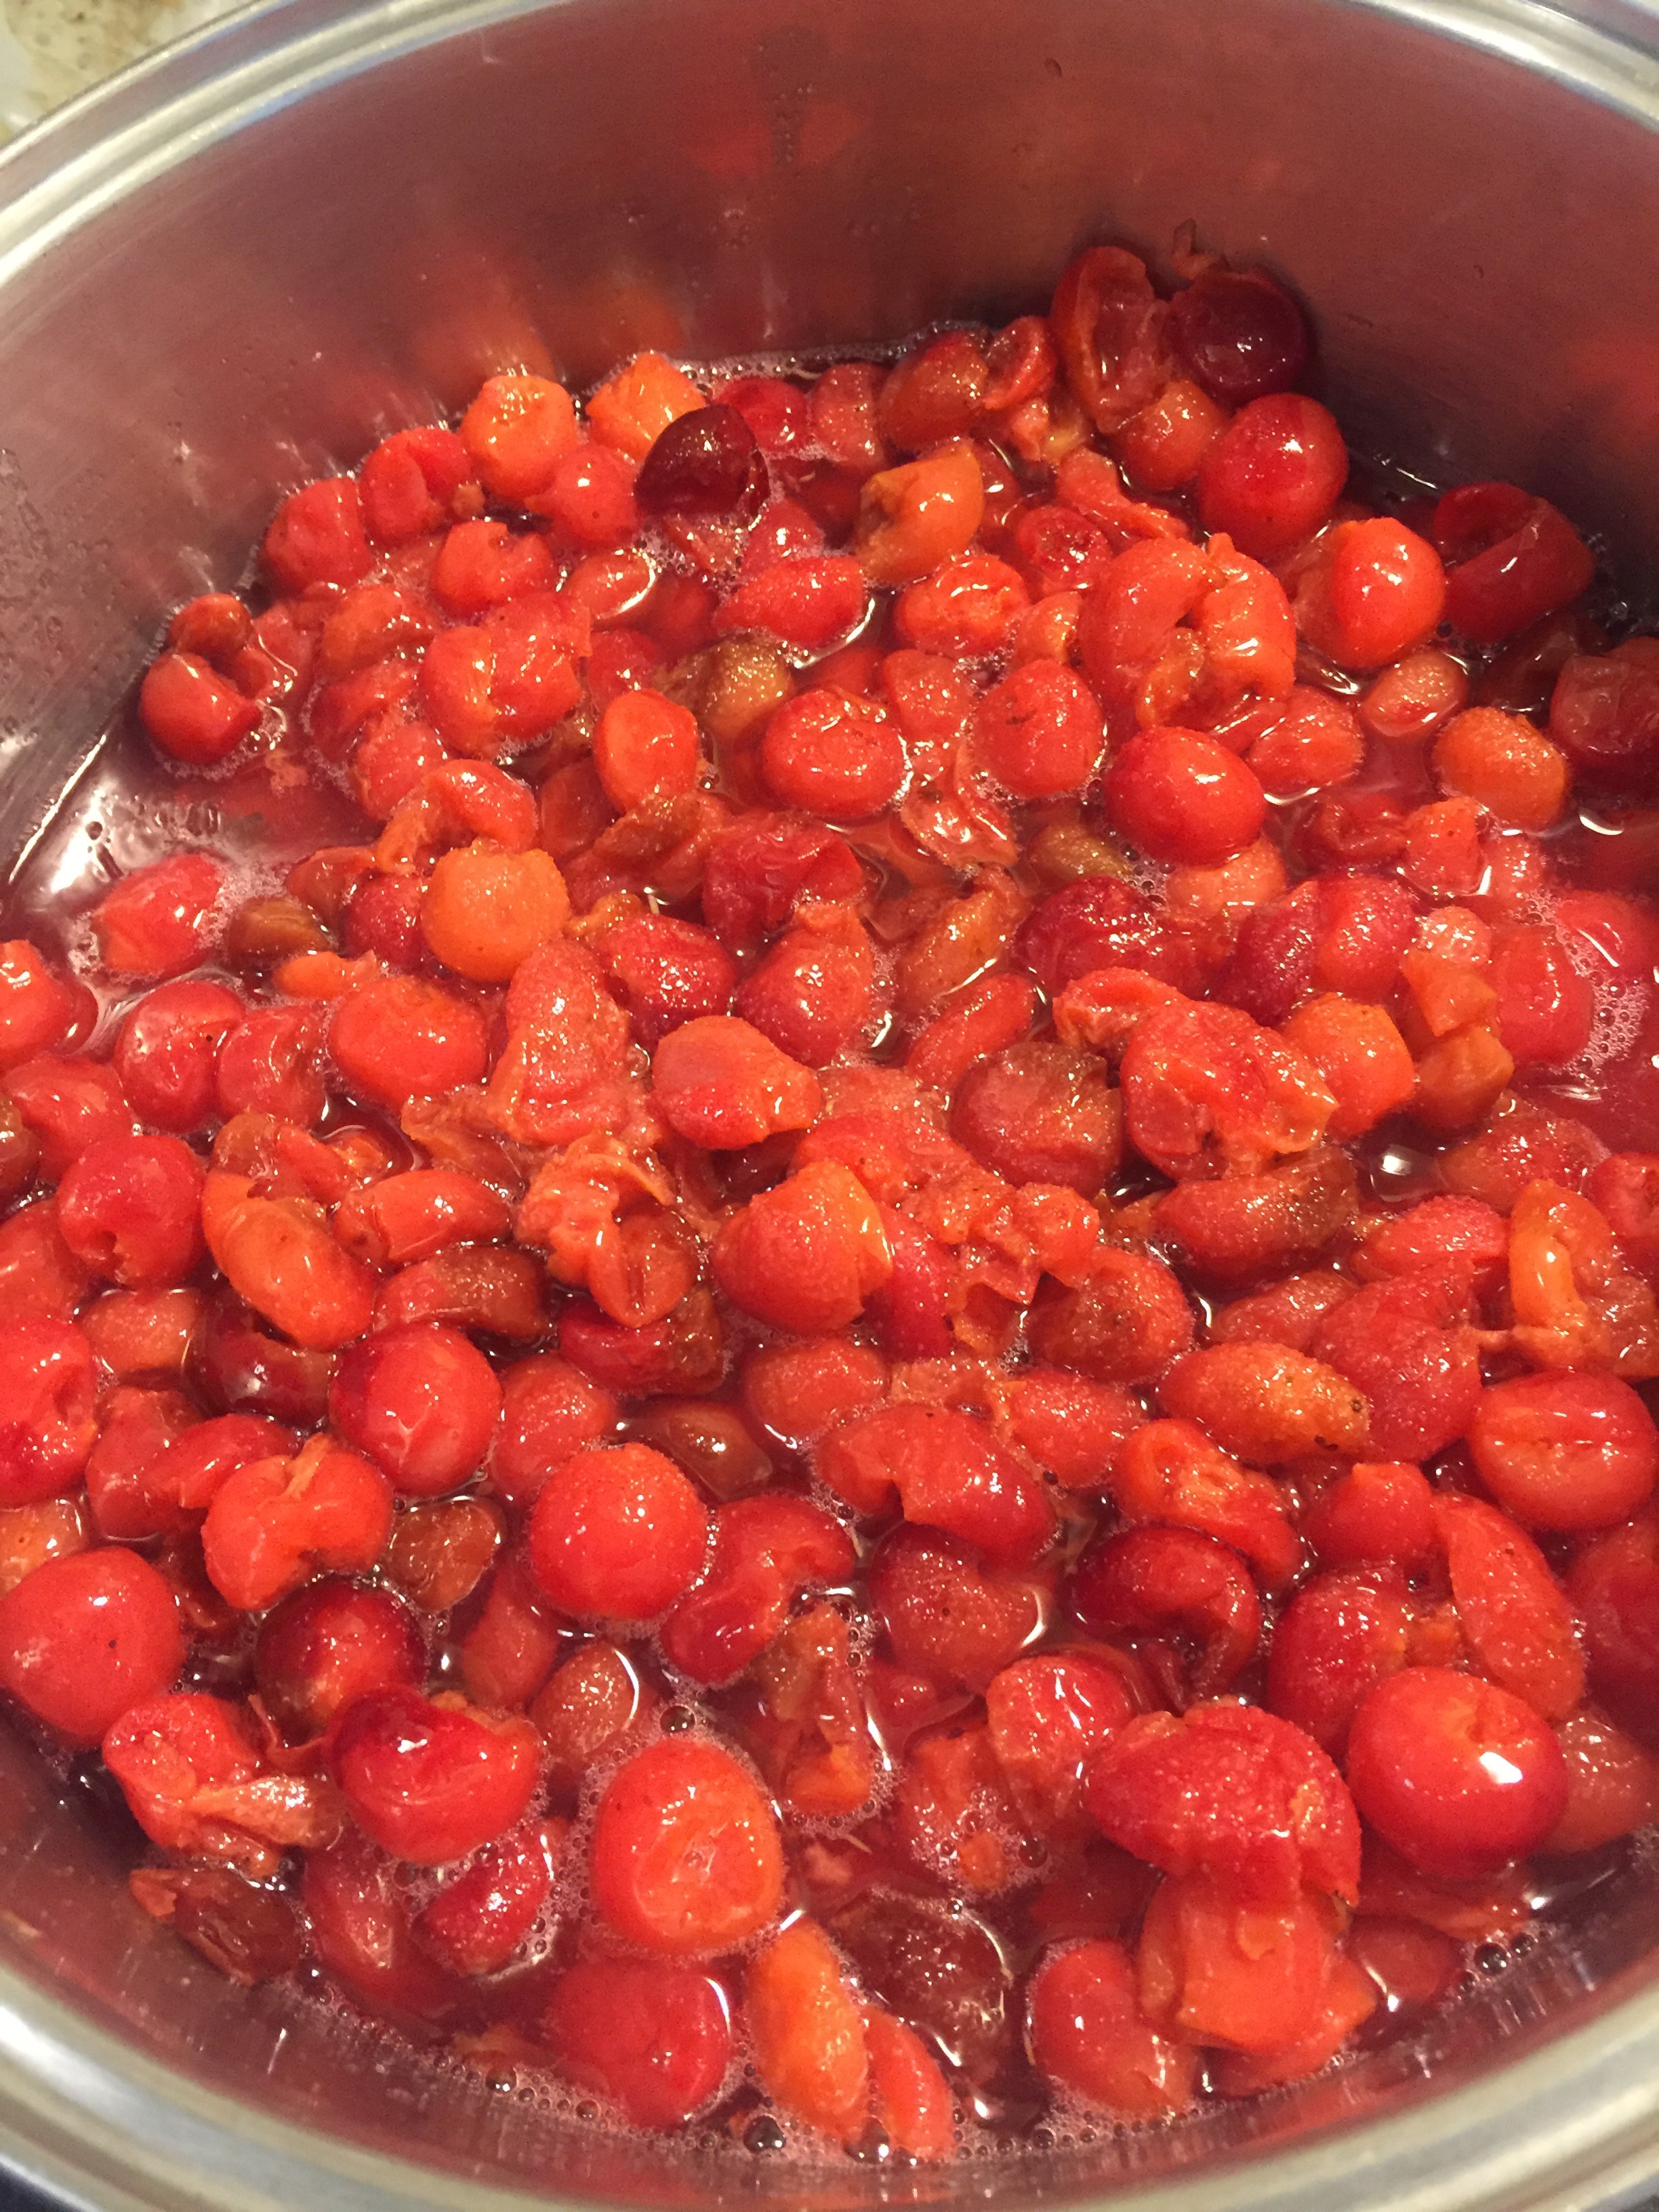
I had enough to make jam so I tried a new recipe. It didn’t set for me but next time I’ll either add pectin or boil longer. It’s still delicious and is being used in drinks and on ice cream.
I took 12 cups of pitted sour cherries and 5 cups of white sugar. Bring to a boil and left it boiling heavily for about an hour while my jars (8 250 ml jars) were in a hot water bath.
At this point I’d recommend testing for viscosity by taking out a bit and doing the wrinkle test.
I was impatient I guess and just canned it at that point. I left 1″ headspace in my jars and then boiled the jars for 10 minutes. They then sat on the counter for 24 hours while they sealed and cooled.
If you didn’t want to go this route, sour cherries are also good dehydrated with a bit of sugar, or frozen and added to baked goods.
Foraging Garlic Mustard

Let me start off by saying I meant to blog this last week but I ended up with a sick kid and TWO emergency visits to the vet with my dog (that was an unexpected nearly $1000 bill!) and I’ve been making as much products for my business as I can to make up for the expense.
Anyways, garlic mustard grows nearly everywhere. It’s one of the first plants to come up in spring and most people think it’s just a weed. It’s all over my yard right now and the park we go to is full of it, it’s very easy to get lots of it.
The smell is obviously oniony/garlicky. I’ve seen people add it to salads but I personally like to make it into a pesto with lemon juice or just purée it. Then I put it in ice cube trays and freeze it, adding it to dishes as I need.
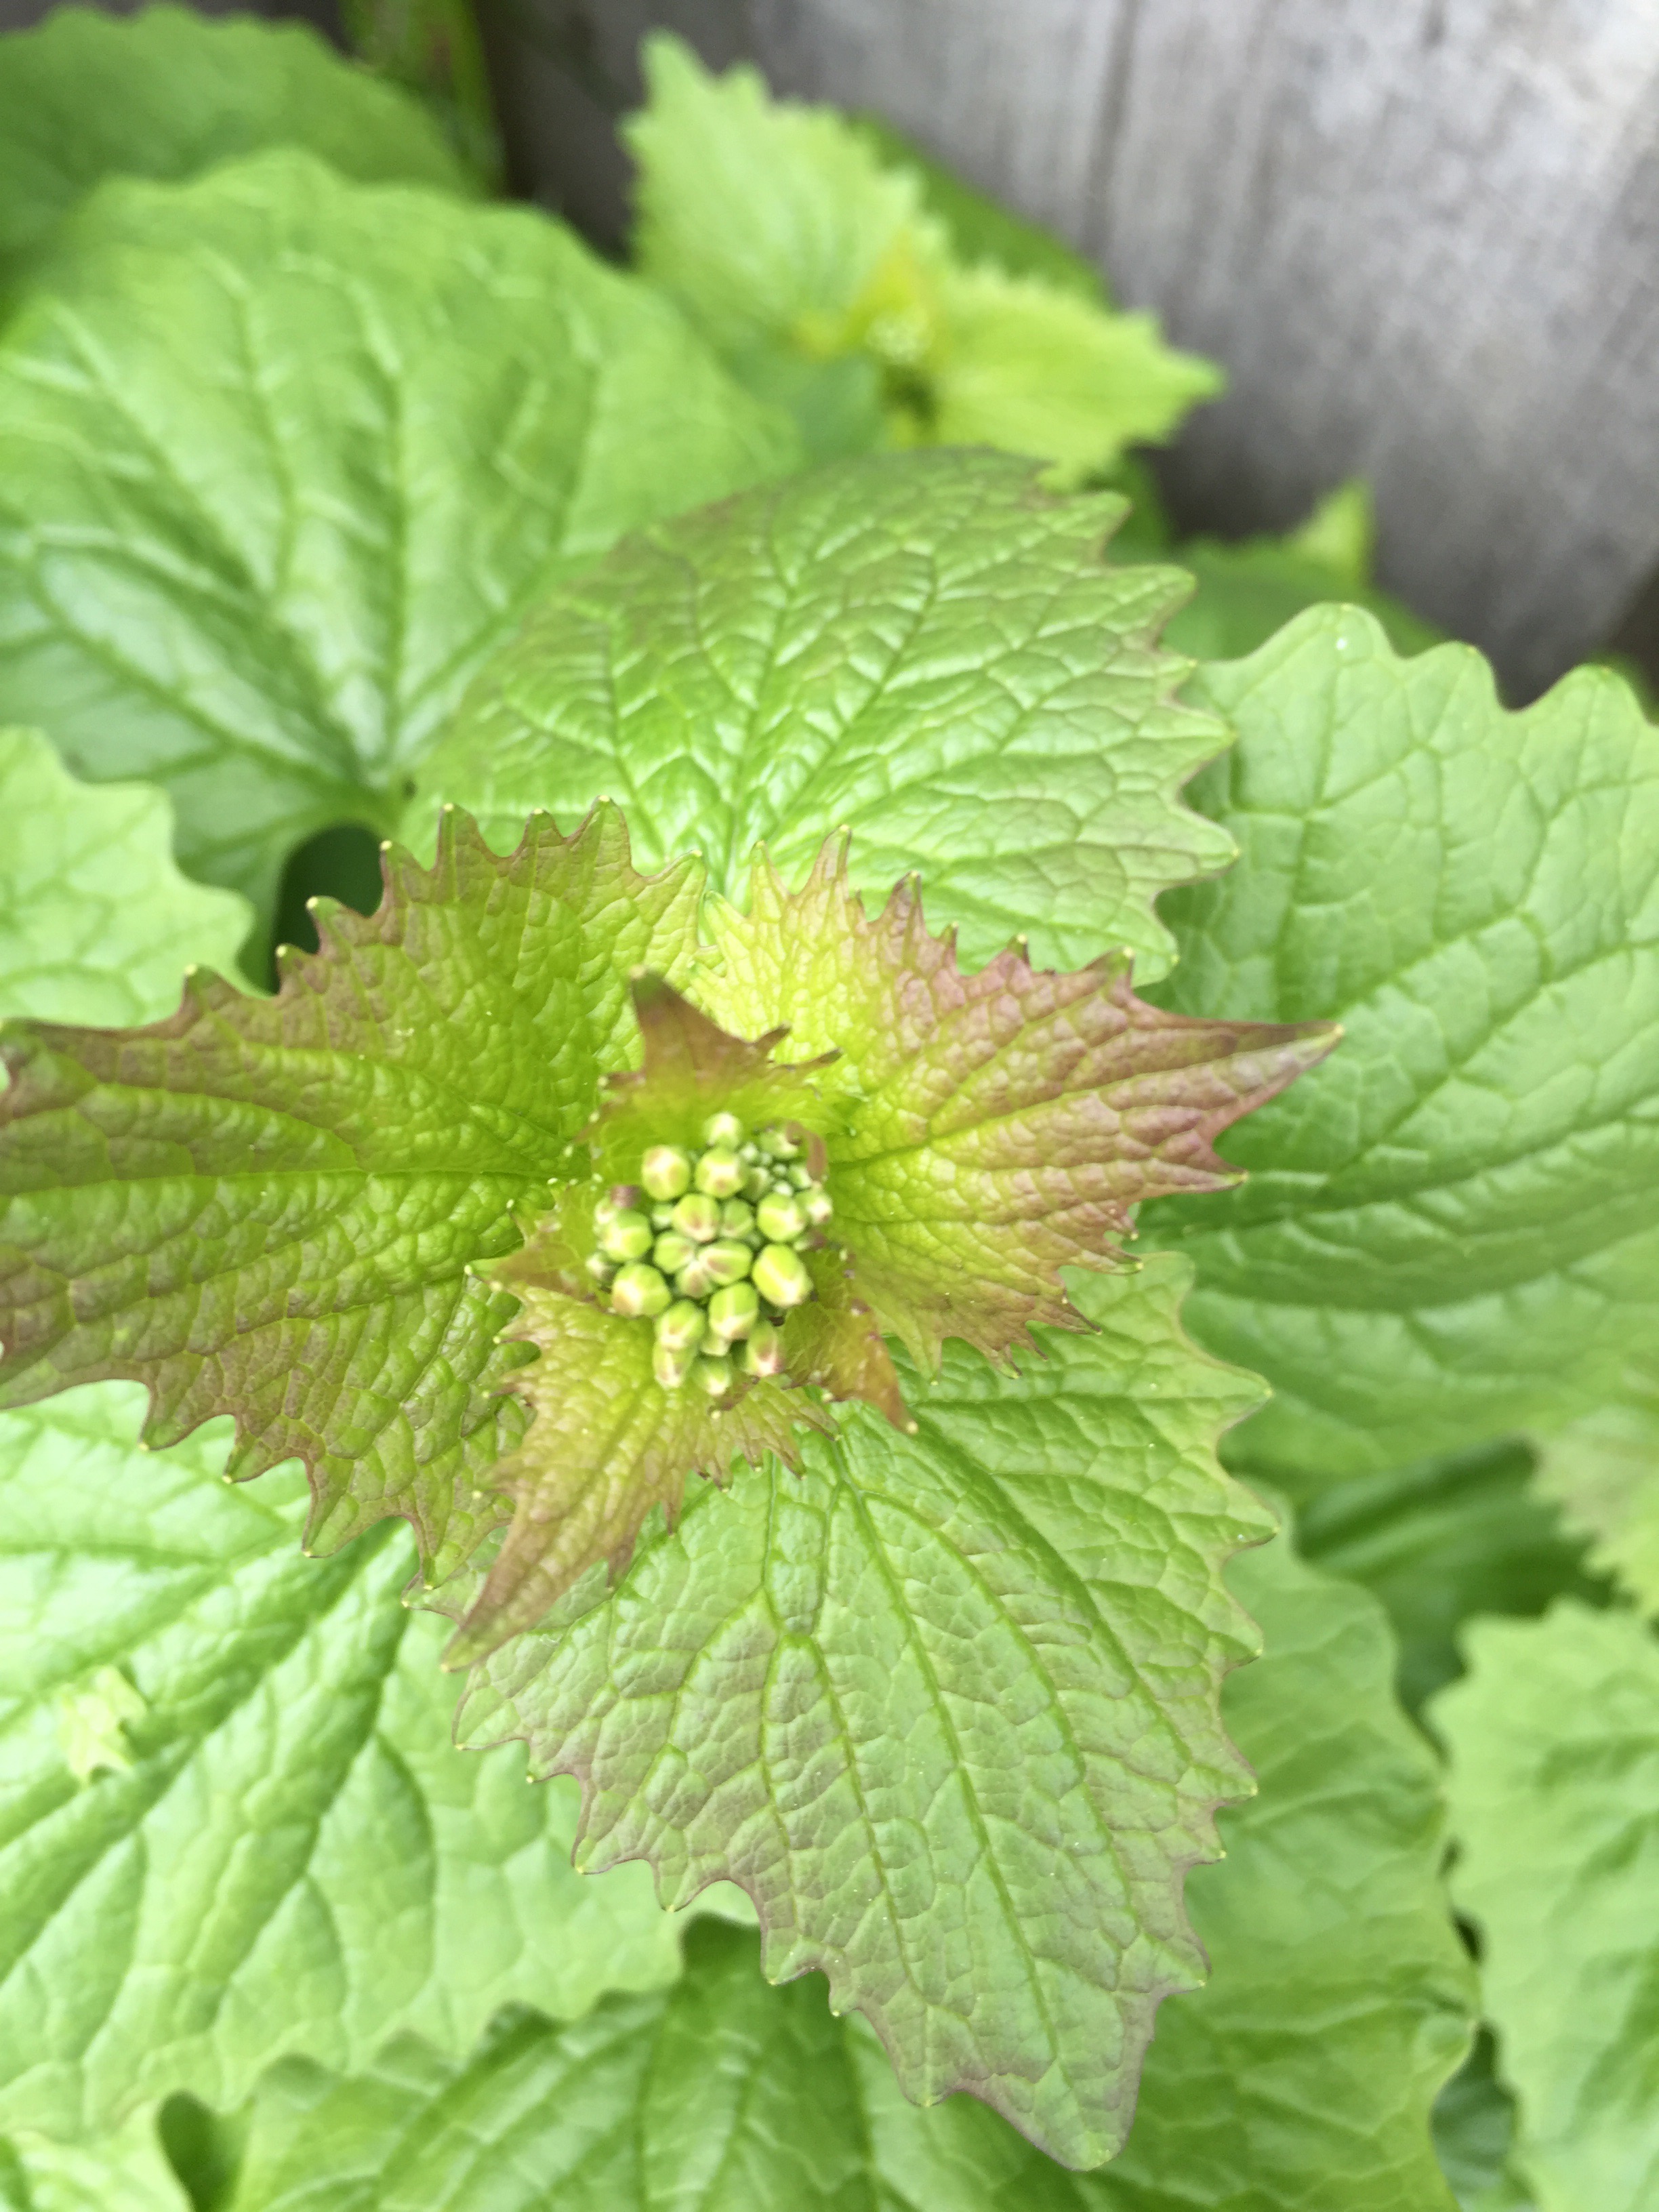 (My camera did well for this pic! I love it)
There’s a close up of the leaves and flowers, when the flowers open they are small and white. There’s lots of information around the web on garlic mustard so make sure you research before you forage!
Good luck finding it and I hope you like it!

Seed bombs!
Here’s a fun little project you can do with your little preppers! Seed bombs are little balls made of seeds and growing medium. The ones we made were clay, soil and seeds.
You need:
4 parts air dry clay (found here)
1 part potting soil
1 part seeds
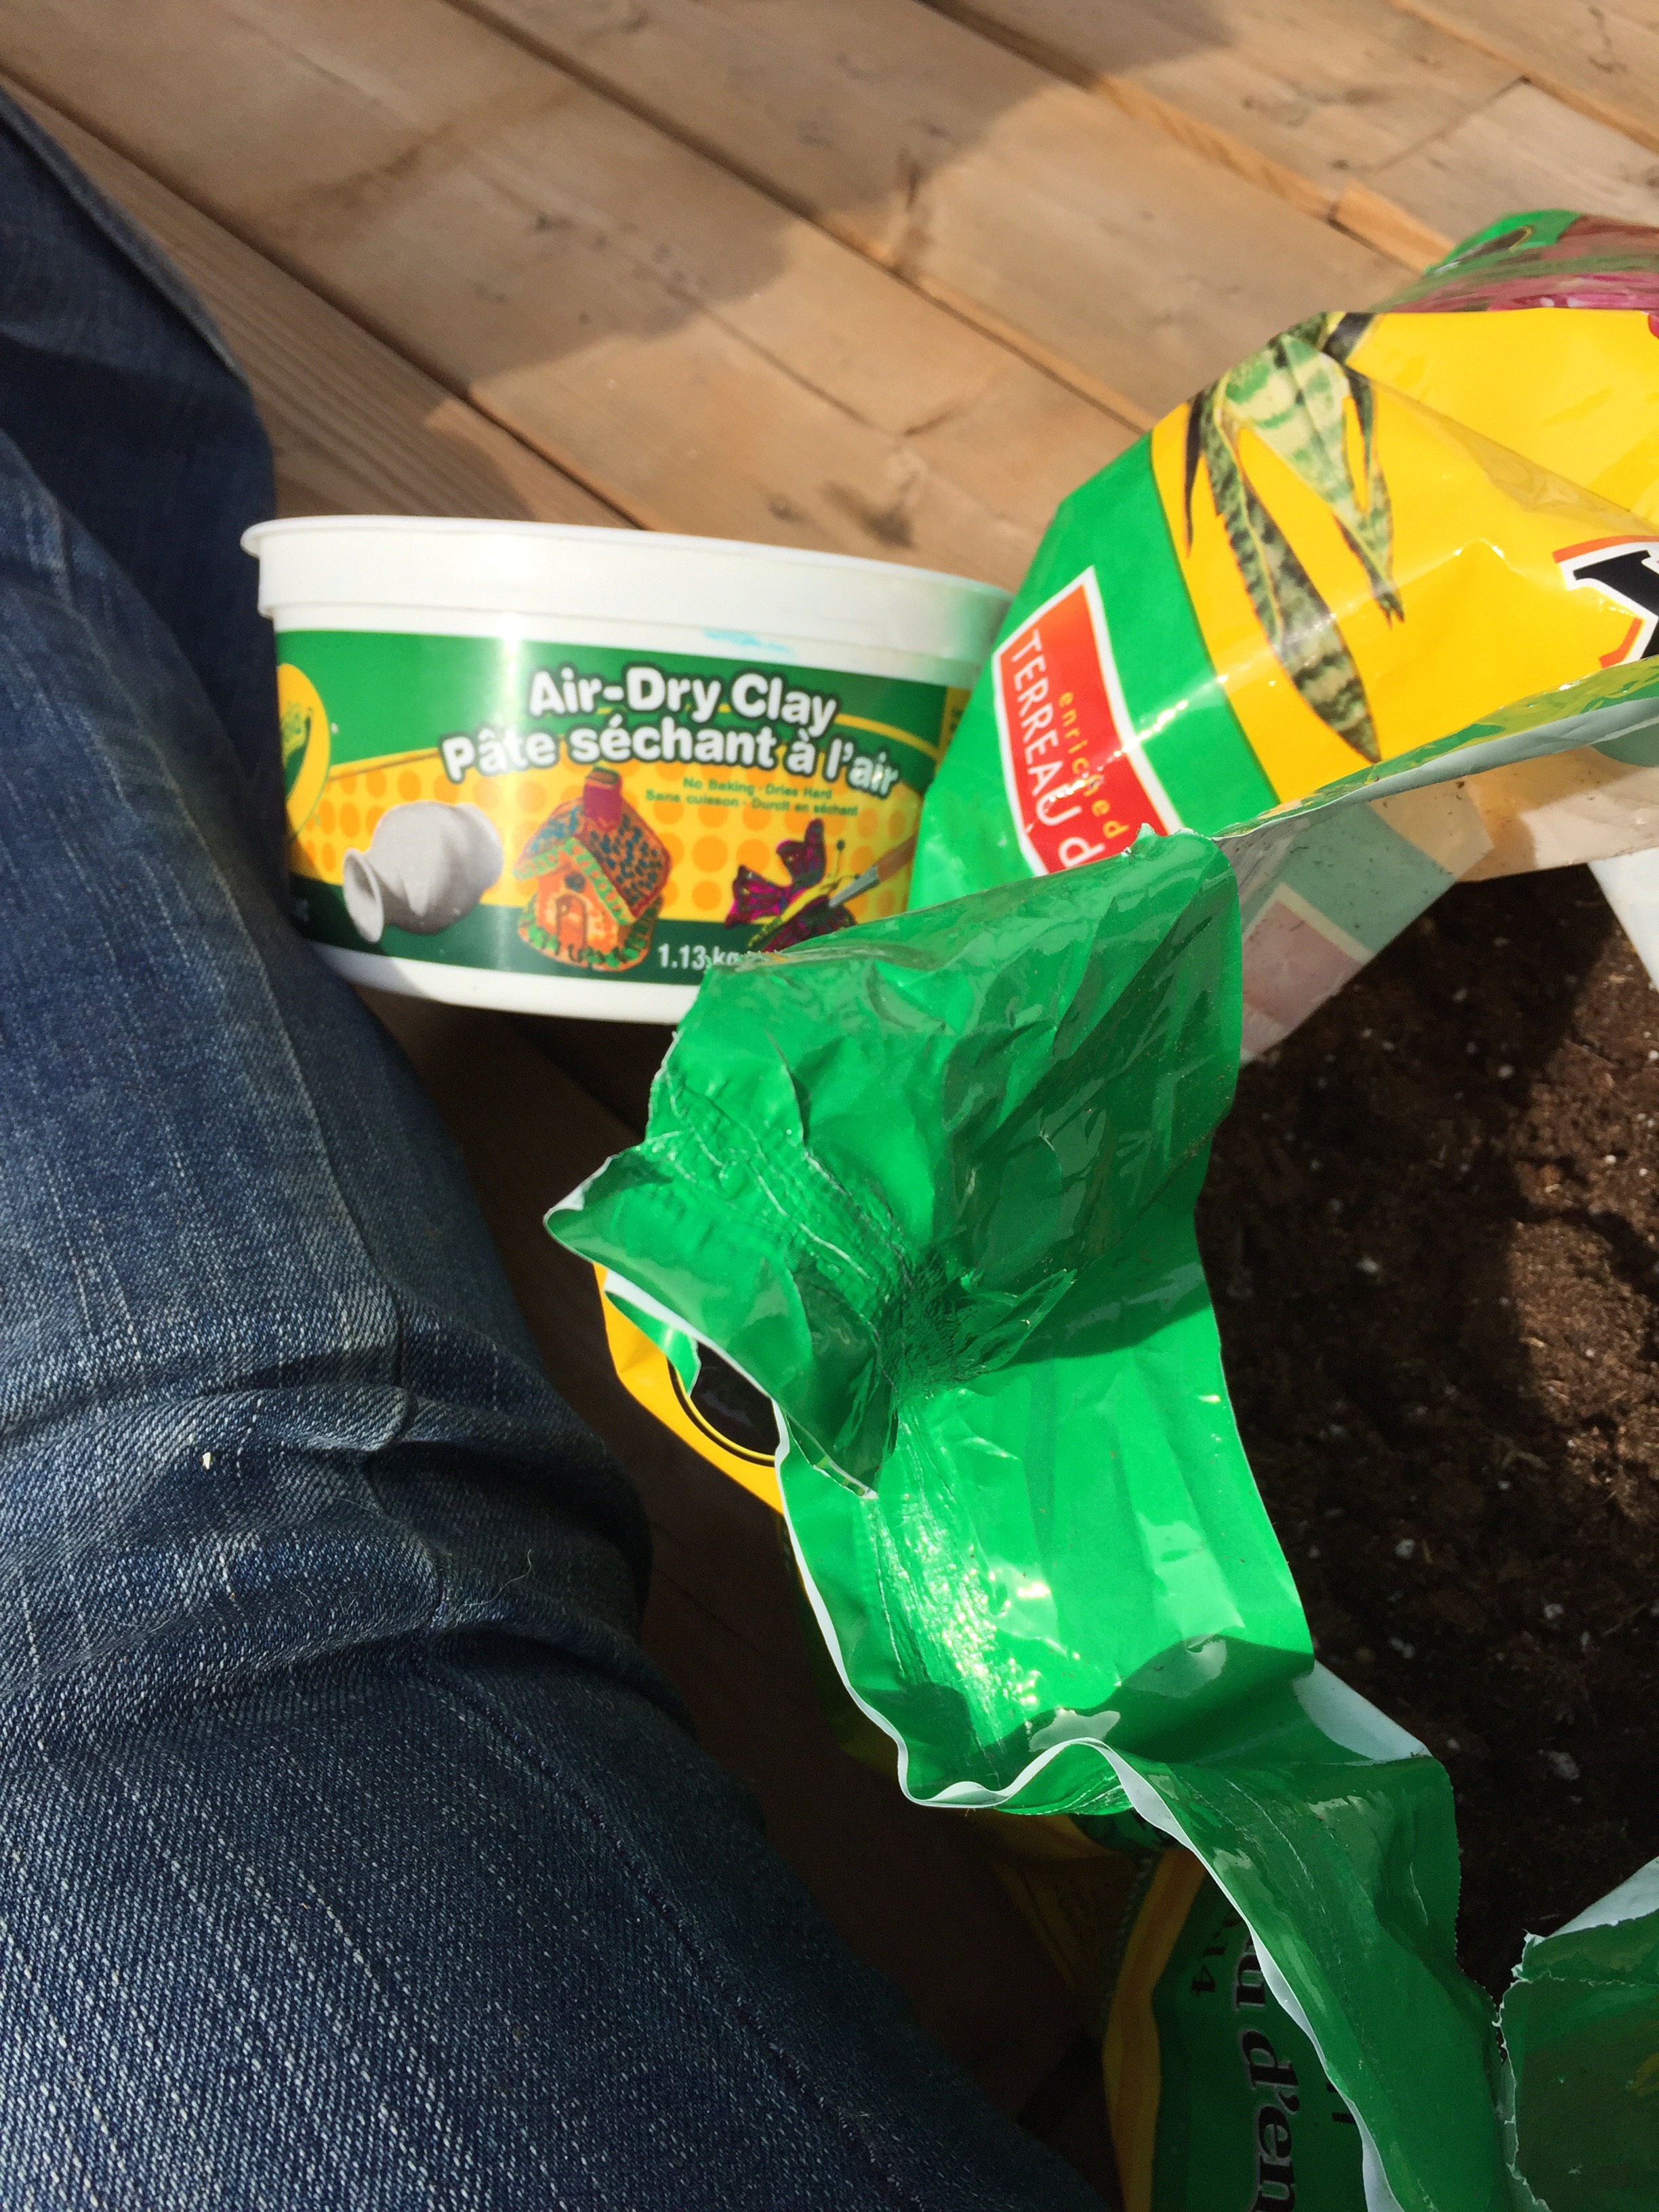
Mix your clay so that its pliable, add in your soil and then add in your seeds. We made two types of seed bombs: one with local edible and medicinal herbs and the other with wild flowers.

Let them dry 24 hours and then spread them around! A great way to beautify (or make usable and an additional prep!) an empty space!
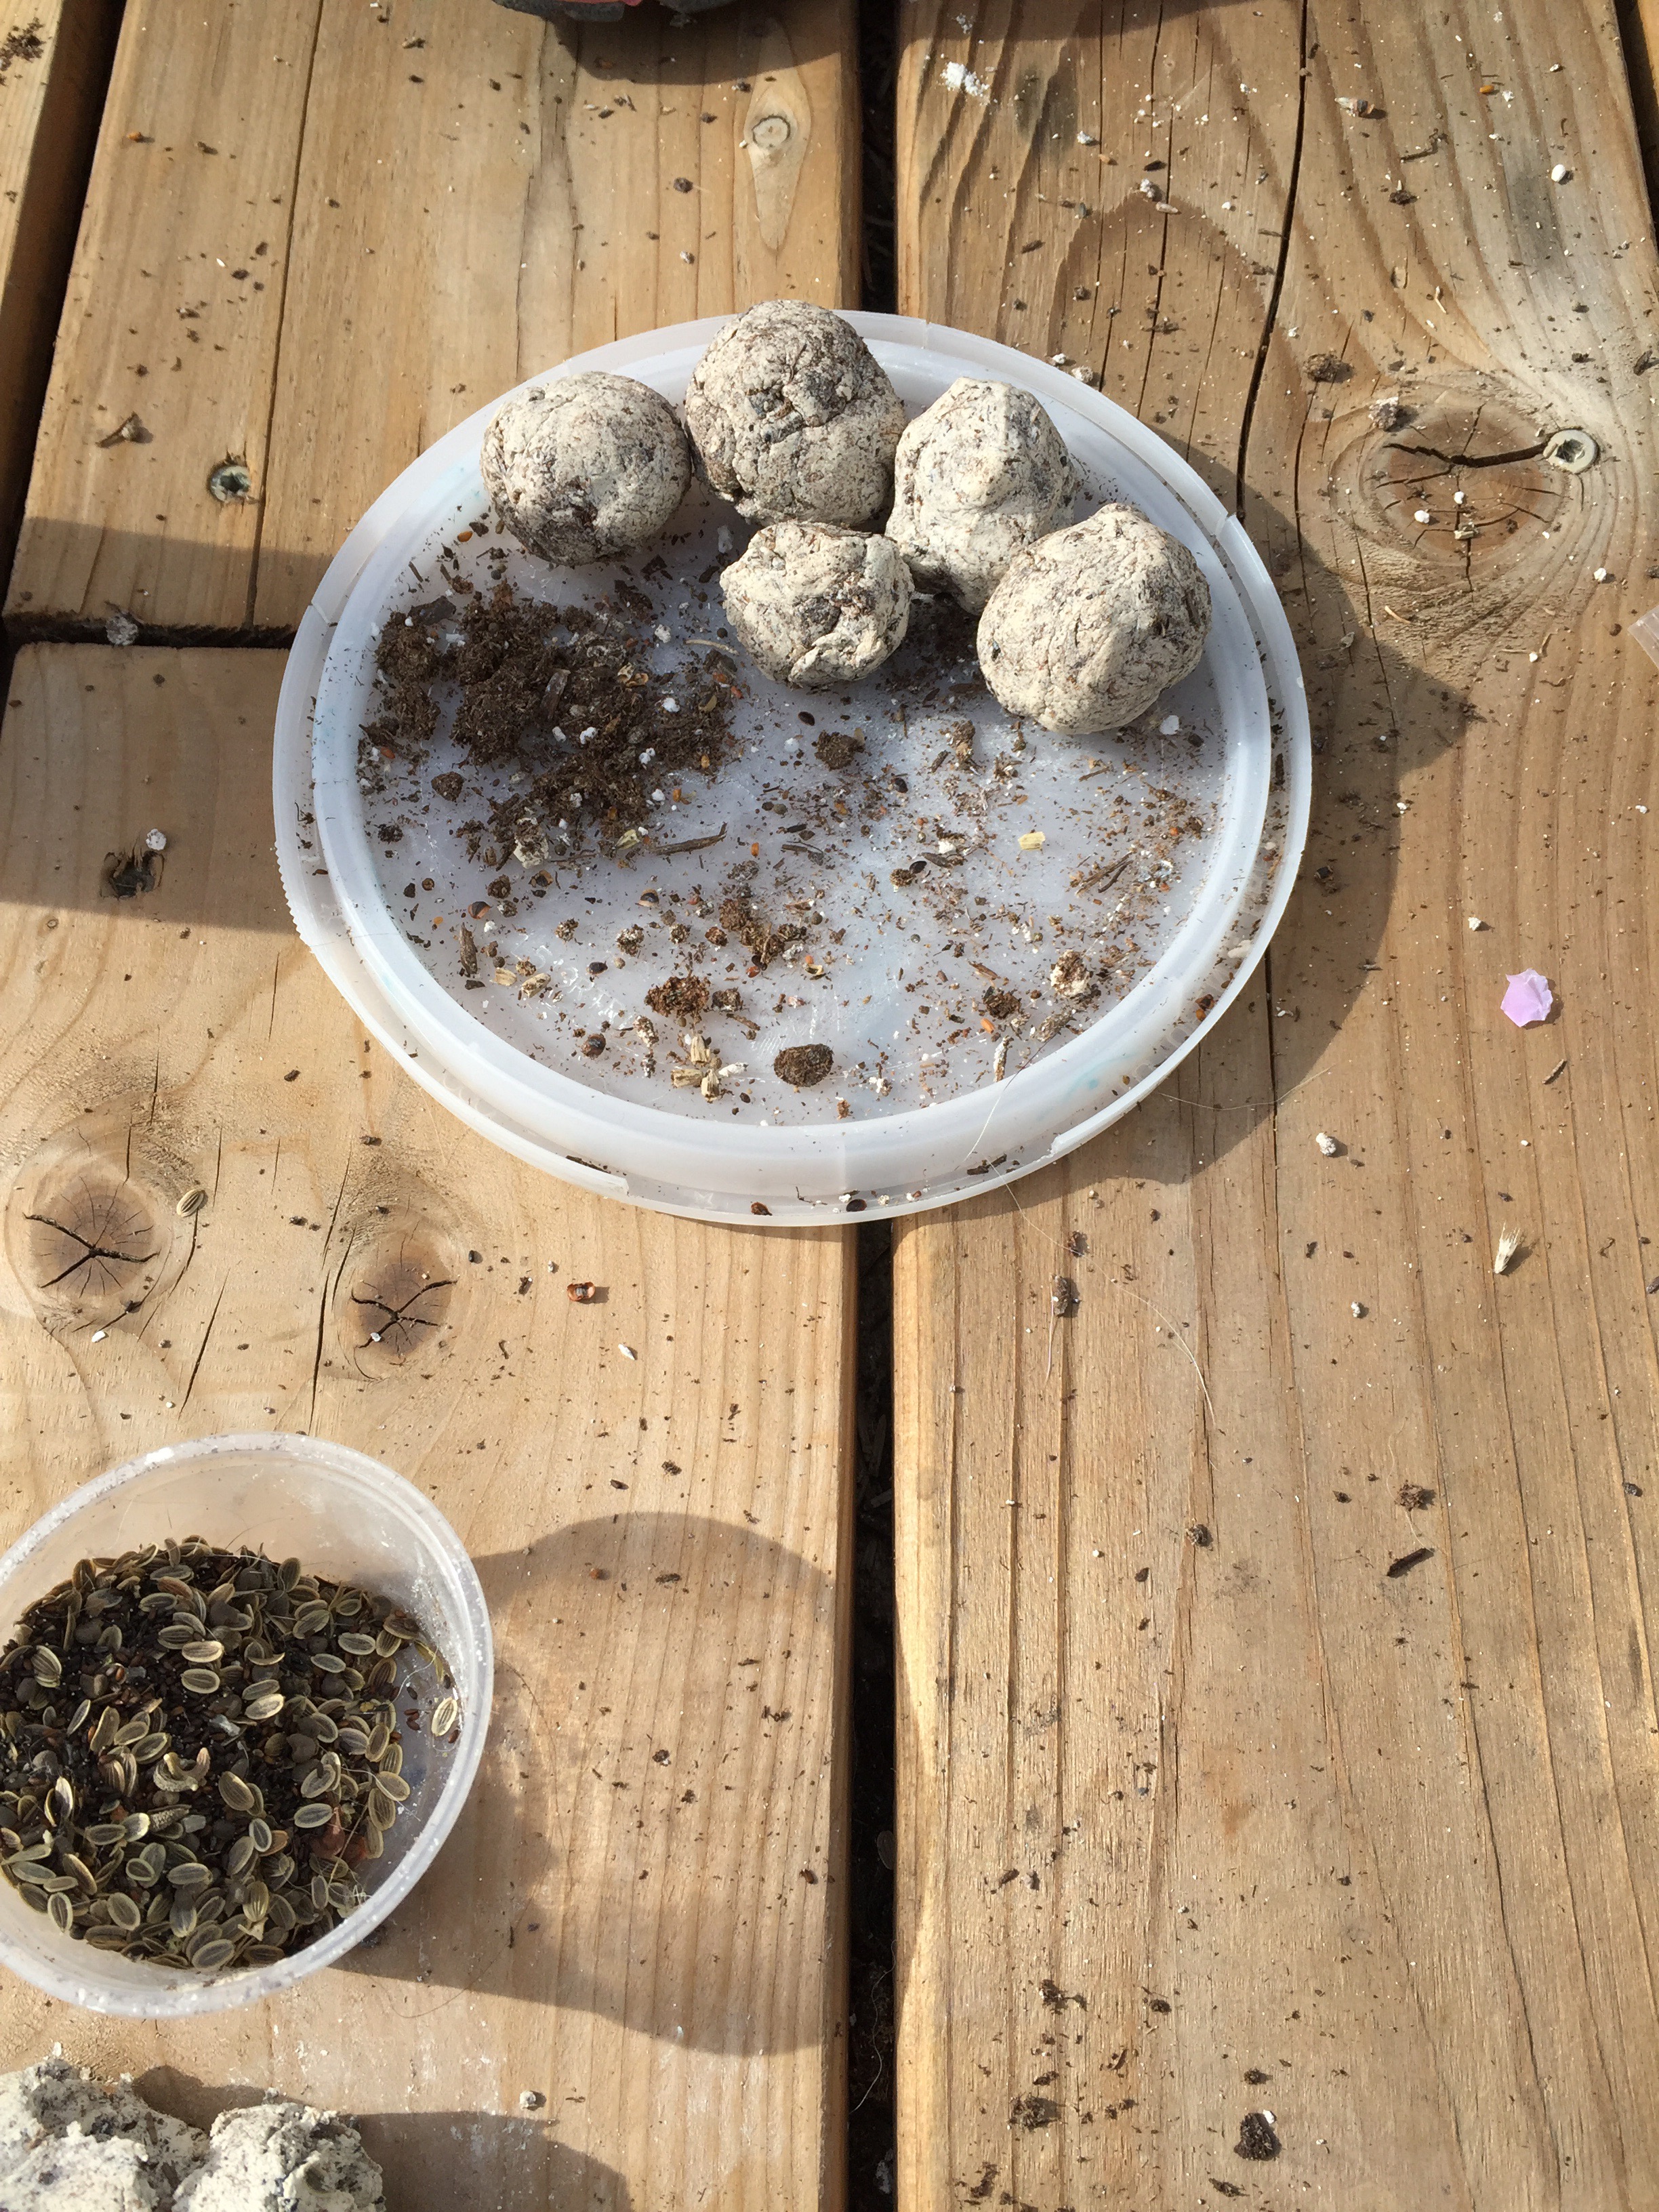 Here’s the ones the kids did!
Love the idea, don’t have the time? These things seem to be popular on etsy and you can find them there (including my shop soon!). Get out there and guerrilla garden!

Prepping with Pumpkin
Tis the season of the pumpkin!
A couple days after Halloween, a friend of mine asked me if I wanted some pumpkins left over from landscaping. They were large and hadn’t been carved so I said sure! I hate to see them go to waste.
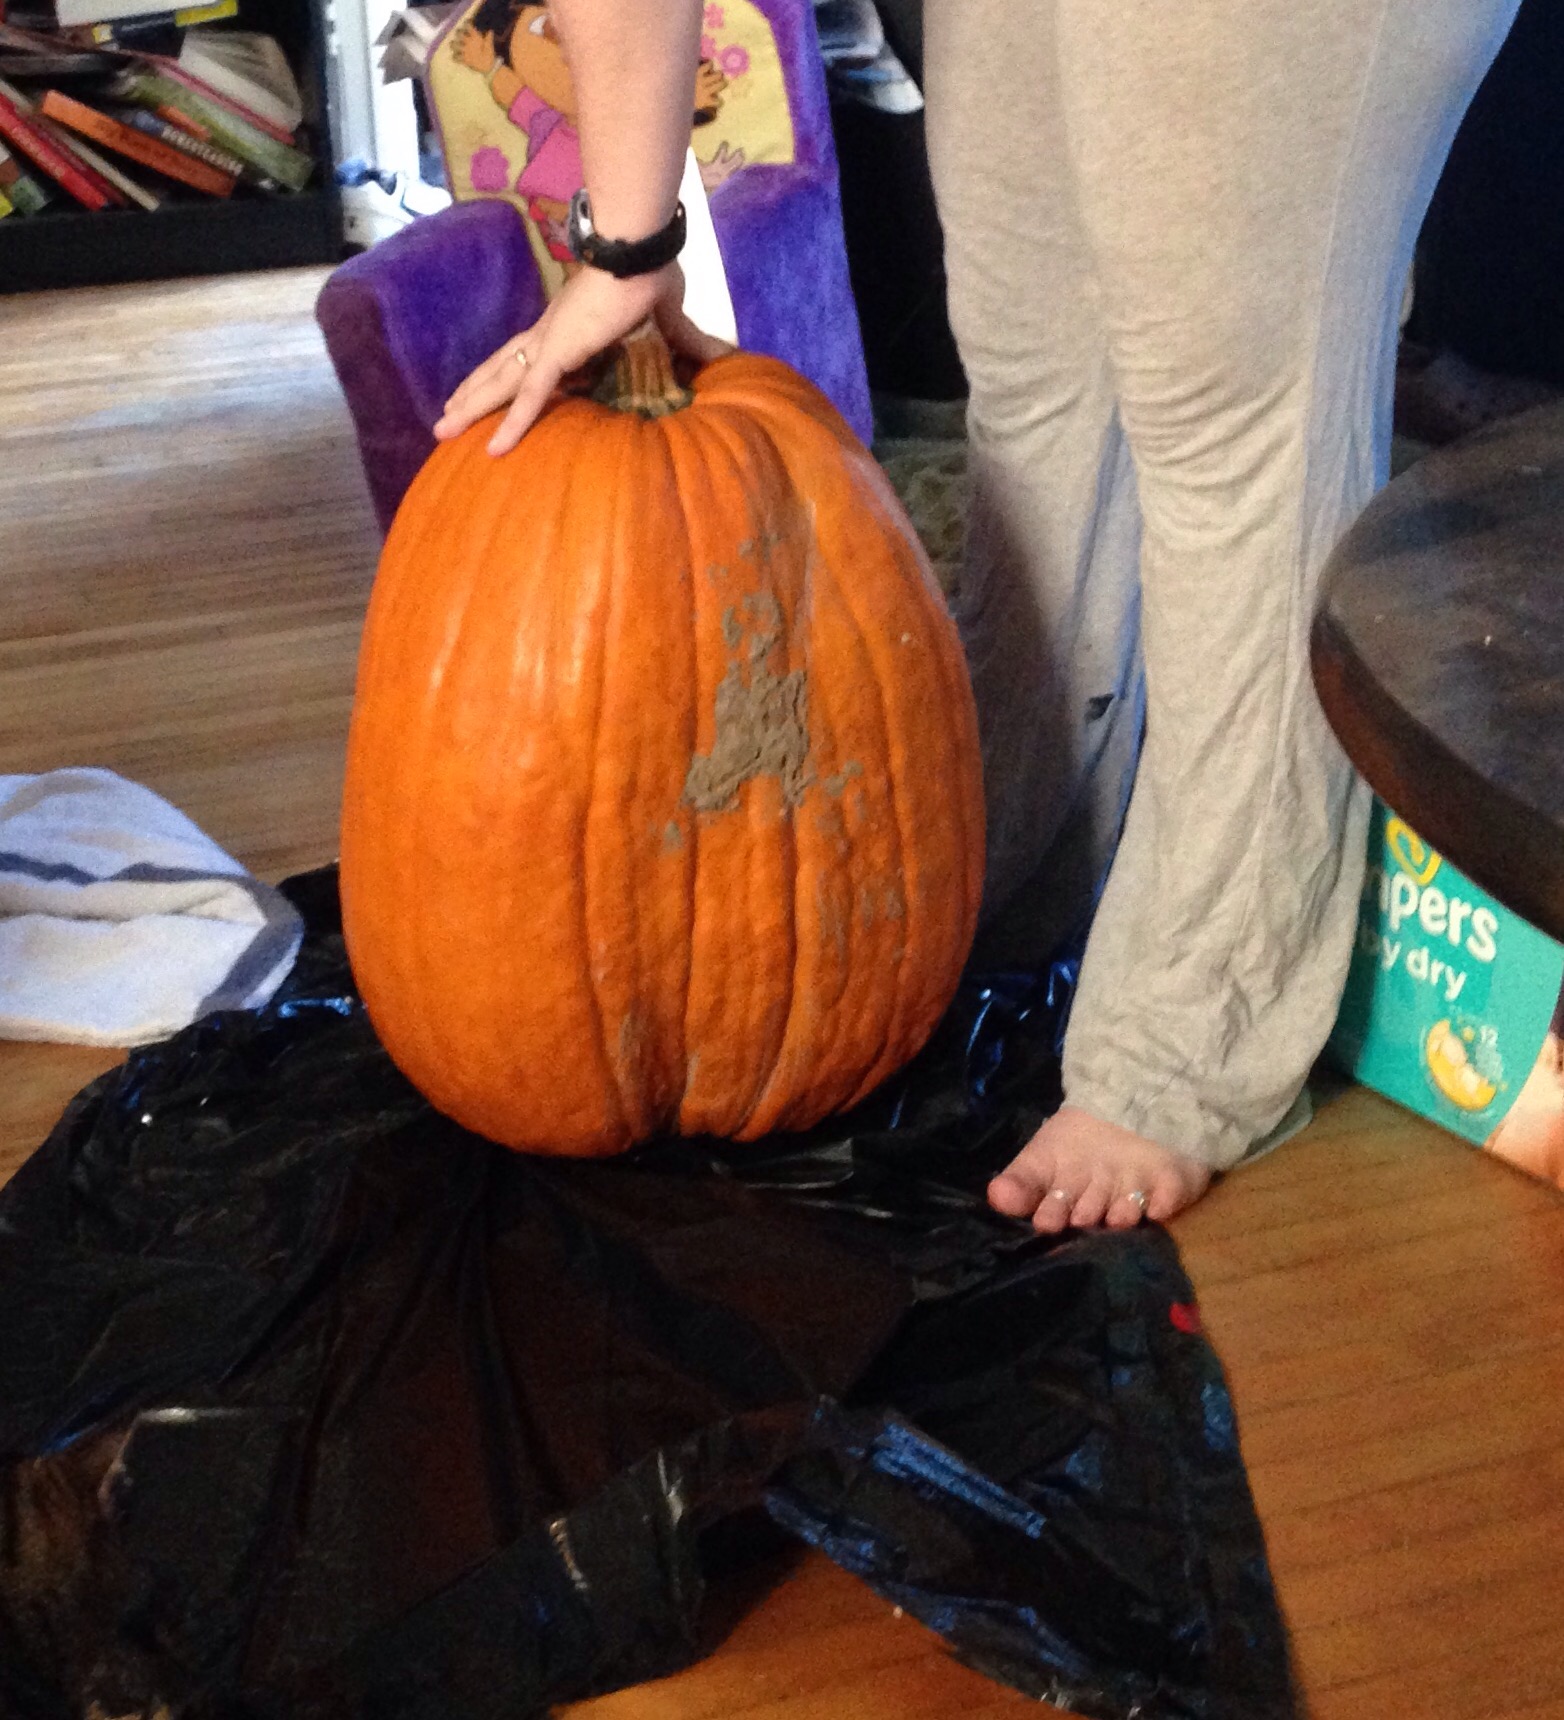 This picture is the smallest of the three I received.
Two I opened up, gutted and saved the seeds then cut up and roasted the flesh for puree (more in a sec). The third made for great machete practice!
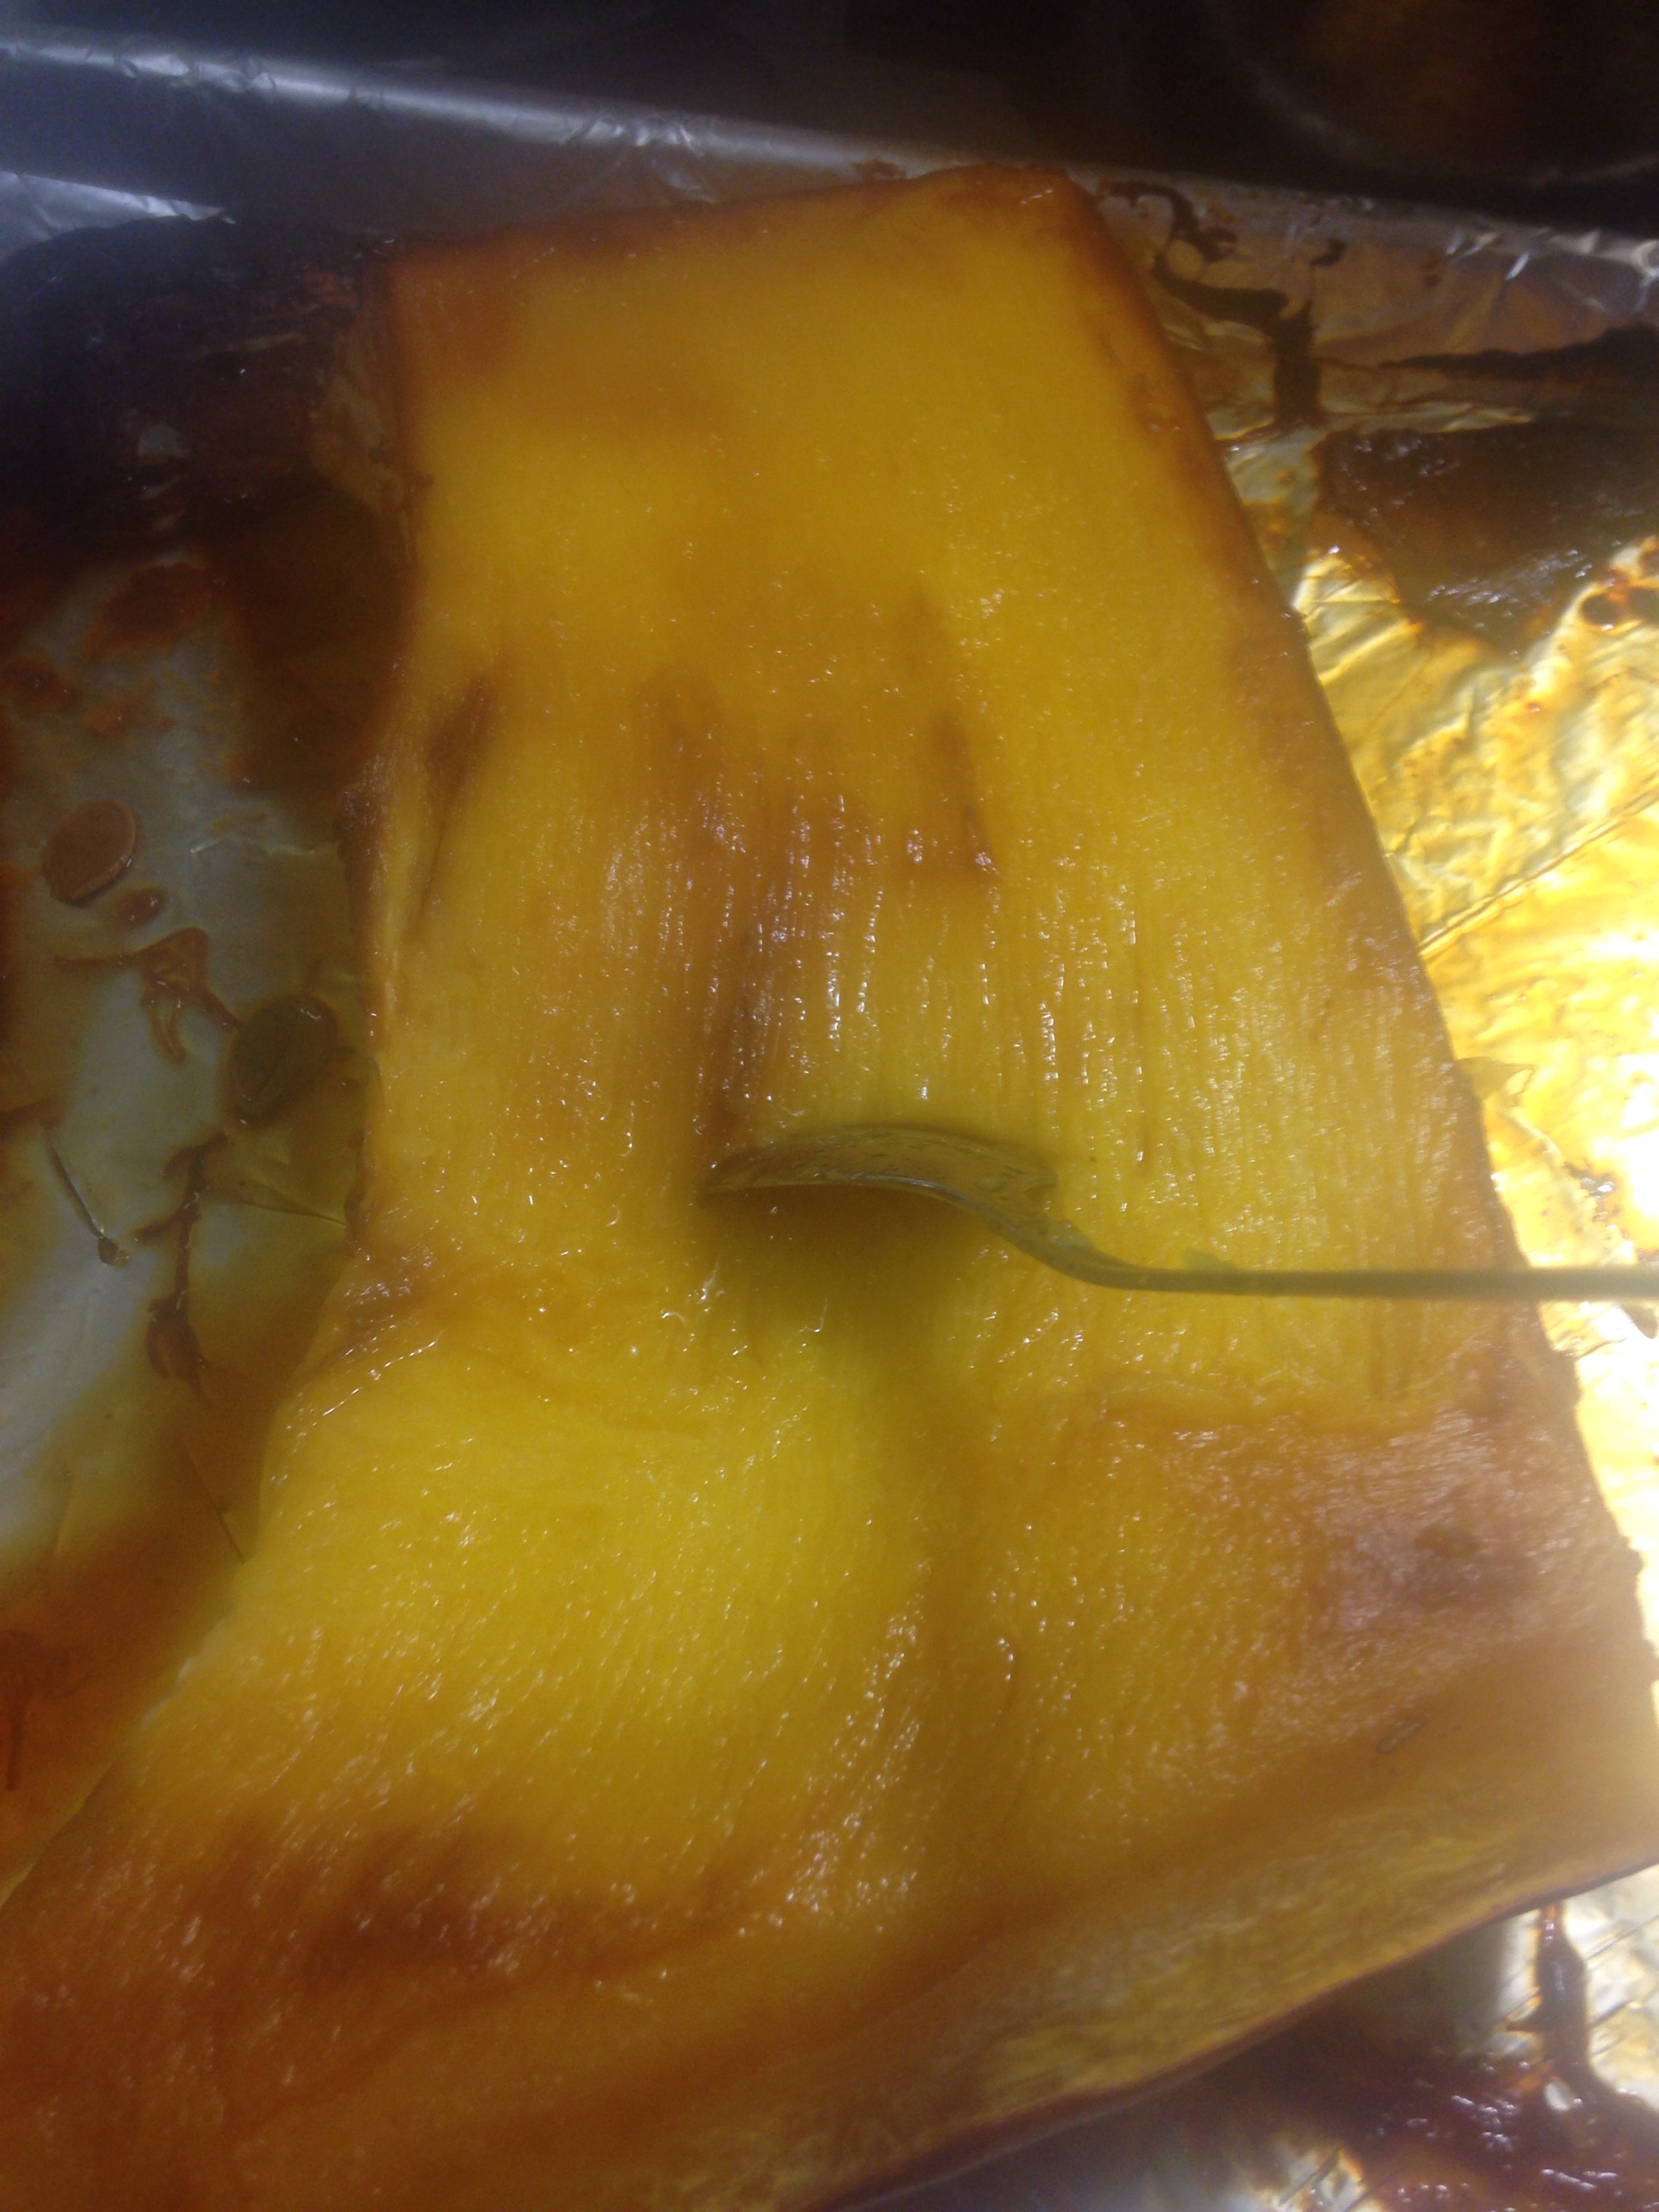
To make the pumpkin purée, I cut the flesh (after scraping etc) into manageable sized chunks and put them on a cookie sheet with skins up. I baked them at 350 F for about 2 hours (they had super thick flesh, start at 45 minutes, it’s ready when a knife passes easily through). Let them cool a bit then scrape all the good stuff off the skins with a spoon and let cool further. The skins then went into my compost.
The roasted flesh then went through my blender (but you could easily use a food processor or food mill) then into freezer bags.
If you’re freezing it, get as much air out as possible and freeze flat. You can also dehydrate the pumpkin purée, if you don’t have the fruit leather tray covers, use parchment paper to line your trays.
Half the seeds I roasted for a snack for my family and the other half will be planted come spring.
Pumpkins are cheap and plentiful this time of year, with many grocery stores putting them on clearance after Halloween or thanksgiving. Don’t pass up your chance for a whole lot of food for little money!
 About 3/4 of the above pictured pumpkin.
Chive Seeds
Tis the season for gardening and any prepper can tell you that the more food you can grow on your own, the better.
I have a huge clump of chives in my back yard. They come back every year and spread from their roots so I had no idea they had seeds or that I could harvest the seeds to share.
To start, you need to find a clump of chives that has flowered. Select flowers that have mostly dried out.
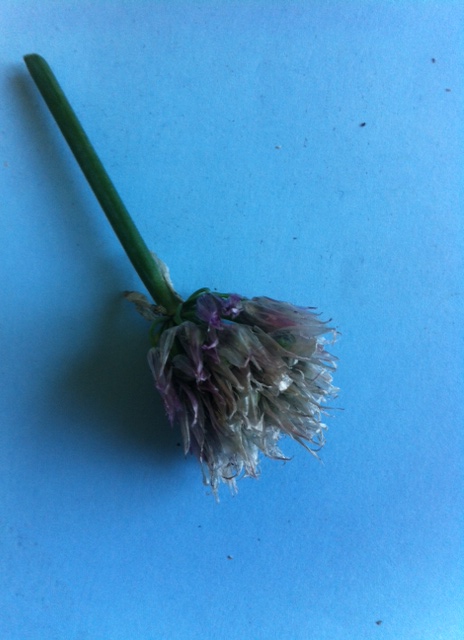
The tips of the flowers should be white and thin like tissue paper. The next thing I do is separate the flower blooms from the stem, to make them easier to sort.

The dry flowers I set aside for processing and the not so dry flowers I either let air dry for a few days or compost if they are not even close to being ready.
When you pull apart the flower, inside you will find a dark green to black ball, this is where you will find the seeds. Cut this apart, it should divide into three parts, leaving you with some sacks covered in a thin green film.

In each of these sacks is two chive seeds, gently remove the green film to reveal two small black seeds. Set the seeds aside to dry (I put mine on a paper plate away from any breeze) and then store. Chive seeds can be finicky and may only last a year even under optimal storage, so be sure to share with your friends.

Here is a link for some chive seeds if there are none local to you : https://amzn.to/2UcXfyR
Bee Plants
I believe it was Albert Einstein who said that without bees, the human species would go extinct within four years.
Honeybees are so essential to our entire food supply and they’re dying off in scary numbers. Between colony collapse and sheer lack of food, our honeybees are disappearing. In my city, we can’t own bees without a whole lot of paper work and fees and inspections etc, etc, so I decided to dedicate part of my garden to bee friendly plants.
Since I live in Canada, I can be somewhat limited to what plants will live here. This year the weather has been especially all over the place (to the point where several people I know had their furnaces on last night, almost a full week into June) and I’ve only seen two honeybees in my yard. But here’s a quick list of what I’ve planted that my local bees seem to love.
Lavender – I have several lavender plants that I used to use for my soap business but even when I harvest, I leave several stalks that are constantly visited by our bees.
Bee balm – (monarda) produces amazing spiky flowers and is always surrounded by bees.
Strawberries – although I don’t grow these specifically for the bees, the flowers bloom fairly early and give the bees something to pollinate before the other plants show up.
Clover – I have a small piece of the property that isn’t maintained and it is crawling with clover. Anytime I pull up clover from any other part of the lawn, I throw it there to help seed it. I’m sure we’ve all heard of clover honey?
Lilac – although this plant belongs to one of the neighbors and not me, I stay away from it because its surrounded by bees while in bloom.
Most of these plants are fairly hardy regardless of where you are in North America, so consider placing some of them on your land. We all need bees. Please try to avoid commercial insecticides as well and try a natural alternative such as companion planting, soapy water or manual pest removal.
Check out this book:100 Plants to Feed the Bees
Newsprint and the Prepper
I use newsprint for a lot of projects around the house. We get two sets of advertisements and local news once a week and it adds up to a lot of paper. Over the summer I use this paper to start fires but here are three things I do with it in the other seasons.
1.) Shred: I save my flyers for about a month and then spend an hour shredding them (by hand). I keep my shreds in a tupper bin until the summer time when I make them into paper bricks for the fire. I got my paper brick maker from Lehmans (www.lehmans.com) This is an easy and free way to have heat and cooking material.
2.) Spread: Once spring comes and I re-dig my garden beds, I spread newsprint on the bottom. This keeps the weeds to a minimum by suffocating them. By the time the papers disintegrate, the weeds have been killed. I usually do a layer about 3 sheets of newsprint thick.
3.) Seed: I use newsprint to make little pots for starting my seeds. There are little gadgets you can get to help you do this (check here). They stand up fairly easy in my mini greenhouse and the roots have no trouble pushing their way through the wet paper. You can take the whole pot and put it in the ground as is.
