Category Archives: gardening

Seed bombs!
Here’s a fun little project you can do with your little preppers! Seed bombs are little balls made of seeds and growing medium. The ones we made were clay, soil and seeds.
You need:
4 parts air dry clay (found here)
1 part potting soil
1 part seeds
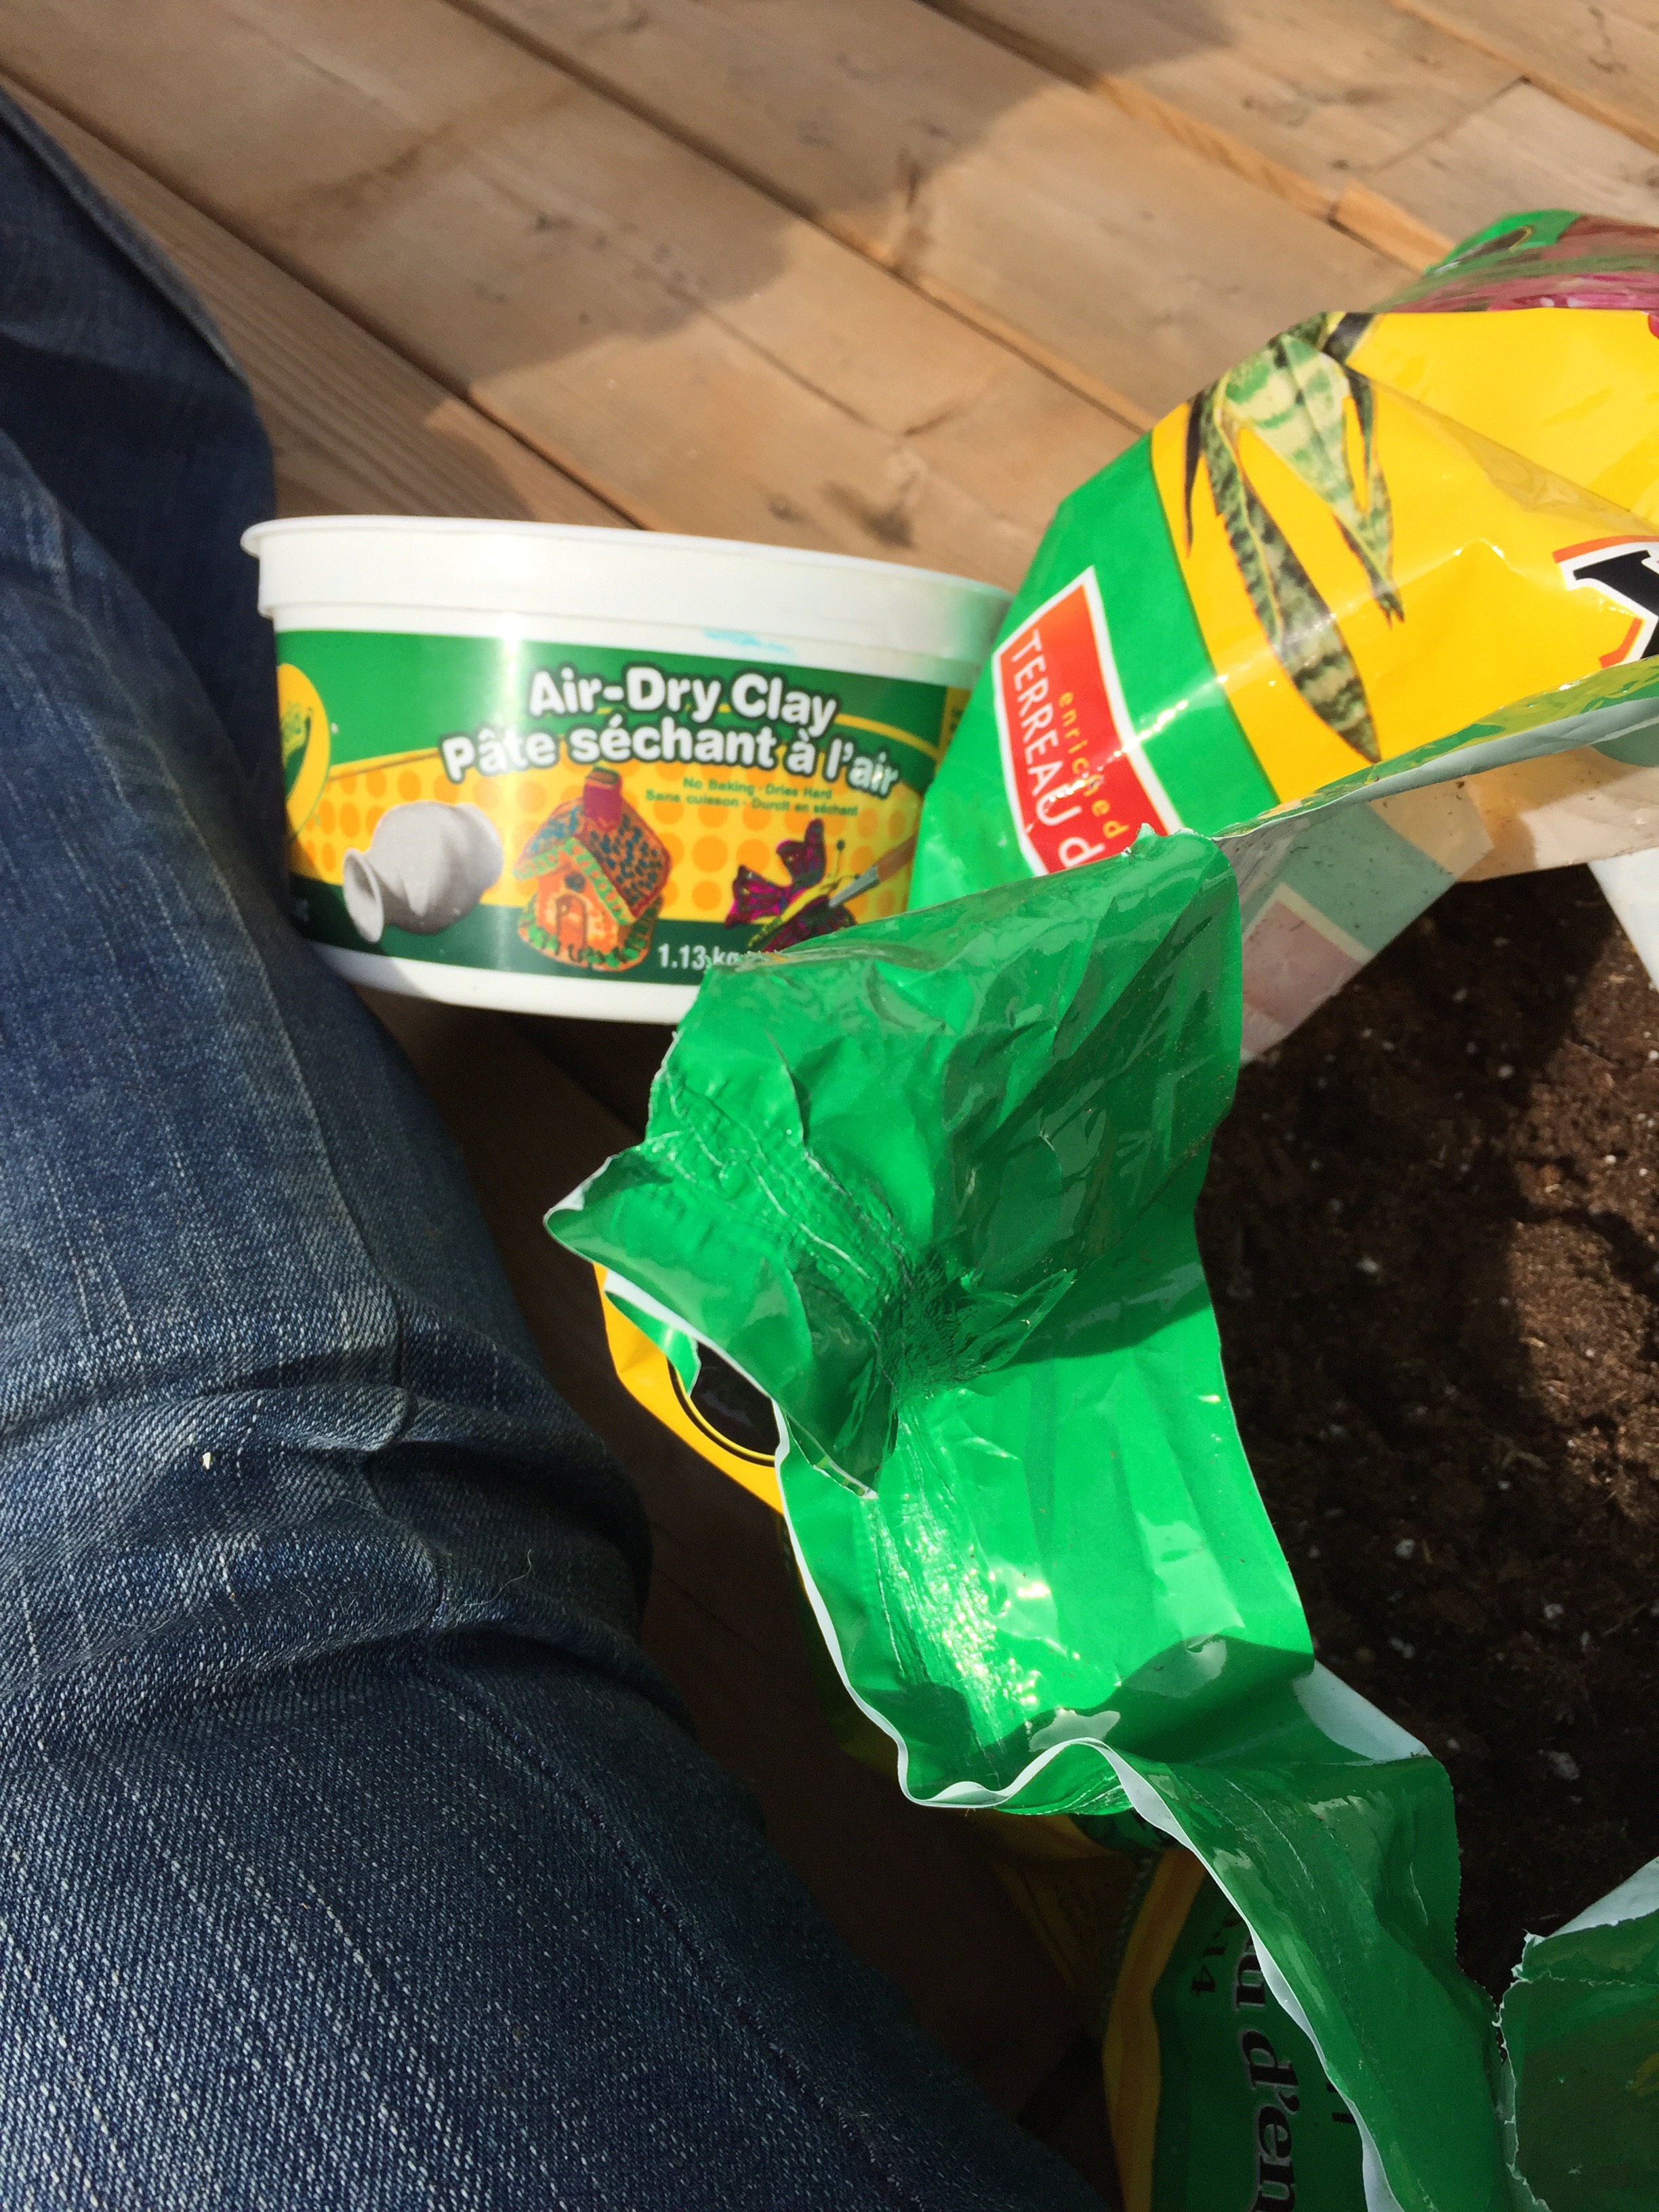
Mix your clay so that its pliable, add in your soil and then add in your seeds. We made two types of seed bombs: one with local edible and medicinal herbs and the other with wild flowers.

Let them dry 24 hours and then spread them around! A great way to beautify (or make usable and an additional prep!) an empty space!
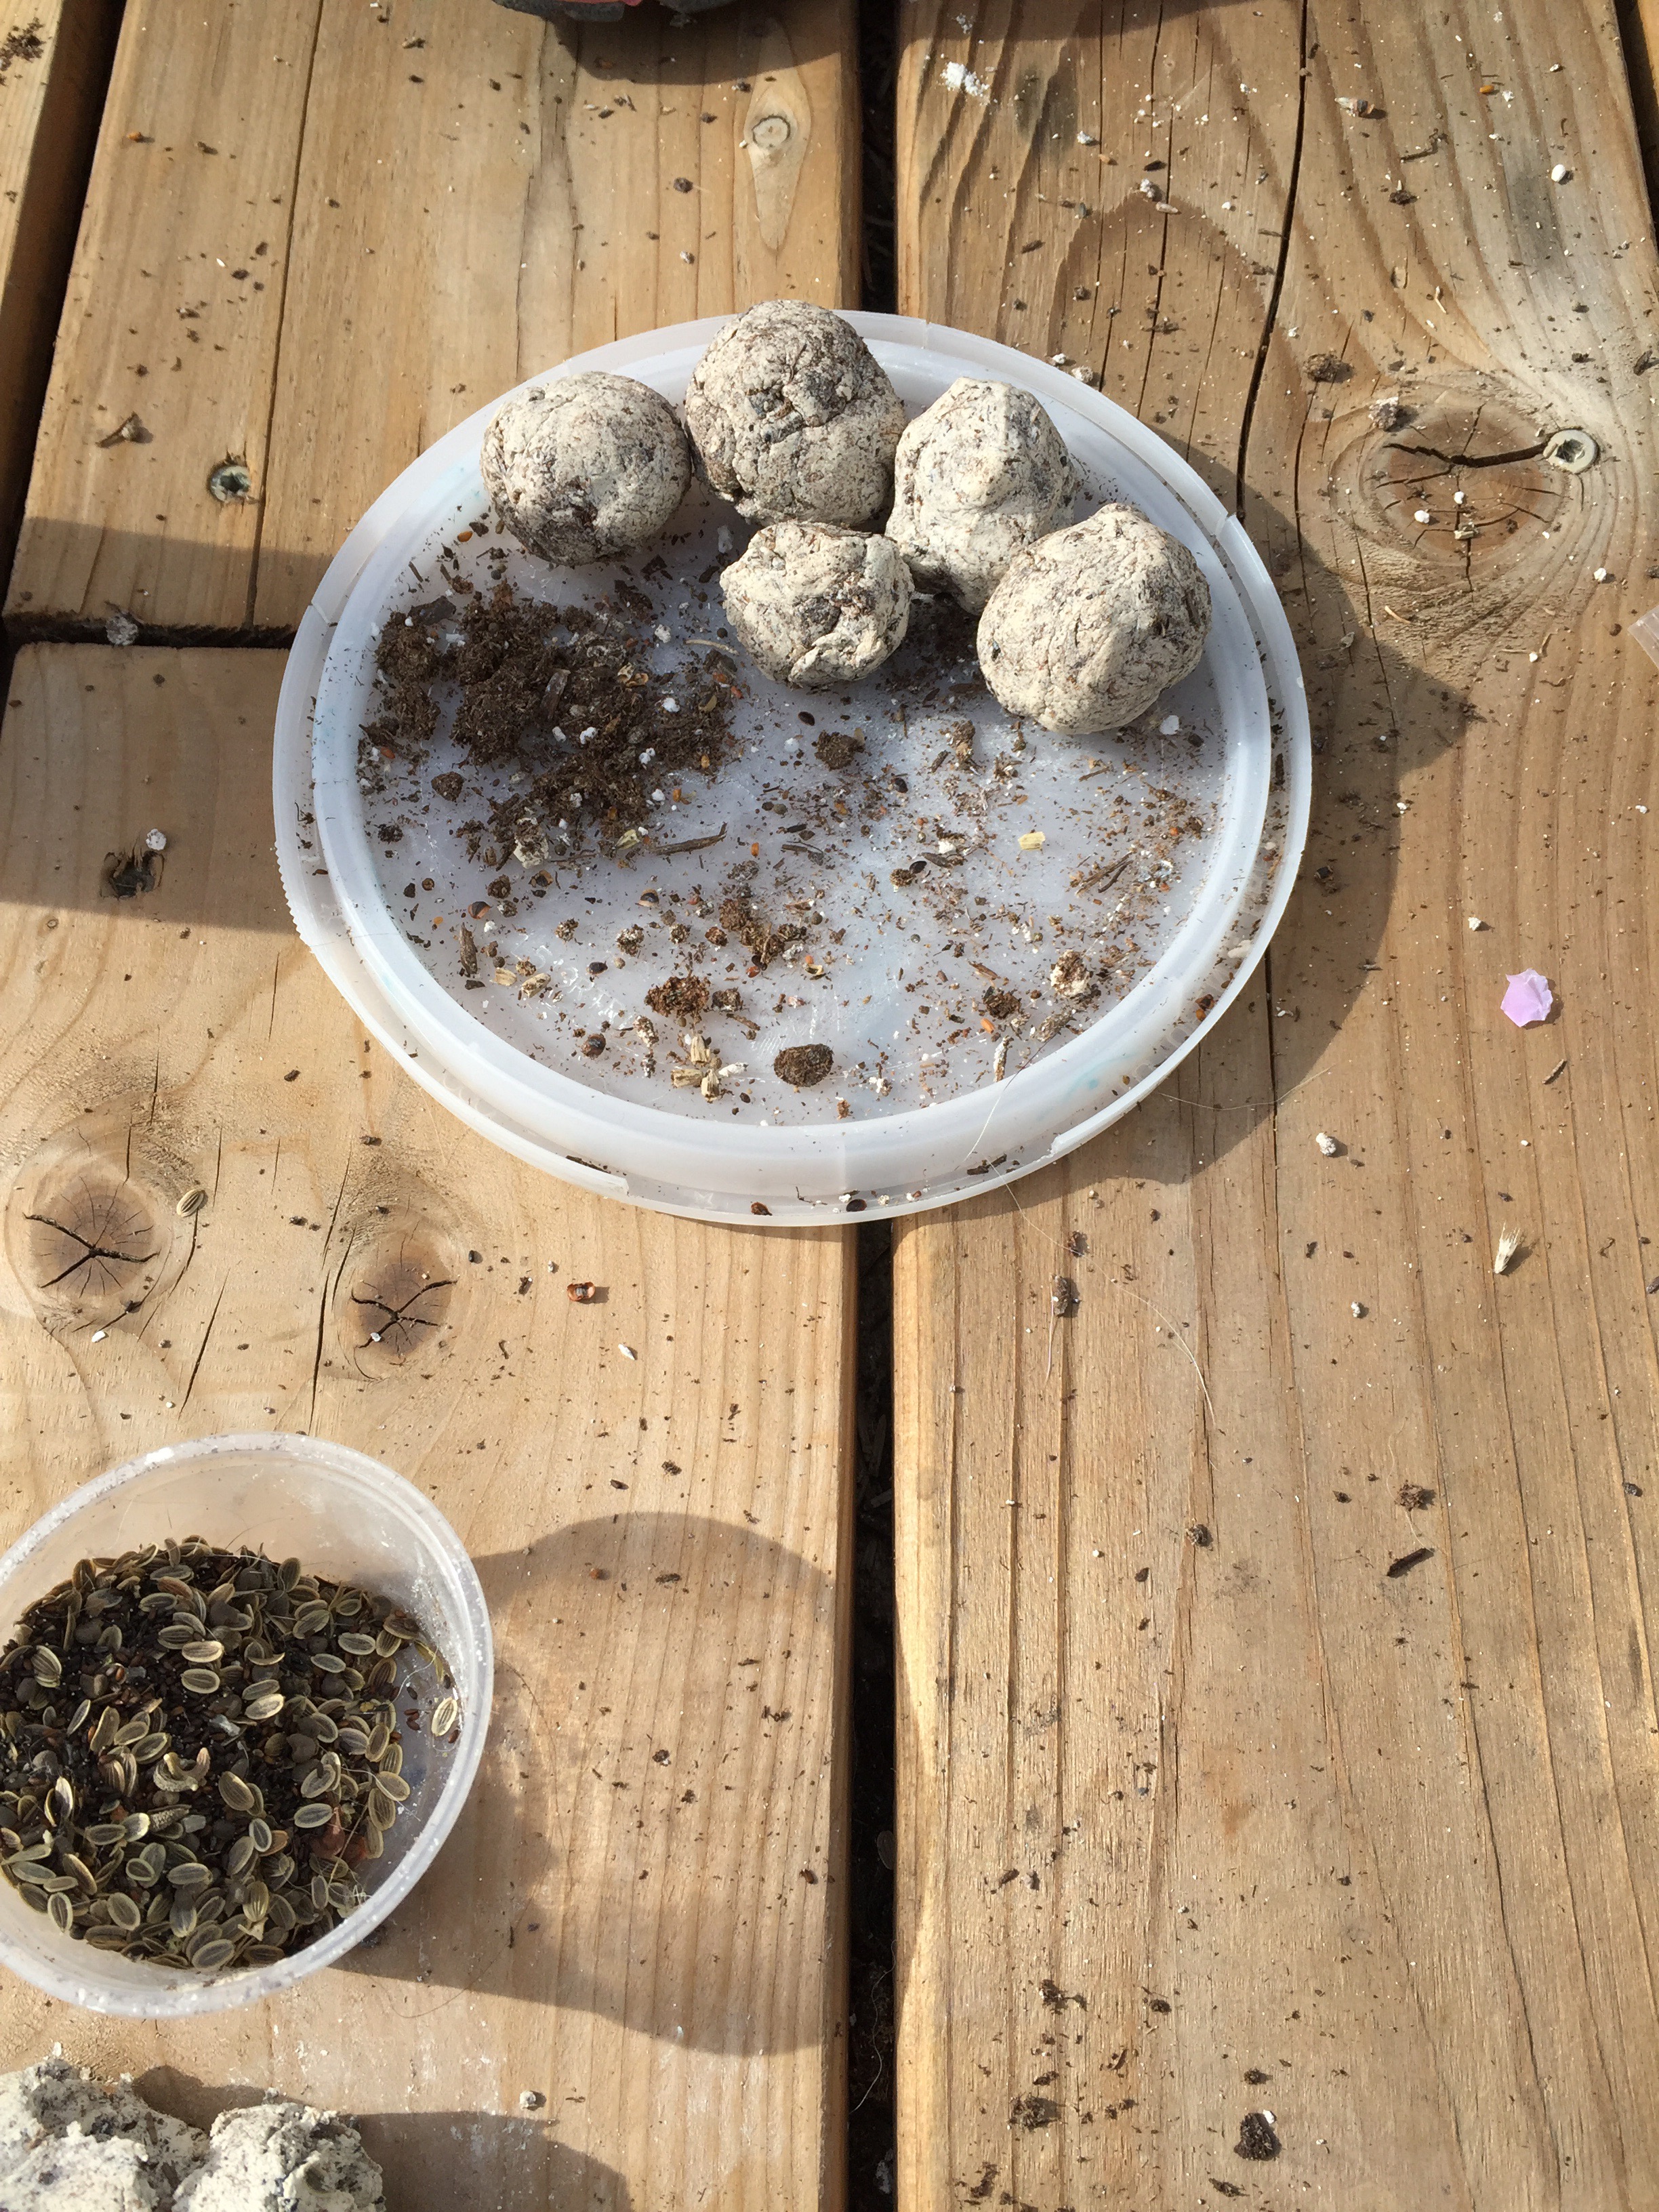 Here’s the ones the kids did!
Love the idea, don’t have the time? These things seem to be popular on etsy and you can find them there (including my shop soon!). Get out there and guerrilla garden!
Chive Seeds
Tis the season for gardening and any prepper can tell you that the more food you can grow on your own, the better.
I have a huge clump of chives in my back yard. They come back every year and spread from their roots so I had no idea they had seeds or that I could harvest the seeds to share.
To start, you need to find a clump of chives that has flowered. Select flowers that have mostly dried out.
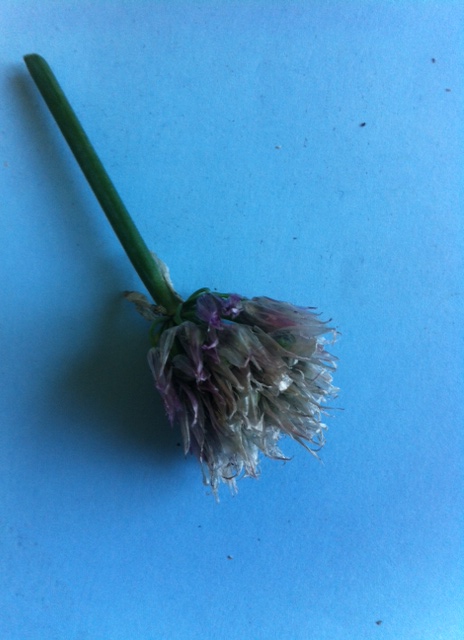
The tips of the flowers should be white and thin like tissue paper. The next thing I do is separate the flower blooms from the stem, to make them easier to sort.

The dry flowers I set aside for processing and the not so dry flowers I either let air dry for a few days or compost if they are not even close to being ready.
When you pull apart the flower, inside you will find a dark green to black ball, this is where you will find the seeds. Cut this apart, it should divide into three parts, leaving you with some sacks covered in a thin green film.

In each of these sacks is two chive seeds, gently remove the green film to reveal two small black seeds. Set the seeds aside to dry (I put mine on a paper plate away from any breeze) and then store. Chive seeds can be finicky and may only last a year even under optimal storage, so be sure to share with your friends.

Here is a link for some chive seeds if there are none local to you : https://amzn.to/2UcXfyR
Bee Plants
I believe it was Albert Einstein who said that without bees, the human species would go extinct within four years.
Honeybees are so essential to our entire food supply and they’re dying off in scary numbers. Between colony collapse and sheer lack of food, our honeybees are disappearing. In my city, we can’t own bees without a whole lot of paper work and fees and inspections etc, etc, so I decided to dedicate part of my garden to bee friendly plants.
Since I live in Canada, I can be somewhat limited to what plants will live here. This year the weather has been especially all over the place (to the point where several people I know had their furnaces on last night, almost a full week into June) and I’ve only seen two honeybees in my yard. But here’s a quick list of what I’ve planted that my local bees seem to love.
Lavender – I have several lavender plants that I used to use for my soap business but even when I harvest, I leave several stalks that are constantly visited by our bees.
Bee balm – (monarda) produces amazing spiky flowers and is always surrounded by bees.
Strawberries – although I don’t grow these specifically for the bees, the flowers bloom fairly early and give the bees something to pollinate before the other plants show up.
Clover – I have a small piece of the property that isn’t maintained and it is crawling with clover. Anytime I pull up clover from any other part of the lawn, I throw it there to help seed it. I’m sure we’ve all heard of clover honey?
Lilac – although this plant belongs to one of the neighbors and not me, I stay away from it because its surrounded by bees while in bloom.
Most of these plants are fairly hardy regardless of where you are in North America, so consider placing some of them on your land. We all need bees. Please try to avoid commercial insecticides as well and try a natural alternative such as companion planting, soapy water or manual pest removal.
Check out this book:100 Plants to Feed the Bees
Newsprint and the Prepper
I use newsprint for a lot of projects around the house. We get two sets of advertisements and local news once a week and it adds up to a lot of paper. Over the summer I use this paper to start fires but here are three things I do with it in the other seasons.
1.) Shred: I save my flyers for about a month and then spend an hour shredding them (by hand). I keep my shreds in a tupper bin until the summer time when I make them into paper bricks for the fire. I got my paper brick maker from Lehmans (www.lehmans.com) This is an easy and free way to have heat and cooking material.
2.) Spread: Once spring comes and I re-dig my garden beds, I spread newsprint on the bottom. This keeps the weeds to a minimum by suffocating them. By the time the papers disintegrate, the weeds have been killed. I usually do a layer about 3 sheets of newsprint thick.
3.) Seed: I use newsprint to make little pots for starting my seeds. There are little gadgets you can get to help you do this (check here). They stand up fairly easy in my mini greenhouse and the roots have no trouble pushing their way through the wet paper. You can take the whole pot and put it in the ground as is.

Dehydrating Turnip
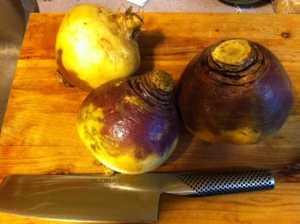
Turnips, along with most other root vegetables, are fairly cheap and easy to dehydrate. This time of year, they are very easy to find and usually on sale.
Wash and peel your turnips

Slice into thin pieces, the easiest way to do this is to use a mandolin slicer.
You can then blanch them (I don’t blanch my turnips) and then place them on your trays.
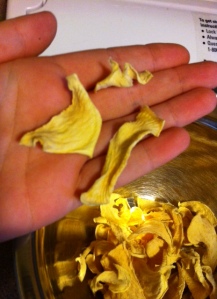
I leave them on overnight at 125 F to make turnip chips. You can eat these as is. They are great with dips as well. Or you can rehydrate them and use them as you would fresh turnips. Try putting the dehydrated pieces in soups and stews.
Strawberry Jam – no pectin
Strawberry jam is a yearly occurrence in our house. Everyone loves strawberries (so much in fact that last year when I purchased two flats of strawberries, they were gone in a few days before I could make the jam). I always use local strawberries because the flavor is amazing (so much more so than berries that have ripened on a truck).
This is the recipe my grandmother used, I’m pretty sure it’s the Bernardin recipe, so clearly I don’t own it.
Place 8 250ml size jars (available here) on a rack in a water canner and heat to a simmer (make sure water is covering the jars). Heat snap lids separately. Keep hot until ready for use.
Bring mixture of 8 cups strawberries (crushed), 6 cups sugar and 1/3 cup lemon juice to a boil slowly. (make sure sugar is dissolved so it doesn’t stick to the bottom). Boil for about 30 minutes or until the mixture thickens and passes the ‘gelling test’. (Coat a spoon with the jam and move it away from your pot, watch the jam slide off the spoon, if it falls in chunks instead of drips, its ready).
Pour your hot jam into the hot jars leaving a quarter inch of headspace. Keep your rims clean! Place your snap lid on the jar and screw the band on until finger tight. Boil filled jam jars for 10 minutes. Pull out and let sit for 24 hours (do not move them).
Traditionally, items canned like this last for about a year (not exactly long-term food storage) but I’ve used them after the year has come and gone.

Water Ban!
On Tuesday this week, a water main broke at one of the biggest reservoirs serving our area. We were originally on a water restriction that has now been replaced with a ban. Our city still has tap water but a lot of the smaller towns right around us don’t even have that.
According to our local media, our city uses on average 140 million liters of water per day (about 40 million gallons) but yesterday, our city used 200 million liters (about 53 million gallons). People were seen watering their lawns, washing their driveways and running sprinklers for their children.
Most people in my area do not have a water storage and now a lot of grocery stores are low or out of bottled water. We haven’t had a water ban since 1998. We are surrounded by the Great Lakes so who would think you would need it, I guess is what most people think. BUT:
– this past weekend was Victoria Day, a long weekend that has long been the ‘safe point’ to start your gardening in our area. Many people that participated in the water ban now have dead plants because they don’t have a rain barrel or don’t use their grey water.
– the next town over has no tap water so no showers, no drinking water, no dishwasher and so on. Do you have enough water stored for at least three days of drinking, watering your veggie garden and giving to your pets?
The weather was 30°C (86 F ) yesterday and muggy, I can understand people want to cool down. Here’s a few ideas (based on what I saw in my neighborhood and on social media) for water conservation.
Instead of filling the pool or running the sprinkler for the kids, give them a popsicle, they’ll love you for it!
Stay indoors between the hours of 11-3 when the sun is at its hottest.
As a lesser evil, turn on your air conditioning unit rather than leaving water running.
Take a shorter shower (or use the dry shampoo recipe I gave a few posts ago)
Use paper plates or eat out of the pots that you cook in.
When you shower, leave the plug in and collect the water for use in your garden (grey water)
Buy (or make) a rain barrel (this one is similar to the one I own)
Don’t water your lawn, it will make it grow and then you have to cut it!
Moral of the story: you should probably have some cases of bottled water put aside for drinking and a rain barrel or grey water system (or both!) for your veggies.
Starting Seeds
Starting seeds doesn’t have to be rocket science. You don’t need green houses and heat lamps. Kindergarten children plant beans in their classrooms to learn about spring time.
All you need is a cup, some paper towels or napkins, some water and a window sill.
I use clear plastic party cups to start my seeds. I stuff a little bit of brown paper towel in the bottom and then add water. I let the paper towel absorb as much water as it can, then pour any extra out. I put two or three seeds in each cup then set the cup in a warm, sunny window sill. After a couple days to a week, the seeds should start showing some signs of life. If they haven’t, don’t give up, recently my cantaloupes took almost three weeks to start sprouting. Keep your paper towels moist (but don’t drown your little roots) and wait. Once your plant has developed a good size tap root (the biggest root in the middle that the other roots sprout from), carefully pull the plants out of the cups and put into some good quality potting soil until it’s warm enough to plant outside.
This is how we start the majority of our seeds. Currently we’ve got every window sill full of beans, peas, carrots, peppers, chilies, butternut squash, sunflowers, radishes, cucumbers and countless herbs. This is also great for any little helpers you might have hanging around (children, grandkids?), they usually get very excited to see their little projects grow.
I’ve personally used these seeds in the past and was very pleased with quality.

