Blog Archives
Chive Blossom Vinegar
Every year I have a bumper crop of chives, regardless of the weather. I’ve started using the blossoms as I can’t possibly eat all the chives themselves, especially if I let them spread their seeds everywhere. My favorite way of using the flowers is making flavored vinegar.
Here’s a quick video we made:
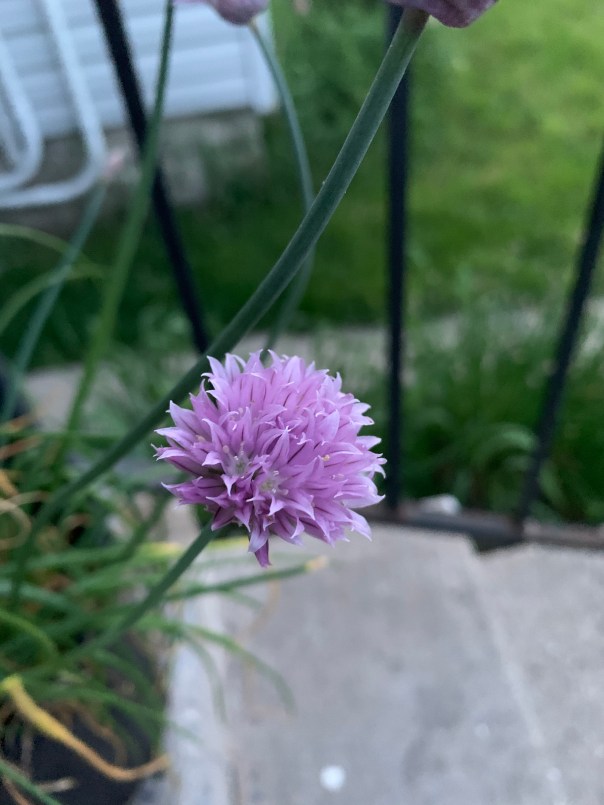
Simply fill a mason jar with the fresh beautiful flowers and top off the jar with white vinegar. (If you want to get fancy, white wine vinegar is amazing in this.) Let the jar sit in a dark place for a couple weeks. When the vinegar is a pretty pink color, it is ready to use. Strain out the blossoms and use the vinegar on everything! Its got an awesome light onion flavor, it tastes so good on salads, raw veggies or anything potato.
Let me know if you try it!
Supplies:
Jars (https://amzn.to/2UrfDTh )
Chive seeds ( https://amzn.to/2yWd3hq )
Vinegar

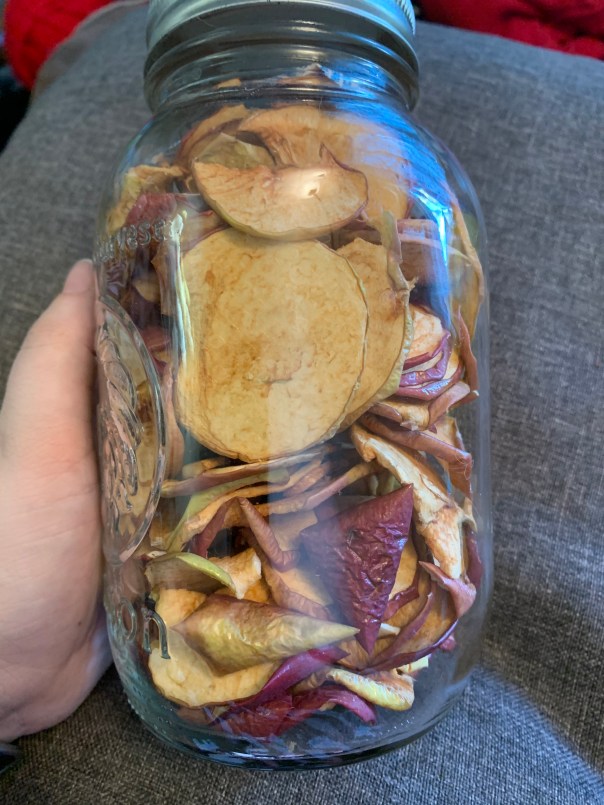
Dehydrating Apples
I try never to waste food, but especially right now during the Covid-19 pandemic, it’s not so simple to just go to the store.
I had a bag of apples that the kids just weren’t eating fast enough so I decided to dehydrate them before they went bad (they were already on the soft side).
I used a mandolin slicer (you can get the same one here) to slice the apples thinly. I put them in water with a bit of lemon juice while slicing to keep them from turning brown.

I then spread them out on my dehydrator and turned it on low for about 12 hours. I like to add the chips to muffins and loaves but you could also rehydrate them and turn them into apple sauce. My dog likes to eat them as treats and they’re a lot healthier than some other treat options.
To store, I put them in a mason jar with an oxygen absorber. You could also vacuum seal them but I don’t expect mine to hang around too long as I’m already planning ways to use them.

Sour Cherries
Hey! I was lucky enough to find a sour cherry tree in my neighbourhood. So I took the kids and we loaded up. 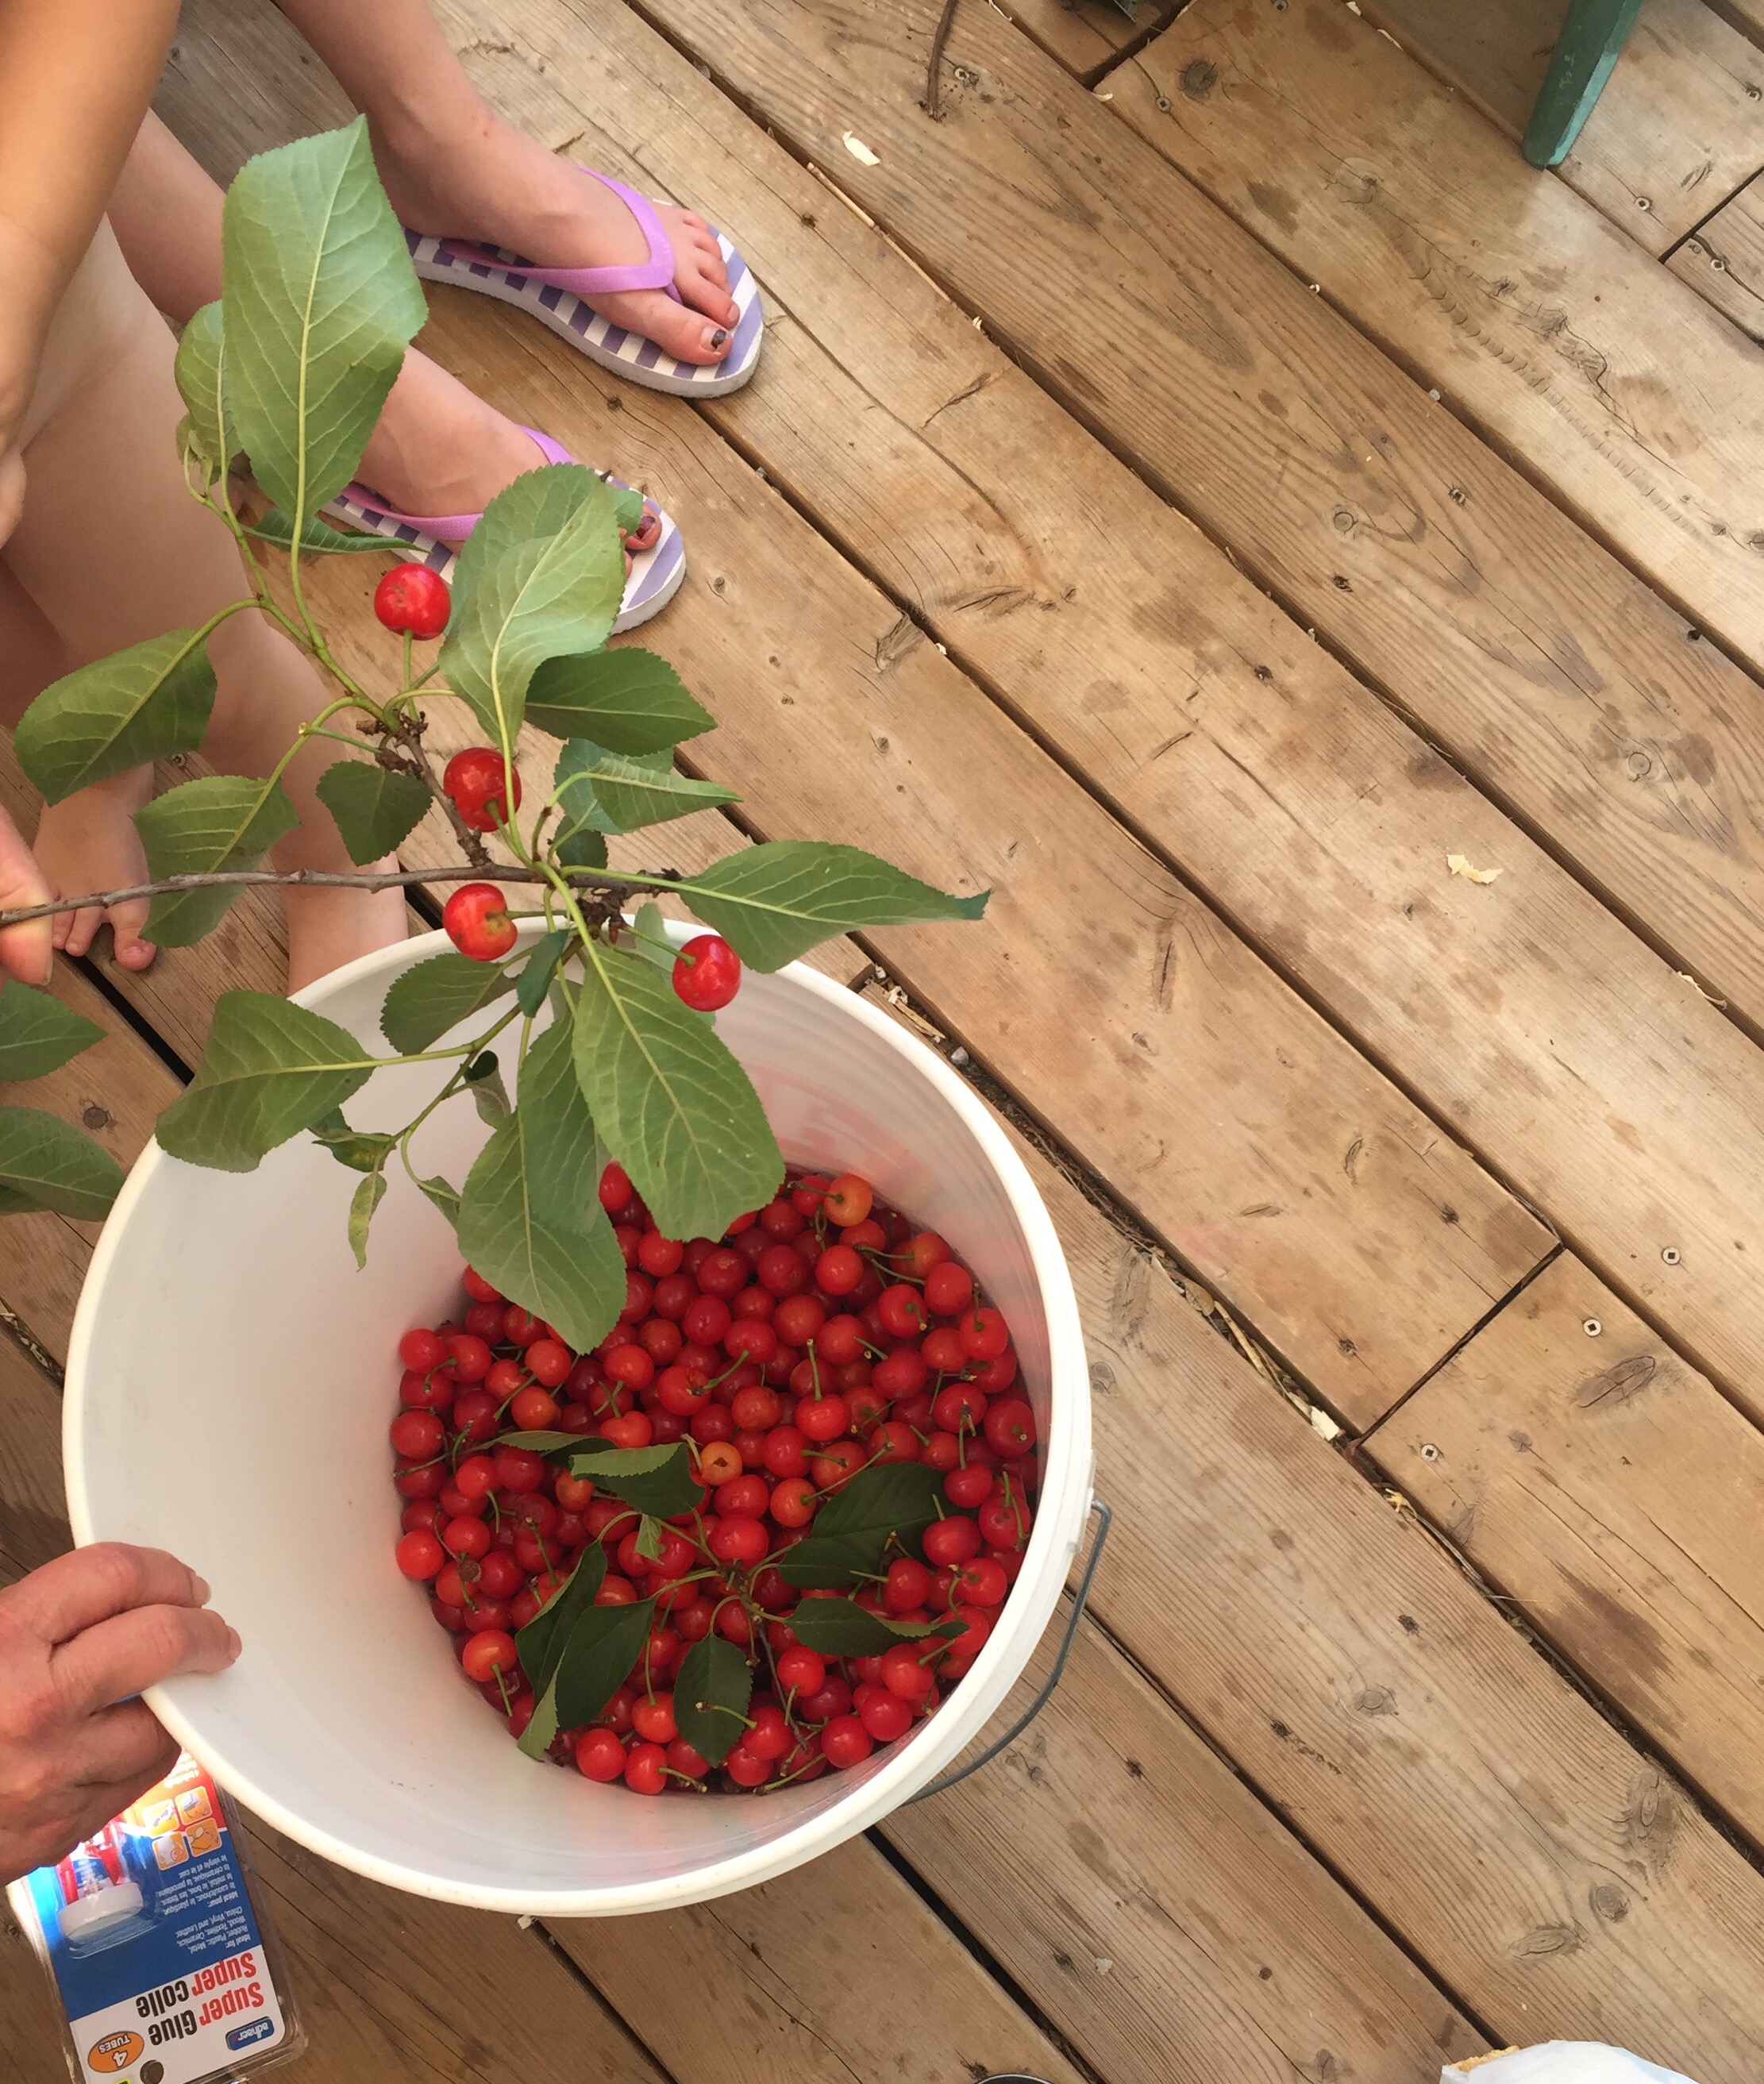
We got a good amount in a short amount of time. The trees are almost always full of fruit because people try one, thinking they’re regular cherries and don’t like them due to the sourness.
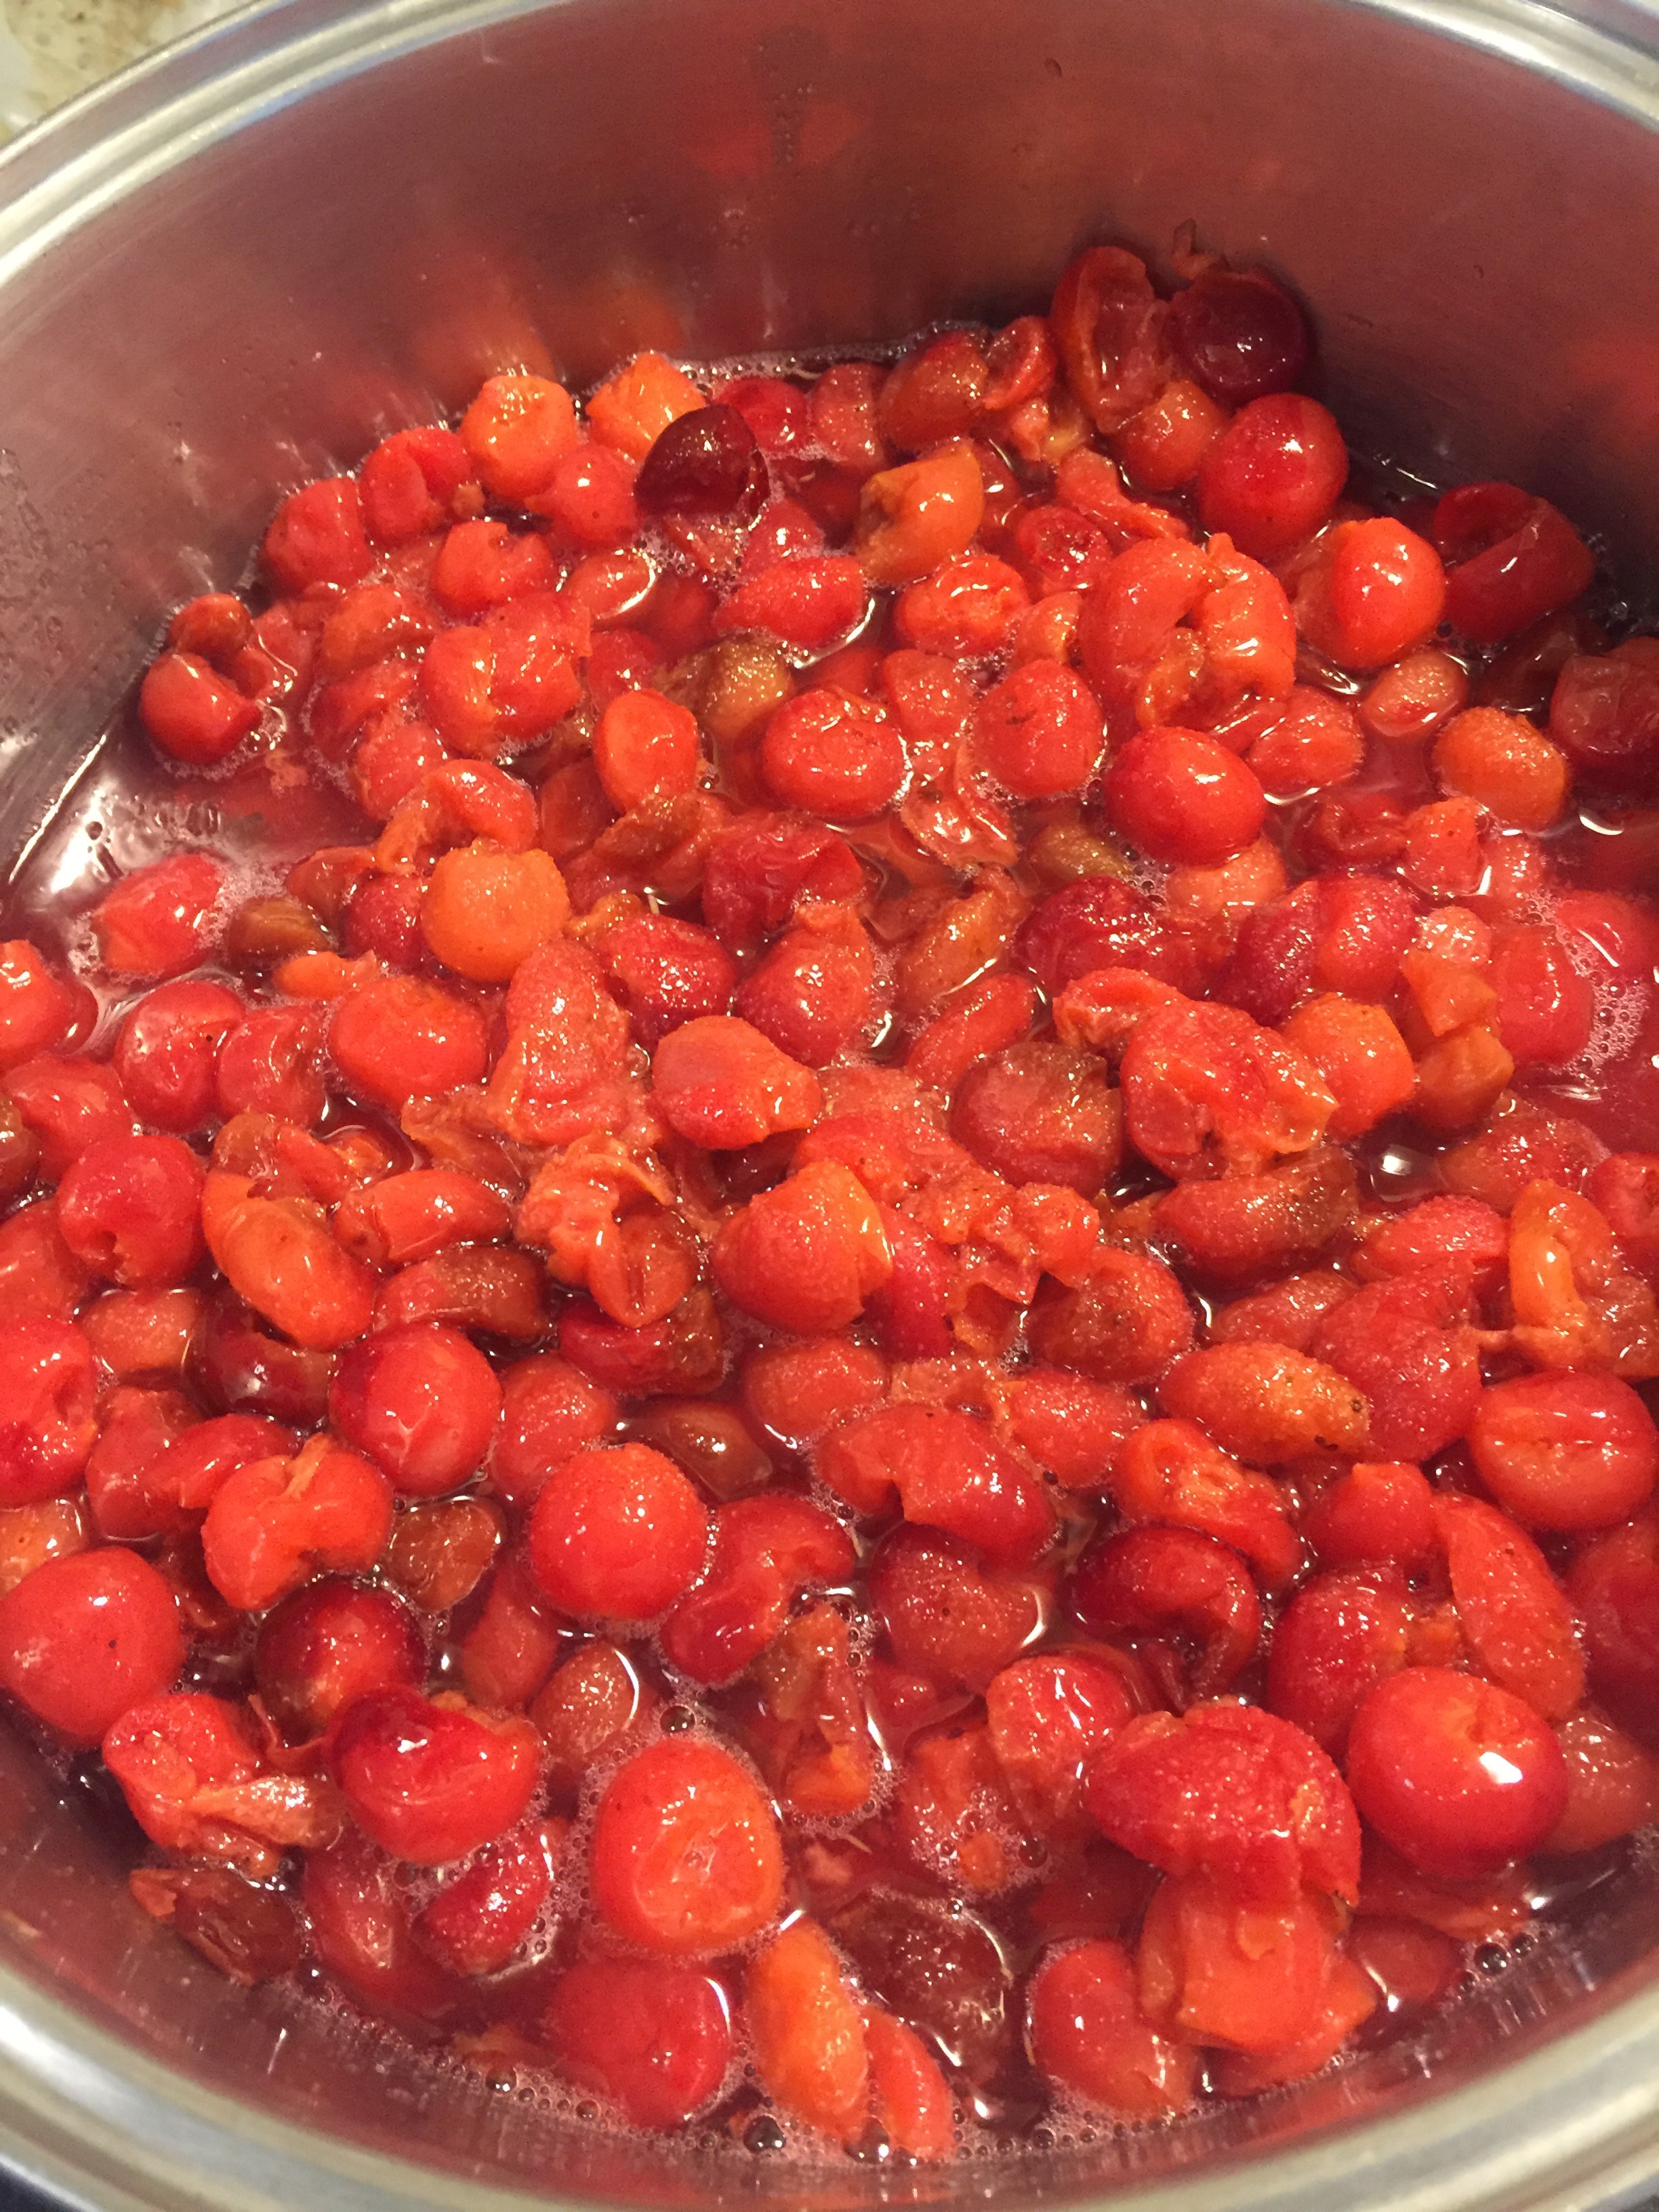
I had enough to make jam so I tried a new recipe. It didn’t set for me but next time I’ll either add pectin or boil longer. It’s still delicious and is being used in drinks and on ice cream.
I took 12 cups of pitted sour cherries and 5 cups of white sugar. Bring to a boil and left it boiling heavily for about an hour while my jars (8 250 ml jars) were in a hot water bath.
At this point I’d recommend testing for viscosity by taking out a bit and doing the wrinkle test.
I was impatient I guess and just canned it at that point. I left 1″ headspace in my jars and then boiled the jars for 10 minutes. They then sat on the counter for 24 hours while they sealed and cooled.
If you didn’t want to go this route, sour cherries are also good dehydrated with a bit of sugar, or frozen and added to baked goods.

Prepping with Pumpkin
Tis the season of the pumpkin!
A couple days after Halloween, a friend of mine asked me if I wanted some pumpkins left over from landscaping. They were large and hadn’t been carved so I said sure! I hate to see them go to waste.
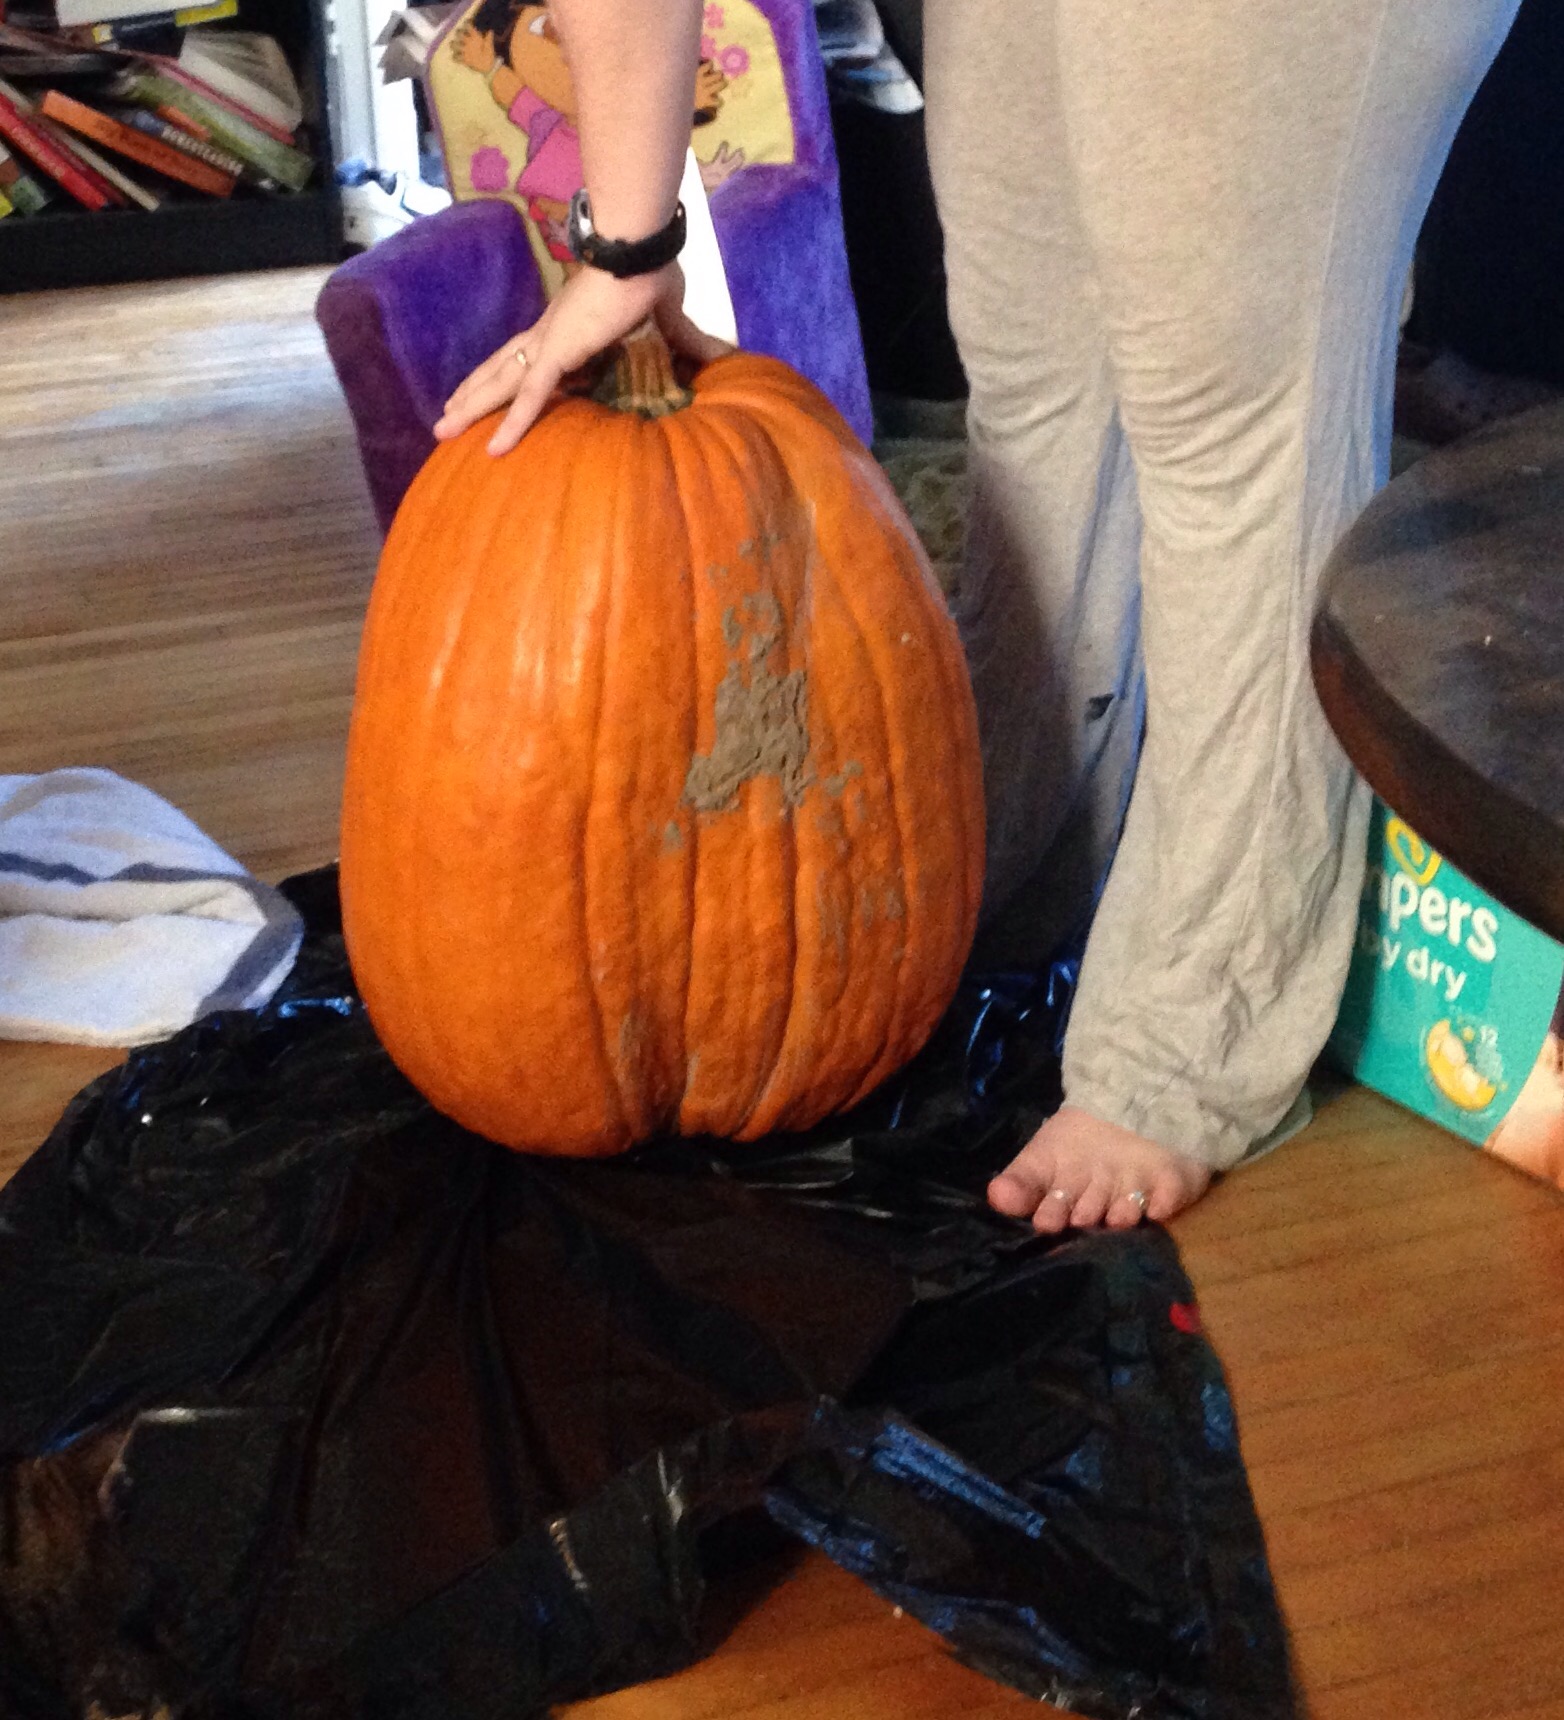 This picture is the smallest of the three I received.
Two I opened up, gutted and saved the seeds then cut up and roasted the flesh for puree (more in a sec). The third made for great machete practice!
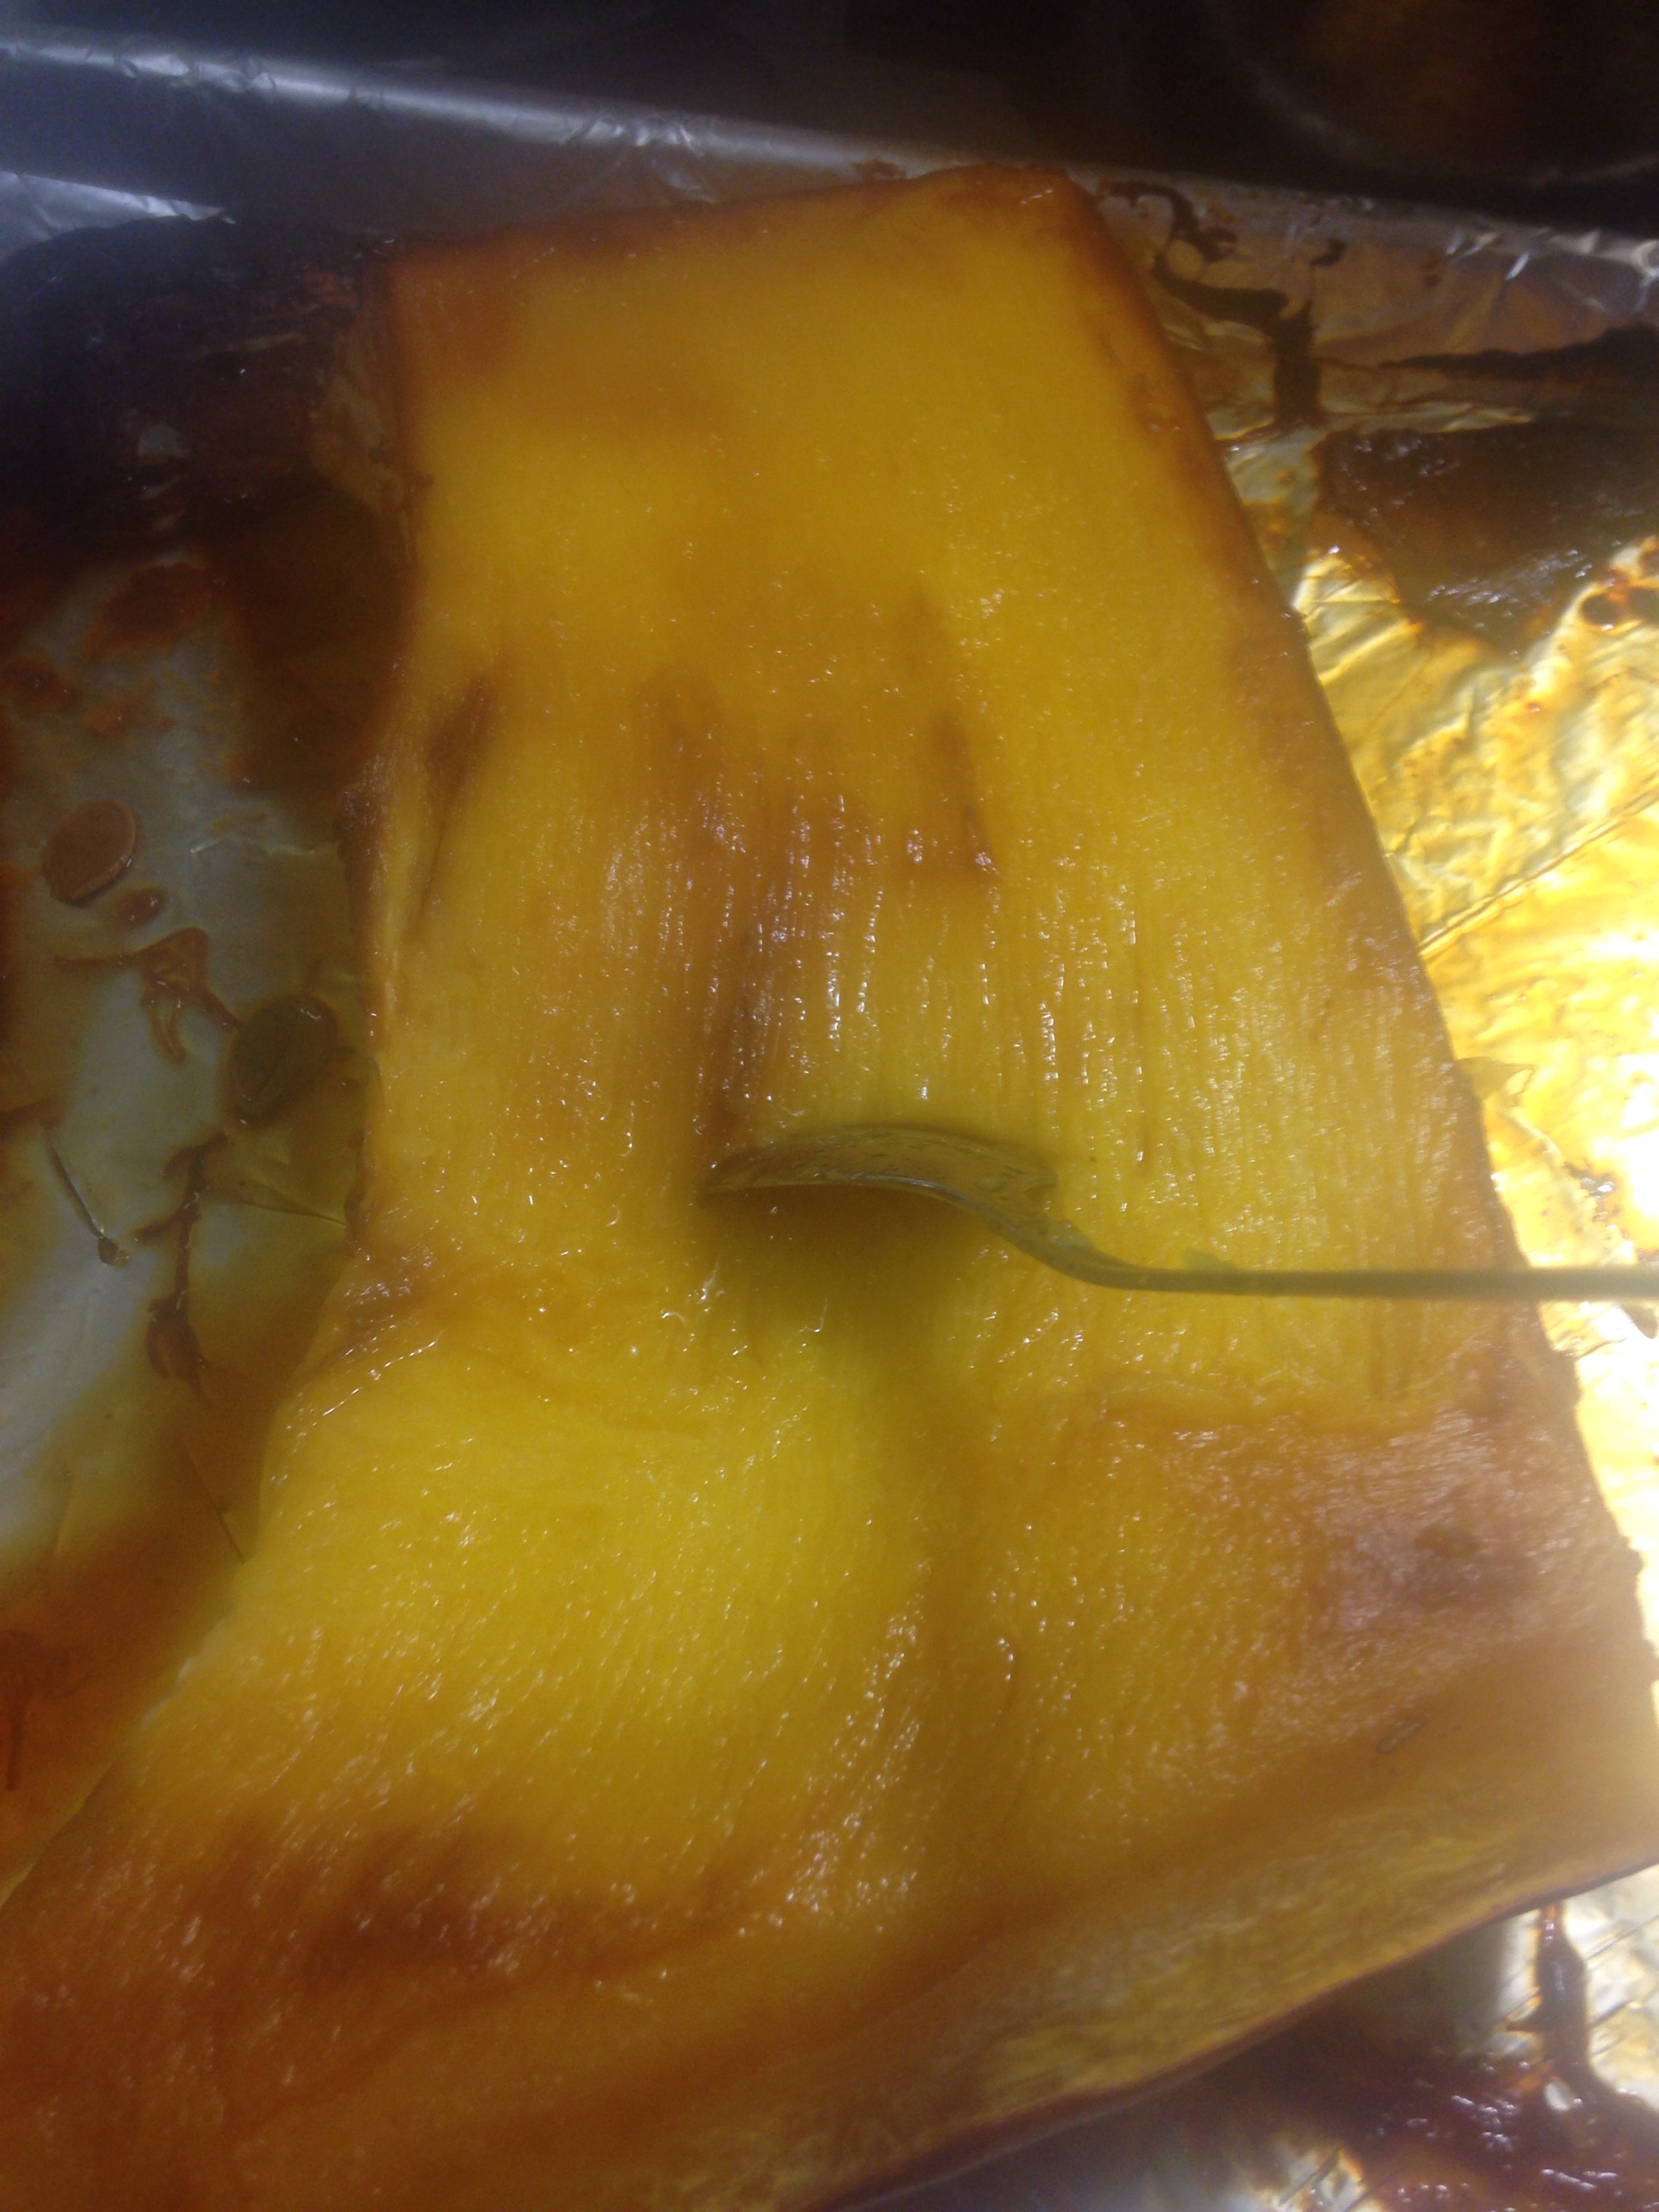
To make the pumpkin purée, I cut the flesh (after scraping etc) into manageable sized chunks and put them on a cookie sheet with skins up. I baked them at 350 F for about 2 hours (they had super thick flesh, start at 45 minutes, it’s ready when a knife passes easily through). Let them cool a bit then scrape all the good stuff off the skins with a spoon and let cool further. The skins then went into my compost.
The roasted flesh then went through my blender (but you could easily use a food processor or food mill) then into freezer bags.
If you’re freezing it, get as much air out as possible and freeze flat. You can also dehydrate the pumpkin purée, if you don’t have the fruit leather tray covers, use parchment paper to line your trays.
Half the seeds I roasted for a snack for my family and the other half will be planted come spring.
Pumpkins are cheap and plentiful this time of year, with many grocery stores putting them on clearance after Halloween or thanksgiving. Don’t pass up your chance for a whole lot of food for little money!
 About 3/4 of the above pictured pumpkin.
Chive Seeds
Tis the season for gardening and any prepper can tell you that the more food you can grow on your own, the better.
I have a huge clump of chives in my back yard. They come back every year and spread from their roots so I had no idea they had seeds or that I could harvest the seeds to share.
To start, you need to find a clump of chives that has flowered. Select flowers that have mostly dried out.
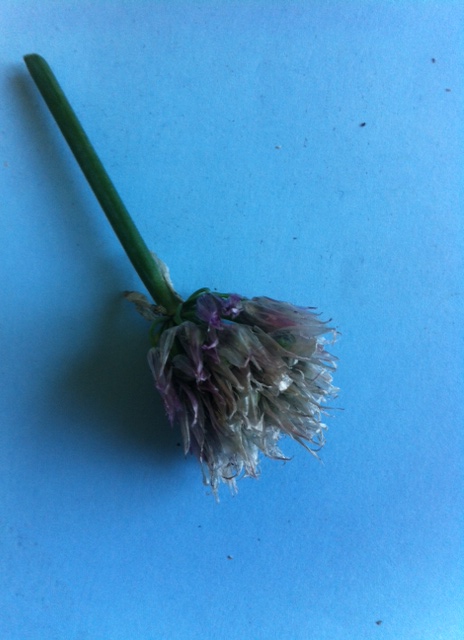
The tips of the flowers should be white and thin like tissue paper. The next thing I do is separate the flower blooms from the stem, to make them easier to sort.

The dry flowers I set aside for processing and the not so dry flowers I either let air dry for a few days or compost if they are not even close to being ready.
When you pull apart the flower, inside you will find a dark green to black ball, this is where you will find the seeds. Cut this apart, it should divide into three parts, leaving you with some sacks covered in a thin green film.

In each of these sacks is two chive seeds, gently remove the green film to reveal two small black seeds. Set the seeds aside to dry (I put mine on a paper plate away from any breeze) and then store. Chive seeds can be finicky and may only last a year even under optimal storage, so be sure to share with your friends.

Here is a link for some chive seeds if there are none local to you : https://amzn.to/2UcXfyR
Food Storage Bug Out Bin
My food storage is mostly on shelves. But I do have the typical 5 gallon buckets full of food as well. The buckets stay with my food storage and are filled with pasta, rice, beans, and a variety of foods all mixed in separate bags. This way, if I need to move my food storage, I can grab the buckets and not be stuck eating 100 lbs of flour.
But, if I need to bug out in a hurry and can’t get to my food storage, I keep a heavy duty Rubbermaid bin with my bug out bags. It weighs about 30 lbs and is easily grabbed to throw into the car and go. We all have various food items and MREs in our bags, but this is just something a little extra.
It contains rice, pasta, sugar, tea (can’t live without tea!), fruit, granola bars, fruit snacks for the kids, a variety of spices, water purification tablets, and anything else I wanted to add. Again, this is separate from my bug out bags and wouldn’t do me any good to grab on its own and contains mostly doubles of my bug out bag and food storage.
Its a good idea to keep a little bit of your food storage separate like this, just in case. Your basement could flood, you could be cut off from the rest of your house, you might have one minute to grab the kids and get out or, if your food storage was raided, most people aren’t going to check a storage bin that’s kept completely away from the rest of the food. Give it some thought and see if it works for you.

Dehydrating Turnip
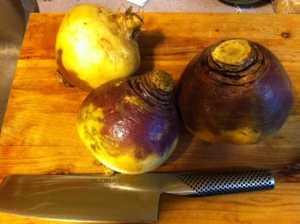
Turnips, along with most other root vegetables, are fairly cheap and easy to dehydrate. This time of year, they are very easy to find and usually on sale.
Wash and peel your turnips

Slice into thin pieces, the easiest way to do this is to use a mandolin slicer.
You can then blanch them (I don’t blanch my turnips) and then place them on your trays.
I leave them on overnight at 125 F to make turnip chips. You can eat these as is. They are great with dips as well. Or you can rehydrate them and use them as you would fresh turnips. Try putting the dehydrated pieces in soups and stews.
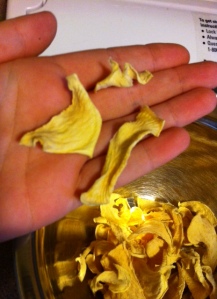
Dehydrating Your Own Milk
Let me just say, this isn’t necessarily a recommended practice, do your research (as always) and decide if its for you.
I recently got 6 litres of milk for $1 each and decided to dehydrate them to make my own powdered milk. Most preppers order their powdered milk in #10 cans from various food suppliers in the US, however this is out of my price range and the tariffs Canadians have to pay on dairy are ridiculous.
To dehydrate my milk, first I had to make parchment paper containers to cover the screens in my Excalibur. I did this by cutting a square and folding up all the edges so they folded over themselves and then I stapled it just to be sure. Put the parchment on your screen and pour a small thin layer of 1% milk onto it. (I used 1% aka non fat milk because the more fat, the more likely it is to go rancid.
I cranked my dehydrator to 135 F and left it over night. About 10 hours later it was ready. The milk turns into a crackly sheet in a sort of yellow color. At this point all you have to do it toss it in a blender or food processor and buzz it up until its a fine powder. Store it in a jar or mylar bag with an oxygen absorber.
To rehydrate, mix it with cold water and shake it until you get all the chunks out.

